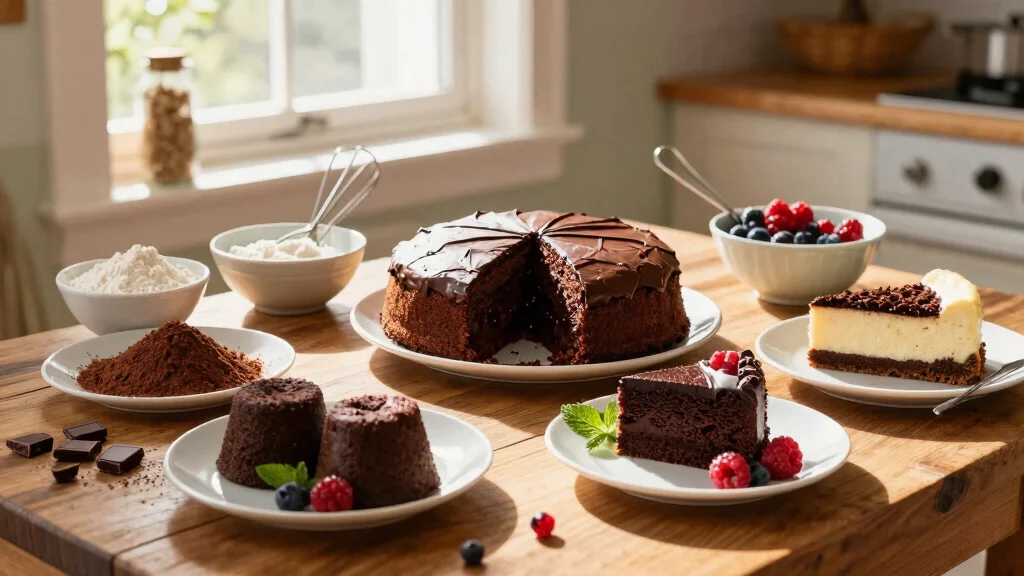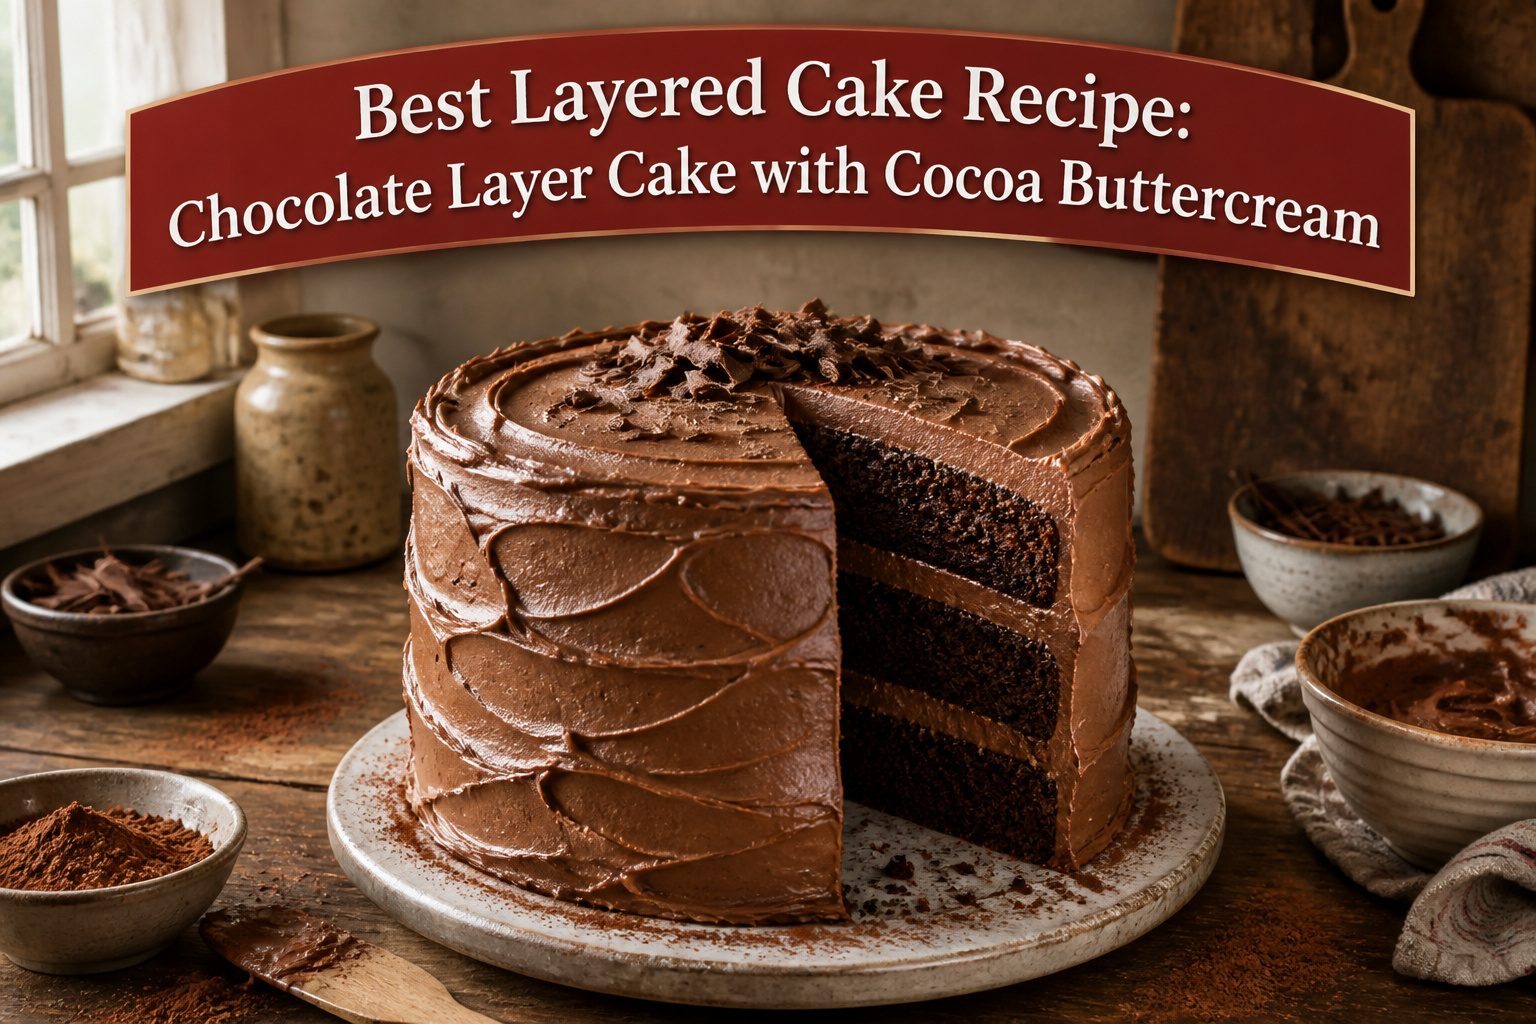

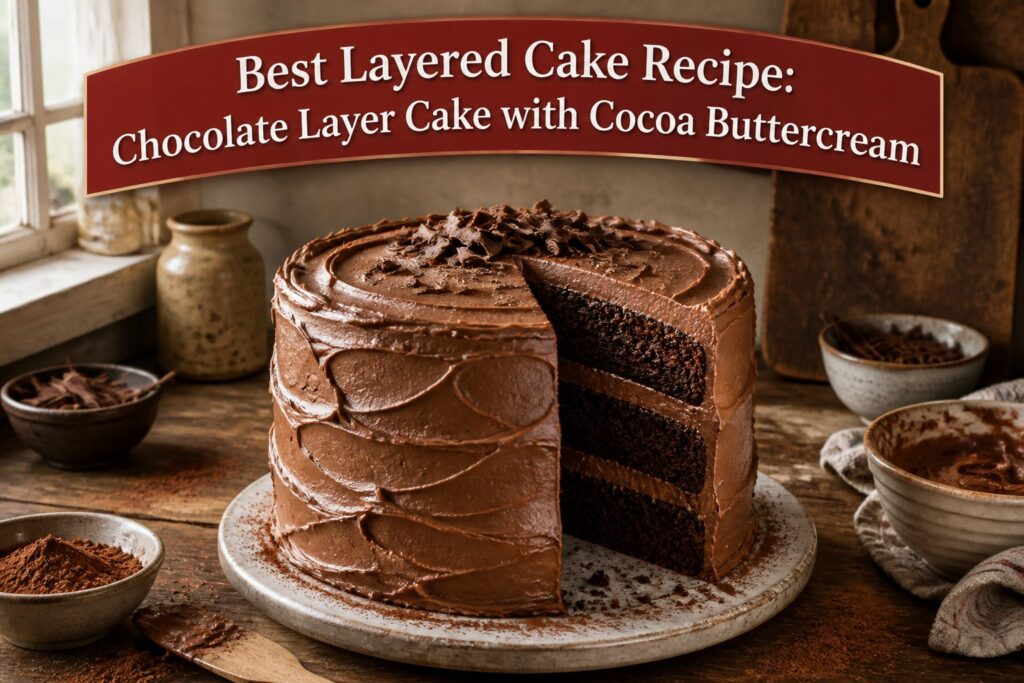
This chocolate layer cake tastes deeply of cocoa without the dryness that usually comes with it, and the buttercream sets firm enough for clean slices even after sitting out.
That balance comes from using both cocoa powder and melted chocolate in the batter, a combination that needs about two hours of active work across four hours total.
Three 8-inch rounds yield 12 to 14 slices, and no special equipment beyond standard pans is required.
Chocolate Layer Cake with Cocoa Buttercream

A best layered cake recipe for weeknight cooks needs to come together without a special trip to the baking aisle.
This chocolate layer cake delivers twelve to fourteen slices from three 8-inch rounds, with a cocoa buttercream that sets firm enough for clean slices at room temperature.
The batter uses both cocoa powder and melted chocolate, which solves the problem each has alone: cocoa gives depth but can dry out, while melted chocolate alone makes a dense, fudgy crumb that struggles to rise.
Together they balance moisture and structure.
About two hours of active work spread across four hours total, most of it cooling.
A stand mixer speeds things up, but a hand mixer and a large bowl work fine. The layers bake in standard pans, no strips or nails required.
I make this when I need a cake that looks deliberate but does not demand a whole Saturday: birthdays, potlucks, or the kind of dinner where someone else brings the salad and you promised dessert.
Recommended Products

Ideal for any recipe - Designed for small round tiered and layered cakes, and deep-dish pizzas.

READY, SET, BAKE: Even if you're a novice baker, Wilton Easy Layers! Cake Pan set will make you look like a pro. With each layer 3/4-inch thick, bake a rainbow cake, ombre cake, or a chocolate cake with different fillings to separate the layers
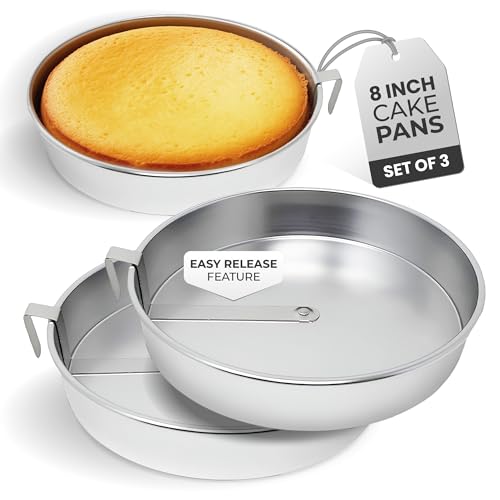
Easy and Fun Cake Removal – Releasing cake from a pan shouldn’t be frustrating. Make it easy with these nonstick cake pans! Designed with a built-in swivel blade, our easy-release cake pans let you remove your perfectly shaped cakes with ease.
Ingredients

Room-temperature butter and eggs are not negotiable here. Cold butter will not cream properly with the sugar, and cold eggs will curdle the batter when they hit the melted chocolate.
For the cake:
- 2 1/2 cups (300g) all-purpose flour
- 3/4 cup (75g) natural unsweetened cocoa powder
- 1 1/2 teaspoons baking soda
- 1 teaspoon baking powder
- 1 teaspoon fine sea salt
- 1 cup (240ml) whole milk, at room temperature
- 4 ounces (115g) bittersweet chocolate, melted and cooled
- 2 teaspoons vanilla extract
- 1 cup (227g) unsalted butter, softened to room temperature
- 2 cups (400g) granulated sugar
- 3 large eggs plus 2 large egg yolks, at room temperature
For the cocoa buttercream:
- 1 1/2 cups (340g) unsalted butter, softened to room temperature
- 4 cups (450g) powdered sugar
- 3/4 cup (75g) natural unsweetened cocoa powder
- 1/4 cup (60ml) whole milk
- 1 teaspoon vanilla extract
- Pinch of salt
Natural cocoa powder matters. Dutch-processed will throw off the rise because it does not react with the baking soda the same way.
Recommended Products

Organic cocoa powder

Organic Cacao Powder - Experience decadent, rich, dark chocolatey goodness with our pure, organic cacao powder. The aroma of rich dark chocolate not only tantalizes your senses but also delivers a guilt-free indulgence, crafted with no added sugar.

1 lb. Natural Cocoa Powder in a resealable plastic jar.
Method

- Heat the oven to 350°F. Grease two 8-inch cake pans, line the bottoms with parchment rounds, then grease the parchment again. A quick dusting of cocoa powder over the greased surfaces keeps the chocolate layers from sticking.
- Sift cake flour, cocoa powder, baking powder, baking soda, and salt into a bowl. This removes lumps and aerates the mix so the batter comes together evenly.
- Warm the milk with vanilla over medium-low heat until small bubbles form at the edges. Off the heat, whisk in melted chocolate until smooth. Let it cool slightly so it does not curdle the butter later.
- Beat butter on medium speed for 1 to 2 minutes until creamy, then add granulated sugar and beat 4 to 5 minutes until pale and fluffy. The color change tells you the sugar has dissolved enough to carry air.
- Add eggs one at a time, mixing just until each disappears before the next goes in. Scrape the bowl once or twice; unmixed butter at the edges will streak the batter.
- With the mixer on low, add the dry ingredients in three parts alternating with the milk mixture in two parts, beginning and ending with the dry. Mix each addition only until it disappears; overbeating here tightens the crumb.
- Divide the batter between the prepared pans and drop each from about 3 inches onto the counter to settle air pockets. Bake 25 to 35 minutes until the edges look set and a toothpick in the center comes out with just a few moist crumbs. Cool in the pans 10 minutes, then turn out onto a wire rack to cool completely.
- For the frosting, beat butter with the whisk attachment on medium until whipped and fluffy, 1 to 2 minutes. Beat in vanilla, then on low speed alternate adding powdered sugar and cocoa in 1-cup increments with milk in 1-tablespoon increments. Add more or less milk until the icing holds peaks but still spreads easily. Set aside about 2 heaping cups for the crumb coat.
- Level the cake tops with a serrated knife if they domed. Dab a small amount of frosting on the platter to anchor the first layer, spread a third of the reserved crumb coat frosting over it, add the second layer, repeat, then finish with the third layer and the last of the crumb coat frosting. Chill the cake 30 minutes to set the buttercream firm.
- Spread the remaining frosting over the chilled crumb coat for the final finish, smoothing the top first and then working the sides. The cold base keeps the fresh layer from picking up crumbs.
Recommended Products

One 16 oz. can of Duncan Hines Dolly Parton's Favorite Chocolate Buttercream Flavored Cake Frosting

Contains: 1 Container of Organic Frosting
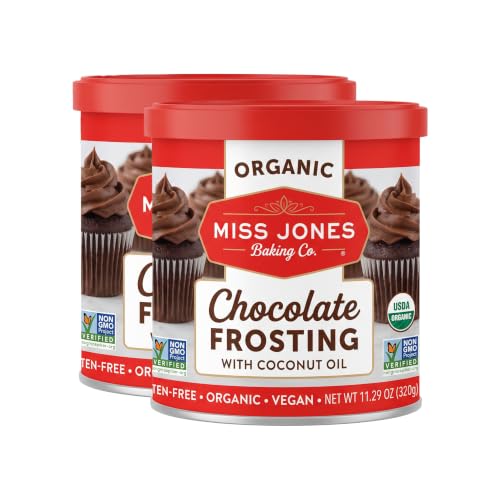
The information below is per-pack only
Yield and Storage

Three 8-inch layers give you 12 to 14 servings, which is enough for a birthday table without leaving you with half a cake for a week.
I find the math works out cleanest if you cut the first slice, then step back and let someone else divide; the layers are sturdy enough that a butter knife does fine.
Room temperature under a cake dome keeps the crumb soft for about 2 days. After that, the edges start to whisper rather than speak, and the frosting picks up a faint refrigerator taste even if it never saw one.
Refrigerated, the cake holds for 5 days, though the buttercream firms up like cold clay. Let it sit out for an hour before you serve; the texture comes back, but not all the way if you rush it.
The freezer is where this cake earns its keep.
Wrap unfrosted layers in plastic, then foil, and they stay good for 2 months. Thaw them still wrapped so the condensation lands on the foil, not the crumb.
I make the frosting a day ahead when I’m being sensible, refrigerate it overnight, and rebeat before spreading; it loosens back to spreadable in about two minutes on the mixer.
You’ll know the cake has dried out when a fork meets resistance in the center layer and the crumb clings in pellets rather than breaking in clean sheets.
At that point, it’s still edible, but it’s no longer the best layered cake recipe you set out to make.
Recommended Products
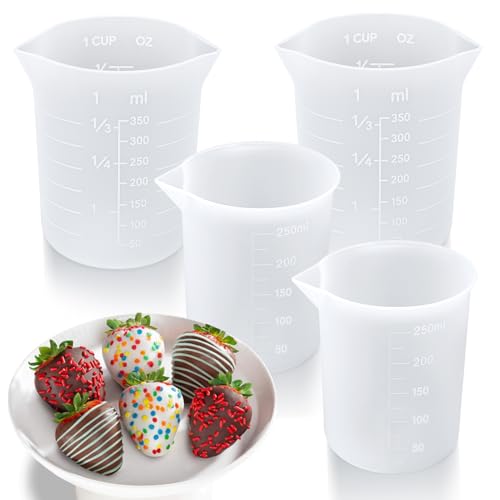
Versatile Chocolate Melting Cups: This silicone chocolate melting pot is ideal for melting and dipping chocolate. Made of high - quality silicone, it's drop - resistant and can withstand high temperatures. Unlike glass chocolate melting cup, it's a safe and convenient choice for melting butter, cheese, caramel, etc, and lets you fully enjoy DIY fun.
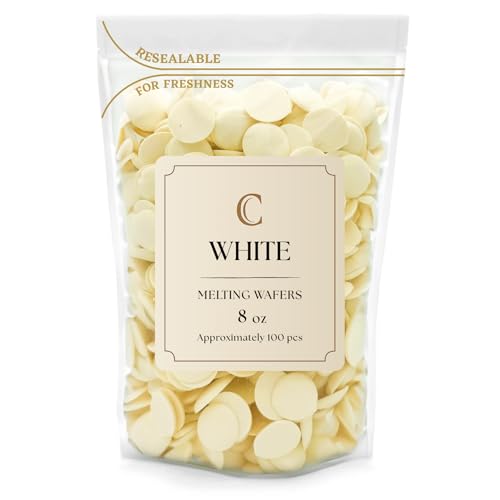
This product has been repackaged by KIDU. It is not sold in its original packaging. Merckens is a registered trademark of Cargill, Incorporated, and is used only to identify the genuine Merckens ingredient.

One 4 oz. box of Baker's Premium Semi-Sweet Chocolate Baking Bar
Substitutions

Cake flour swaps in cleanly for all-purpose if you want a finer crumb: use 2 3/4 cups cake flour and measure with a light hand, spooning into the cup rather than scooping.
The lower protein and added starch make the difference between a tight, tender crumb and something closer to dry cornbread.
- Buttermilk can replace whole milk, but add 1/4 teaspoon extra baking soda to keep the rise where it belongs.
- For a lighter frosting, pull back to 3 cups powdered sugar instead of the full amount. The cocoa buttercream still pipes and holds, just with less sweetness and weight.
- No natural cocoa on hand? Dutch-process works, but the chemistry shifts: omit the baking soda entirely and use 2 teaspoons baking powder total. Dutch-process is neutral, so it needs acid from somewhere else, or the cake stalls.
- Out of bittersweet chocolate? Melt 6 tablespoons additional cocoa with 2 tablespoons butter as your replacement. It won’t match exactly, but the batter still bakes up rich and dark.
The adjustments that matter are the leavening swaps.
Baking soda and baking powder are not interchangeable here; get that wrong and the layers dome unevenly or sink in the center. Everything else is forgiving enough that dinner still ends with cake.
Recommended Products


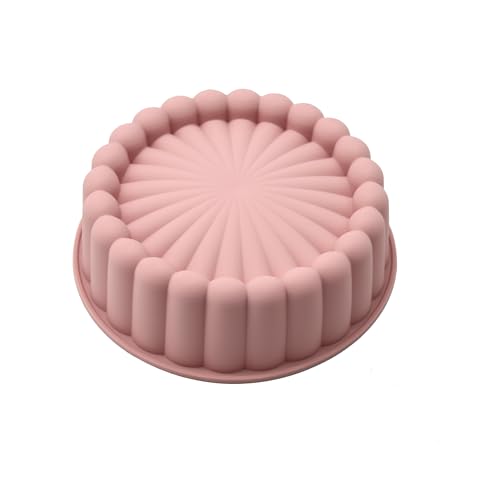
Use this mold to make a beautiful Cake makes a great presentation. It is perfect for all occasions.ld is soft, need to something to support.
Baking Temperature and Time

Three hundred fifty degrees is the temperature that sets this cake’s structure without racing past it.
At 325°F the domes flatten out, which some bakers prefer for stacking, though the trade is an extra five to ten minutes in the oven, landing closer to thirty to forty minutes total.
The standard twenty-five to thirty-five minute window really depends on what your pans are made of. Dark nonstick absorbs more heat and runs toward the faster end; light aluminum reflects it and needs the full count.
I stopped trusting the timer alone once I learned what the cake actually tells you.
The edges pull slightly from the pan sides, and the center springs back when you press it gently with a finger. A toothpick can lie; a clean one with wet crumbs still attached means you are already flirting with dry.
An oven that runs hot gives itself away with cracked tops and a ring of tough crumb around the edge.
The fix costs about six dollars. Buy a basic oven thermometer, hang it on the middle rack, and check it against the dial.
Mine read twenty-five degrees high the first time I tested it. I have not had a cracked layer since.
Recommended Products

Create colorful ombré cakes or tall layered desserts with this 5-piece round cake pan set designed for fun and flawless stacking.

NON TOXIC - TeamFar cake pan set is make of high quality stainless steel, without any other chemical material or toxic non-stick coating, No more aluminum or chip into your food, rust free and healthy

【ROUND CAKE PAN SET】 4 Pieces silicone baking set. Baking pan inner diameter 3 3/4inch, 6 1/8inch, 8 1/16inch, 8 11/16inch, each mould deep is 2 3/16inch.
Frosting Techniques

A crumb coat is the thin layer of frosting that seals the cake before the final coat goes on, trapping stray crumbs so they never surface on the finished cake.
I spread about three-quarters of a cup between each layer, then reserve the rest for that first skim coat over the top and sides.
An offset spatula does the spreading, and a bench scraper cleans the sides; a turntable makes the work faster, though a flat plate and a steady hand get the job done too.
The frosting needs to be workable, not runny.
If it softens too much while you work, ten minutes in the fridge firms it back up. If it turns stiff and starts tearing, beat in milk a teaspoon at a time until it spreads smoothly again.
Once the crumb coat is on, chill the cake for 15 minutes so the buttercream sets hard before you add the final layer.
PopSugar puts the core idea plainly:
A crumb coat is a thin layer of frosting applied to the cake before a final layer is applied. This helps trap crumbs and prevents them from appearing on the finished cake.
— PopSugar
That chilled base is what lets you lay down the final coat without dragging crumbs through it.
After the outside is finished, another 30 minutes in the fridge, or 15 in the freezer, sets the buttercream solid enough that your slices come out clean instead of smudged.
Recommended Products

Organic Cacao Powder - Experience decadent, rich, dark chocolatey goodness with our pure, organic cacao powder. The aroma of rich dark chocolate not only tantalizes your senses but also delivers a guilt-free indulgence, crafted with no added sugar.


SOCIALLY RESPONSIBLE CHOCOLATE: The first Regenerative Organic Certified(R) cacao powder in the marketplace! Made from traceable and Fairtrade certified cacao beans, grown and processed to benefit farmers, the planet, and your health.
Ingredients That Matter

Room-temperature eggs and butter matter more than most bakers realize. Cold butter fights the sugar instead of whipping air into it, and cold eggs hit that creamed mixture like ice cubes, curdling the emulsion you just built.
The batter turns greasy instead of fluffy, and the layers bake dense. I set mine out an hour ahead, or I float eggs in warm water for ten minutes when I forget.
Cake flour at 8% protein beats all-purpose at 10–11% here. Lower protein means less gluten development, which translates to tenderness you can actually slice through without a sawing motion.
Natural unsweetened cocoa gives a lighter, more acidic crumb; Dutch-process gives deeper color and milder flavor. Both work, but they are not interchangeable in a recipe built around one or the other.
Unsalted butter lets you control salt precisely. Salted butter varies by brand, and in a dessert where balance is everything, that unpredictability costs you.
Baking powder and soda do die sitting in the pantry. I test baking soda with a splash of vinegar; it should fizz immediately.
For powder, hot water should produce bubbles within seconds. Flat leaveners make flat cake, no matter how perfect your technique.
Recommended Products


Contains: 1 Container of Organic Frosting

WHIPPED FROSTING: A delicious artificially flavored butter cream frosting with a light, airy texture; Great for icing baked goods such as cakes, cupcakes, and cookies
Mixing Methods

Creaming butter and sugar is where the structure starts.
Three to four minutes at medium speed beats enough air into the fat that the batter will rise properly in the oven; stop too early and the cake turns out dense and squat.
Once the eggs and flavoring are in, the dry and wet ingredients go in alternating additions.
Dumping flour all at once and stirring hard develops gluten fast, which gives you bread texture instead of cake. The gradual approach keeps the batter tender and the crumb even.
You will know you have overmixed when the batter tightens and pulls away from the bowl sides in thick ropes.
That batter bakes into a peaked, domed top with a tough chew. Stop the mixer the moment the last streak of flour disappears.
Folding does not come into play in the base recipe, though it matters if you ever add whipped egg whites for extra lift.
The same gentle motion, cutting down through the center and turning the bowl, keeps the air intact rather than knocking it out.
Recommended Products


Deliciously Safe Creations: Crafted from premium 100% food-grade silicone, BPA-free, not easy to deform and tear, environmentally friendly, and can be reused. Our mold ensures your treats are not only scrumptious but also safe and free from harmful substances
Moisture and Texture

Room temperature ingredients make a real difference.
Cold eggs straight from the fridge tighten the batter, and the cake turns out slightly dense and a bit crumbly. Warm them in slightly warm water for about 15 minutes, and the texture shifts to light and fluffy.
This recipe uses 3 whole eggs plus 2 egg yolks.
Egg whites add structure, but they pull moisture away. All yolks and no whites makes the crumb gummy; two extra yolks with the whites left in adds richness without that problem.
Pull the cake from the oven when a toothpick shows a few moist crumbs, not when it comes out bone dry. Overbaking is the fastest way to lose moisture, and an underbaked center collapses into a gummy mess.
Overmixing after adding the flour develops too much gluten.
The crumb turns tight with tunnels running through it. Mix until just incorporated, then stop.
If a layer does come out dry, brush it with simple syrup before frosting. It is not cheating; it is insurance.
Recommended Products
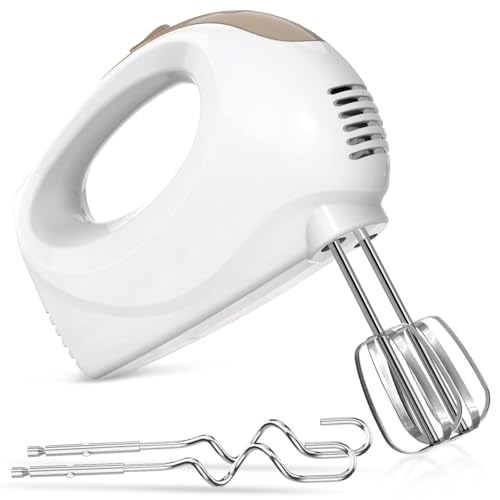
SELF-CONTROL SPEED – There hand mixers features 5 adjustable speeds, ranging from 1 (Lowest) to 5 (Highest), allowing you to choose the ideal mixing speed for perfectly customizable texture and consistency in any recipe. The kitchen hand mixer is perfect for whipping cream, making butter, beating egg whites and batter, or preparing mashed potatoes and other dishes.

🍰【300W FOR FAST MIXING】Equipped with a robust 300W motor. Effortlessly whip cream in 30 seconds — powerful enough for pizza and bread dough (not for heavy cookie dough). 🧁【To ensure peak performance】The hand mixer cannot work continuously for more than 5 minutes and let it cool to room temperature before using again.

TEDDY BEAR FACE COOKIE CUTTER SET - Show our large bear head shaped cookie cutters in 4 different sizes. It will be very funny let your family make the teddy face shapes cookies themselves in zoo themed classroom activity.
Layer Cake Variations

The same base batter adapts to three other classics with a few measured swaps. Here is what changes for each:
- Red velvet drops the cocoa to 2 tablespoons and adds 1 ounce red food coloring, 1 cup buttermilk, and 1 teaspoon vinegar. The acidity keeps the crumb tender and the color stays vivid rather than muddy.
- German chocolate melts 4 ounces of German’s sweet chocolate into the batter and replaces the buttercream between layers with a coconut-pecan filling. The filling is the point of the cake, so a thin coat of plain buttercream on the outside is enough.
- Yellow cake omits both the cocoa and melted chocolate entirely, then uses 8 egg yolks and 1 tablespoon vanilla for a pronounced, old-fashioned flavor. The yolks give the crumb a deeper color and richer bite than whole eggs manage.
These are starting points, not full recipes. I will post complete versions with timing and troubleshooting if there is enough interest.
Frosting Types

The cocoa buttercream in this recipe earns its place as the default for good reason.
It crusts over enough to survive a car ride to a potluck and pipes without sagging, which matters more than most people think until they watch a border collapse in real time.
That stability comes with a tradeoff: it is sweet, and the sugar is doing structural work, not just flavor work.
Cream cheese frosting brightens the same cake with a sharp tang that reads almost like a palate cleanser between bites.
Buttercream left at room temperature goes too soft for clean layers. A fully loaded three-layer cake in cream cheese needs the refrigerator, not the counter, and it will never look as sharp under a bench scraper as buttercream does.
Ganache splits the difference between glaze and frosting depending on temperature. Warm, it pours glass-smooth and sets to a firm shell; equal parts chocolate and heavy cream is the ratio that works.
Let it cool further and whip it, and the mixture fluffs into something spreadable with a mousse-like bite that holds swirls better than you’d expect.
Whipped cream is the lightest option and the most honest about its limits. It belongs on a cake that gets sliced within the hour, in a cool room, with no leftovers to worry about.
For a birthday held outdoors in July, that is a risky choice. For a small dinner party where the cake is the event, it can be exactly right.
Frequently Asked Questions
What is the best way to frost a layered cake?
Spread a thin crumb coat first to seal in the crumbs, chill the cake 15 to 30 minutes so the buttercream hardens, then apply the final coat.
The cold base keeps the fresh frosting from dragging crumbs through it. An offset spatula and bench scraper do the spreading; a turntable helps but a flat plate works too.
How do I make a cake moist?
Use room temperature butter, eggs, and milk, and pull the cake from the oven when a toothpick shows a few moist crumbs rather than coming out completely dry.
Overmixing after adding flour tightens the crumb, so stop the mixer the moment the last streak disappears. If a layer does dry out, brush it with simple syrup before frosting.
Can I substitute ingredients in cake recipes?
Yes, but the leavening needs matching to the cocoa you use.
Cake flour swaps in for all-purpose at 2 3/4 cups measured with a light hand. Buttermilk replaces whole milk with 1/4 teaspoon extra baking soda.
Dutch-process cocoa works only if you drop the baking soda and use 2 teaspoons baking powder total. Melted bittersweet chocolate can be replaced with 6 tablespoons cocoa plus 2 tablespoons butter.
What type of cake is best for layer cakes?
A cake that balances moisture and structure bakes the most reliable layers. This recipe uses both cocoa powder and melted chocolate together; cocoa alone dries out, while melted chocolate alone makes a dense, fudgy crumb that struggles to rise.
The combination gives you a cake that slices cleanly at room temperature and holds up to stacking.
What is the best filling for a layered cake?
Cocoa buttercream is the default here because it crusts enough for transport and pipes without sagging. Cream cheese frosting adds tang but needs refrigeration and will not look as sharp.
Ganache sets firm or whips fluffy depending on temperature. Whipped cream is the lightest option but only works for cakes sliced within the hour in a cool room.
What’s the secret to a moist layer cake?
Room temperature ingredients and careful timing at the oven. Cold eggs tighten the batter and cold butter will not cream properly with sugar.
The recipe uses 3 whole eggs plus 2 yolks; whites add structure but pull moisture away, and all yolks with no whites turned gummy in testing. Watch the toothpick, not just the timer.
What are the 10 most popular layer cakes?
Chocolate layer cake with cocoa buttercream is the standard. Red velvet drops cocoa to 2 tablespoons and adds food coloring, buttermilk, and vinegar.
German chocolate melts German’s sweet chocolate into the batter and uses coconut-pecan filling between layers. Yellow cake omits all chocolate and uses 8 egg yolks with extra vanilla for an old-fashioned flavor.