
Slow Cooker Recipes: Easy Meals, Less Effort!
Family-friendly dishes for busy people — quick prep, delicious results.
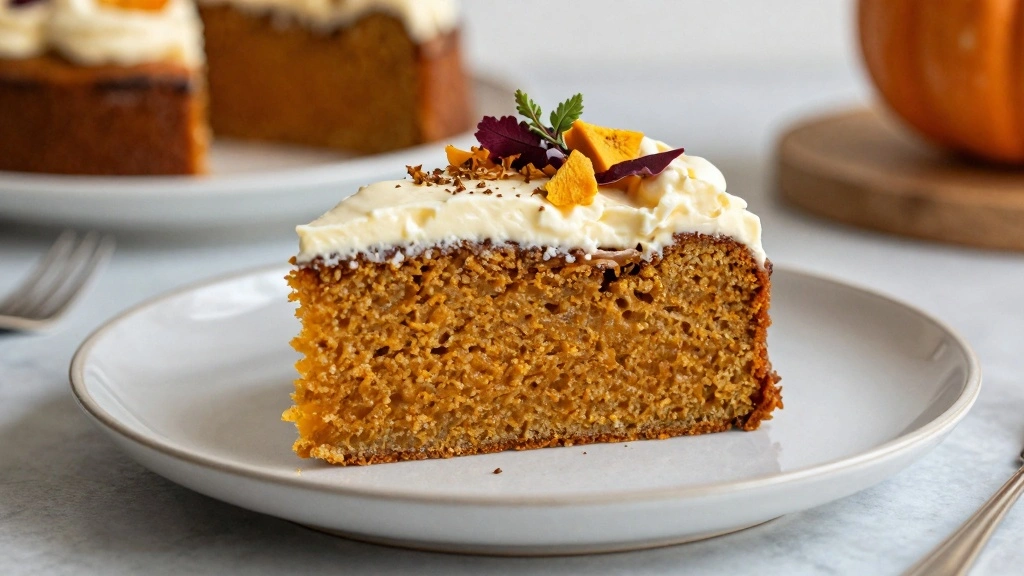
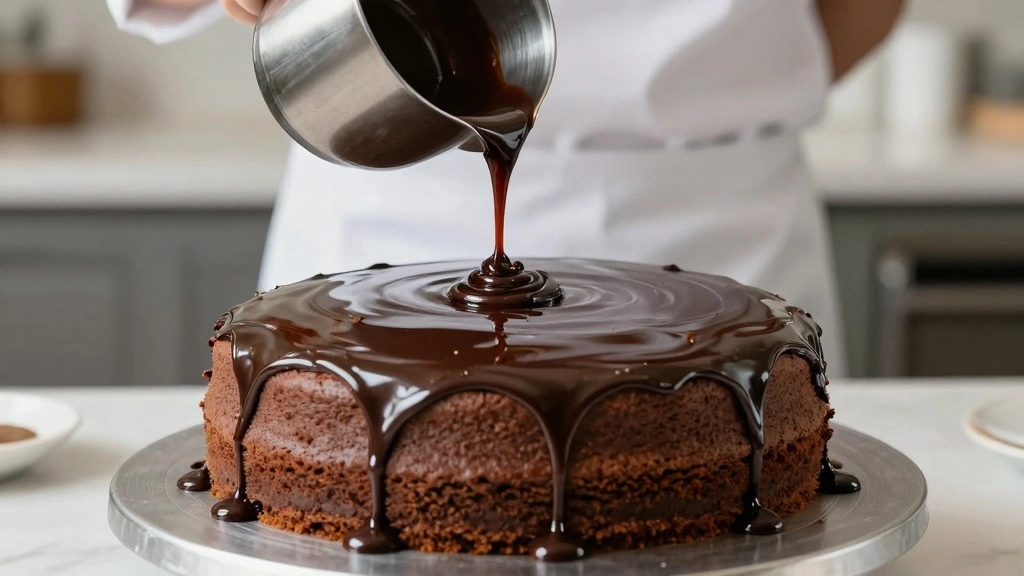
Grab yours for $4The Matilda Chocolate Cake is a dessert masterpiece that draws you in with its ultra-fudgy texture and rich chocolate flavor.
Each bite promises a moist, melt-in-your-mouth experience that is nothing short of iconic.
I first encountered this decadent treat at a quaint bakery in a small town, where it was a beloved staple among locals.
This cake is perfect for any occasion, whether it’s a cozy family gathering or a grand celebration.
Its charm lies in its simplicity and the nostalgia it evokes, reminiscent of childhood memories and special moments.
Prepare to indulge in a slice of heaven that will have everyone asking for seconds.
The History and Cultural Significance
• Matilda Chocolate Cake traces its origins to England in the late 20th century, where it was originally created by a passionate home baker inspired by Roald Dahl’s beloved book, Matilda.
• The dish evolved over decades as baking techniques advanced and ingredients like high-quality cocoa became more accessible, eventually becoming the beloved version we know today.
• In British culture, this dish traditionally appears at birthday parties and family gatherings, symbolizing indulgence and celebration.
• While many variations exist across different regions, the authentic version maintains its signature fudgy texture and intense chocolate flavor that sets it apart from imitations.


Recipe Overview
Nutritional Information (per serving)


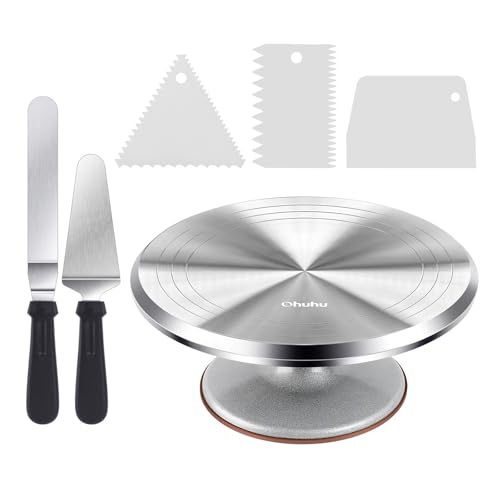
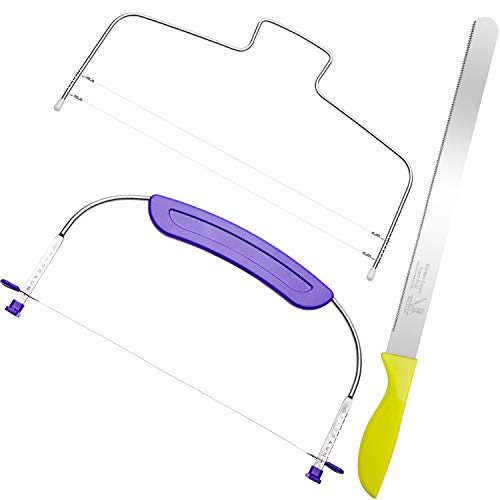
Essential Equipment Guide
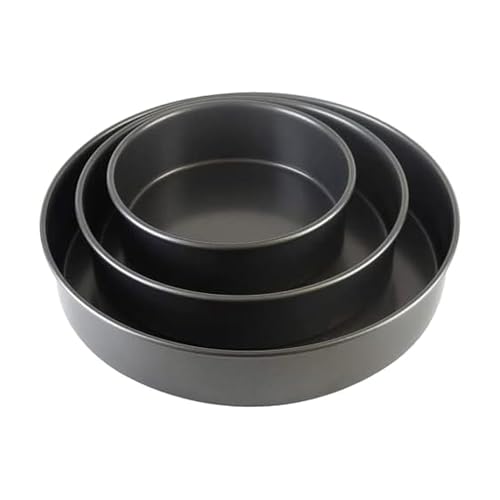
Springform Pan: A springform pan is crucial for achieving the perfect release of this delicate cake without damaging its structure. Alternatives like a regular cake pan can work if lined properly, but ensure it’s the correct size for even baking.
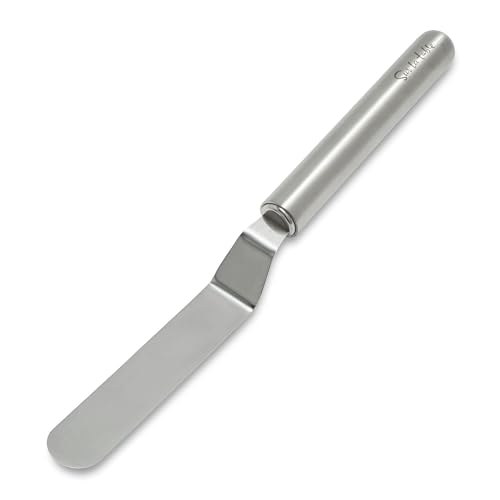
Electric Mixer: An electric mixer ensures the batter is smooth and well-incorporated, which is vital for the cake’s texture. A hand mixer can be used, but look for one with multiple speed settings for versatility.
Cooling Rack: A cooling rack allows air to circulate around the cake, preventing sogginess and ensuring even cooling. If unavailable, a makeshift rack using a clean oven rack can suffice.


Ingredients
For the Cake
|
| Amount | Ingredient | Notes |
|---|---|---|
| 1 cup | unsalted butter | softened, adds richness |
| 2 cups | granulated sugar | sweetens and adds moisture |
| 1 cup | dark cocoa powder | provides intense chocolate flavor |
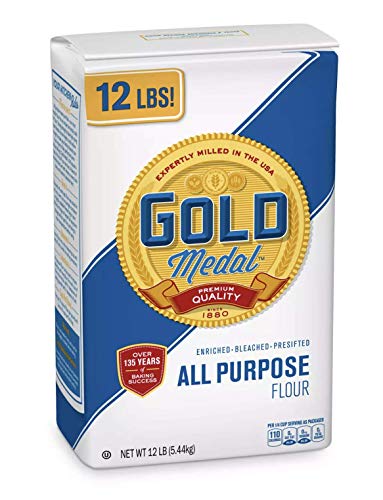
| 1 1/2 cups | all-purpose flour | sifted for light texture |
| 1 teaspoon | baking powder | helps the cake rise |
| 1/2 teaspoon | salt | enhances flavor |
| 4 large | eggs | at room temperature, for structure |
| 1 cup | whole milk | adds moisture and richness |
For the Ganache
| Amount | Ingredient | Notes |
|---|---|---|
| 1 cup | heavy cream | creates a smooth texture |
| 8 ounces | dark chocolate | chopped, for deep chocolate flavor |
| 1 tablespoon | unsalted butter | adds shine and richness |


Preparation Methods
Creaming Butter and Sugar: This technique involves beating the butter and sugar until light and fluffy, a crucial step for incorporating air and achieving a tender crumb. Ensure butter is softened for best results.
Sifting Dry Ingredients: Sifting the flour, cocoa powder, and other dry ingredients prevents lumps and ensures even distribution, contributing to a smooth, uniform batter. Use a fine mesh sieve for best results.
Ganache Creation: Making ganache involves heating cream and pouring it over chopped chocolate, then stirring until smooth. This technique ensures a glossy, rich topping perfect for the cake.


Step 1: Prepare Ingredients

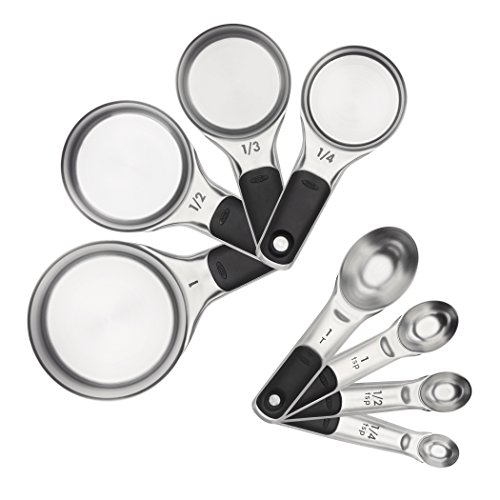
Gather all ingredients and ensure they are at room temperature.
Measure each ingredient precisely to ensure the best results.
Preheat your oven to 350°F (175°C).
Line the bottom of a springform pan with parchment paper.


Step 2: Cream Butter and Sugar
In a large mixing bowl, cream the butter and sugar until light and fluffy.
Use an electric mixer on medium speed for about 3-4 minutes.
The mixture should appear pale and increase in volume.
Scrape down the sides of the bowl to ensure even mixing.


Step 3: Add Eggs

Add the eggs one at a time to the butter mixture, beating well after each addition.
Continue mixing until the eggs are fully incorporated.
The mixture should be smooth and slightly thickened.
Be sure to scrape down the bowl as needed.


Step 4: Incorporate Dry Ingredients

Sift together the flour, cocoa powder, baking powder, and salt in a separate bowl.
Gradually add the dry ingredients to the wet mixture, alternating with the milk.
Mix on low speed to avoid overmixing and creating a dense cake.
The batter should be smooth and lump-free.


Step 5: Pour Batter into Pan
Pour the batter into the prepared springform pan.
Use a spatula to level the surface for even baking.
Tap the pan gently on the counter to release air bubbles.
Ensure the batter is evenly distributed with no visible lumps.


Step 6: Bake the Cake
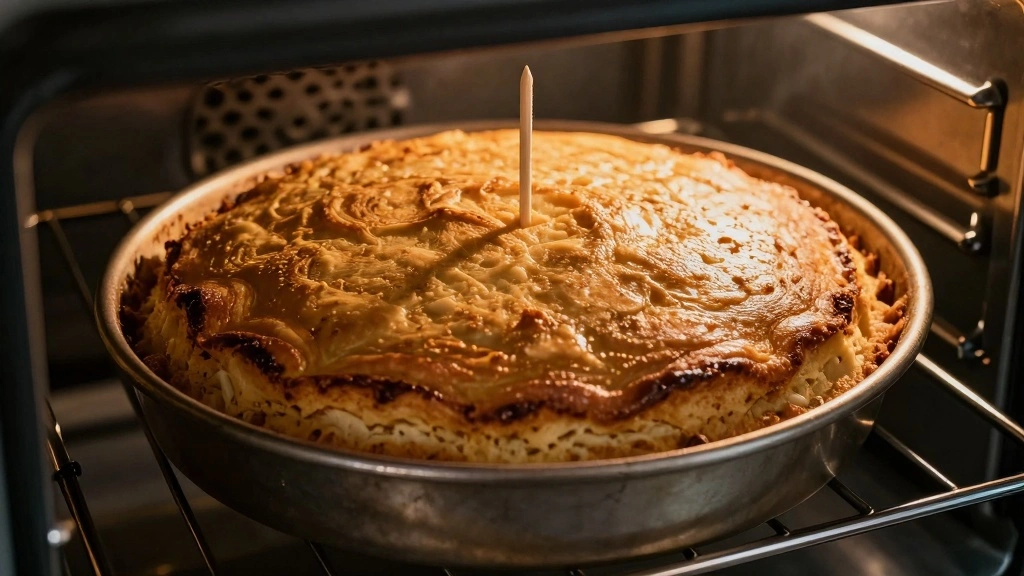
Place the pan in the preheated oven and bake for 30-35 minutes.
Check for doneness by inserting a toothpick into the center; it should come out with a few moist crumbs.
Avoid overbaking to maintain the fudgy texture.
Let the cake cool in the pan for 10 minutes before transferring to a cooling rack.


Step 7: Prepare the Ganache
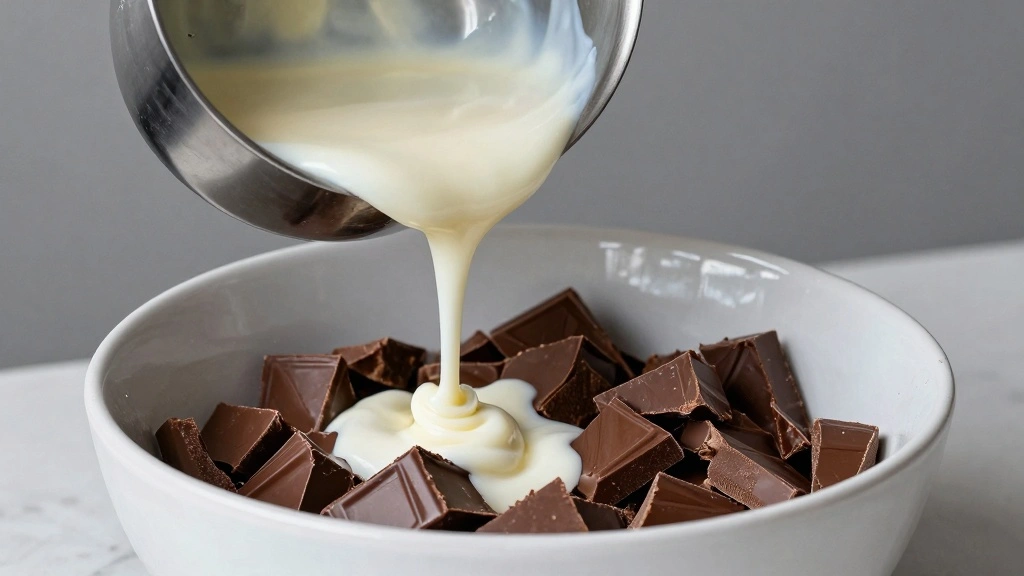
Heat the heavy cream in a saucepan over medium heat until it just begins to simmer.
Pour the hot cream over the chopped dark chocolate in a bowl.
Let it sit for a minute before stirring until smooth and glossy.
Add the butter and mix until fully incorporated and shiny.


Step 8: Frost the Cake
Once the cake is completely cooled, transfer it to a serving plate.
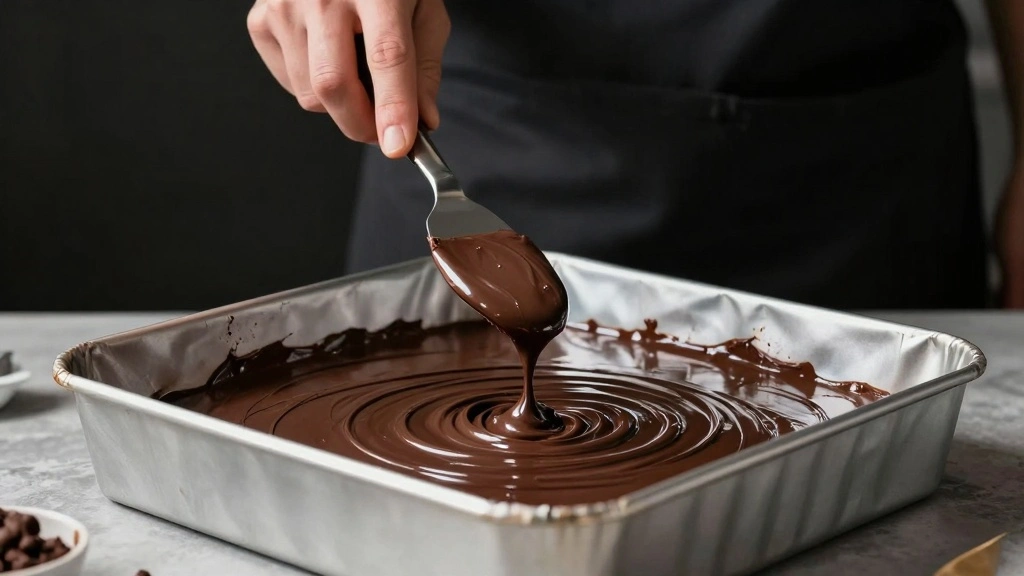
Pour the ganache over the top of the cake, allowing it to drip down the sides.
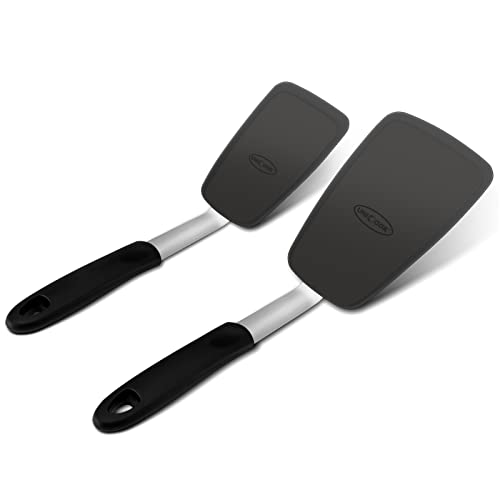
Use a spatula to smooth the ganache evenly over the cake's surface.
Let the ganache set for about 15 minutes before serving.


Critical Timing and Temperature Guide
Baking the Cake: Bake at 350°F (175°C) for 30-35 minutes. Avoid opening the oven door until the last 5 minutes to prevent heat loss and uneven rising. The cake is done when a toothpick inserted comes out with a few moist crumbs.
Ganache Preparation: Heat the cream until just simmering, not boiling, to prevent scorching. Stir until the chocolate is completely melted and the mixture is smooth and glossy. Let it cool slightly before pouring over the cake.
Cooling the Cake: Allow the cake to cool in the pan for 10 minutes before transferring to a rack. Cool completely before frosting to prevent the ganache from melting.


Pro Tips for Matilda Chocolate Cake
• Ingredient Selection: Choose high-quality dark cocoa powder and chocolate for the best flavor. These ingredients are the stars of the cake and significantly enhance the richness and depth of flavor.
• Preparation Secret: Allow the batter to rest for 5 minutes before baking to let the cocoa fully hydrate, enhancing the cake's fudginess.
• Temperature Management: Ensure all ingredients are at room temperature to promote even mixing and a smooth batter.
• Texture Enhancement: Beat the butter and sugar until very light and fluffy, incorporating more air for a tender crumb.
• Flavor Layering: Adding a pinch of espresso powder to the batter can intensify the chocolate flavor without making it taste like coffee.
• Make-Ahead Strategies: The cake can be baked a day ahead. Wrap it tightly in plastic wrap and store at room temperature. Make the ganache fresh for best results.
• Restaurant-Quality Finishing Touches: Garnish with chocolate shavings or a dusting of cocoa powder for a professional presentation.
• Equipment Optimization: Use a metal springform pan for even heat distribution and easy release.


Troubleshooting Common Issues
• Texture Too Dense: This can be caused by overmixing the batter, which overdevelops the gluten. Mix just until the ingredients are combined and smooth.
• Ganache Too Runny: If the ganache is too runny, it may need more chocolate or to cool slightly longer before pouring. Alternatively, refrigerate until thickened.
• Cake Sinking in the Middle: This often happens if the oven temperature is too low or if the cake is removed from the oven too soon. Use an oven thermometer to ensure accuracy.
• Uneven Baking: Ensure the batter is evenly spread in the pan and the oven is fully preheated before baking. Rotate the cake halfway through baking for even results.
• Crumbly Cake: A crumbly texture can result from overbaking or not enough moisture in the batter. Check cake doneness earlier and ensure the batter isn't too dry.
• Ganache Separating: If the ganache separates, it may be overheated. Try whisking vigorously or adding a bit more warm cream to emulsify.


Variations and Regional Differences
• American Style: This version often includes added vanilla extract and uses milk chocolate for a sweeter finish, differing from the traditional recipe's dark chocolate base.
• French Variation: Incorporates a splash of brandy or coffee liqueur in the batter, enhancing the richness and adding a sophisticated flavor layer.
• Vegan Adaptation: Utilizes plant-based milk and butter substitutes, with flaxseed meal as an egg replacer, maintaining the cake's moistness while being suitable for vegan diets.
• Gluten-Free Option: Replaces all-purpose flour with a gluten-free blend and adds a touch of xanthan gum for structure, ensuring the cake remains fudgy and delicious.


Food Science Behind the Recipe
• Maillard Reaction: This chemical reaction occurs between amino acids and sugars during baking, contributing to the cake's rich flavor and golden crust. Understanding this helps in achieving the perfect bake.
• Emulsification: The process of combining fats and liquids, crucial for the batter's stability and the ganache's smooth texture. Proper emulsification ensures a uniform crumb and glossy finish.
• Leavening: The role of baking powder in providing lift and structure by releasing carbon dioxide during baking. Accurate measurement and fresh baking powder are key to the cake's rise.
• Hydration of Cocoa: The absorption of liquid by cocoa powder, enhancing its flavor and contributing to the cake's moist, fudgy texture. Allowing batter to rest aids this process.


Frequently Asked Questions
What's the most common mistake people make when preparing Matilda Chocolate Cake? Overmixing the batter, which can result in a dense texture, is a frequent issue. Mix just until ingredients are combined for best results.
Can I use milk chocolate instead of dark chocolate? Yes, but it will result in a sweeter cake. Adjust the sugar levels to balance flavors if desired.
How can I make this cake gluten-free? Substitute the all-purpose flour with a gluten-free blend and add a teaspoon of xanthan gum for structure.
Why did my ganache separate? Ganache can separate if overheated or if the cream is added too quickly. Gently reheat and whisk to re-emulsify.
Can I freeze this cake? Yes, wrap it tightly in plastic wrap and foil to prevent freezer burn. Thaw at room temperature before serving.
What's the best way to store leftovers? Store in an airtight container at room temperature for up to 3 days, or refrigerate for up to a week for optimal freshness.
How do I know when the cake is done? A toothpick inserted into the center should come out with a few moist crumbs, indicating the perfect fudgy texture.
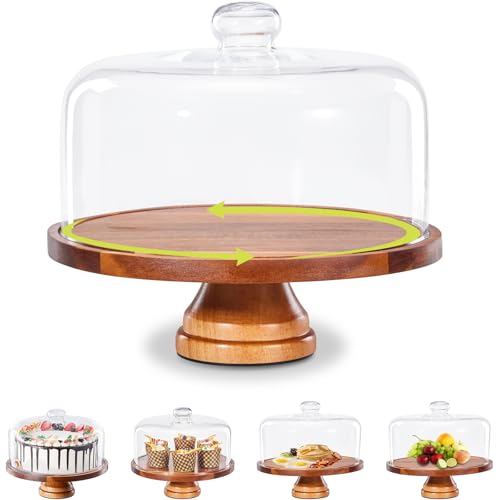
Serving and Presentation Guide
• Traditional Presentation: Serve the cake on a classic white cake stand, with a dusting of cocoa powder on top for a simple, elegant look.
• Modern Twist: Garnish with fresh berries and a sprig of mint for a pop of color and contrast.
• Rustic Style: Serve in individual slices on wooden boards, with a dollop of whipped cream alongside.
• Formal Occasion: Accompany with a drizzle of raspberry coulis on the plate for a sophisticated touch.
Conclusion

Matilda Chocolate Cake is a timeless dessert that brings joy and indulgence with every bite.
Its rich, fudgy texture and deep chocolate flavor make it a standout choice for any occasion.
I encourage you to try this recipe and share it with loved ones, creating cherished memories.
Enjoy the process and the delightful result that is sure to impress everyone at your table.