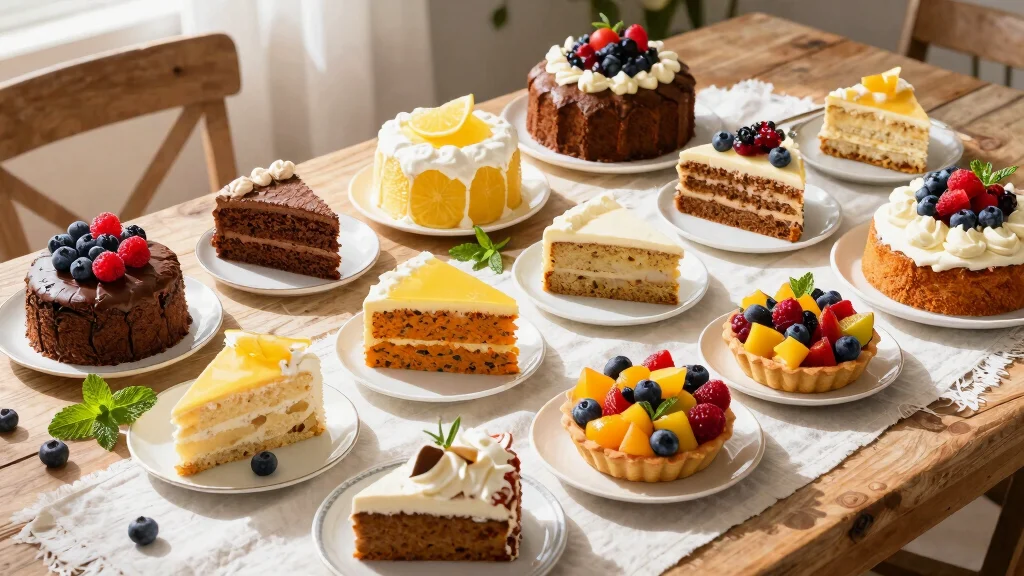

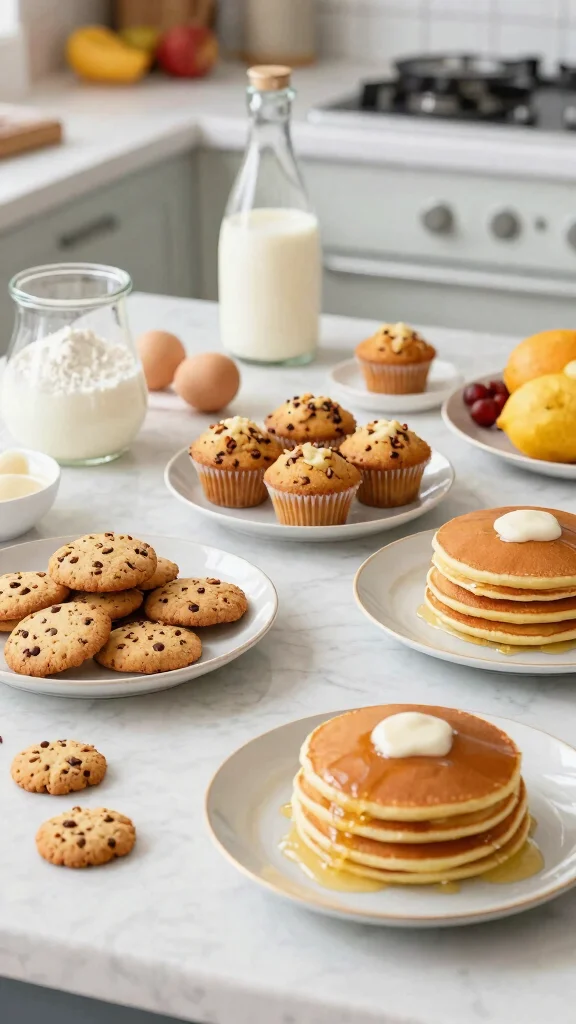
Baking with buttermilk has me absolutely obsessed! There’s something magical about how it transforms ordinary recipes into tender and fluffy masterpieces. Whether it’s a pancake breakfast or a decadent cake for dessert, buttermilk brings that delightful texture and a touch of tang that elevates every bite. If you’re like me and crave those light, airy treats, you’re in for a real treat.
This post is for anyone who loves to bake, from seasoned chefs to home cooks just starting out. If you’re interested in healthy baking or simply want to explore new buttermilk recipes, you’ll find plenty of inspiration here. I’ve gathered 15 fantastic baking recipes that use buttermilk to help you create those tender cakes and fluffy pancakes you dream about. Each recipe is designed to be easy to follow and yields delicious results that will impress your family and friends.
Get ready to dive into these delightful delights! You’ll discover how to whip up everything from buttermilk banana bread to buttermilk cheesecake. Plus, you’ll gain valuable tips on baking with buttermilk to ensure your treats turn out perfectly every time. Let’s get baking!
Key Takeaways
– Buttermilk adds moisture and a unique flavor to baked goods, making them tender and fluffy.
– You can use buttermilk in a variety of recipes, including pancakes, cakes, and muffins.
– Each recipe in this collection is designed to be straightforward and delicious, perfect for bakers of all levels.
– Baking with buttermilk can enhance both the taste and texture of your desserts, making them more enjoyable.
– Explore the versatility of buttermilk by trying different recipes and tips provided in this guide.


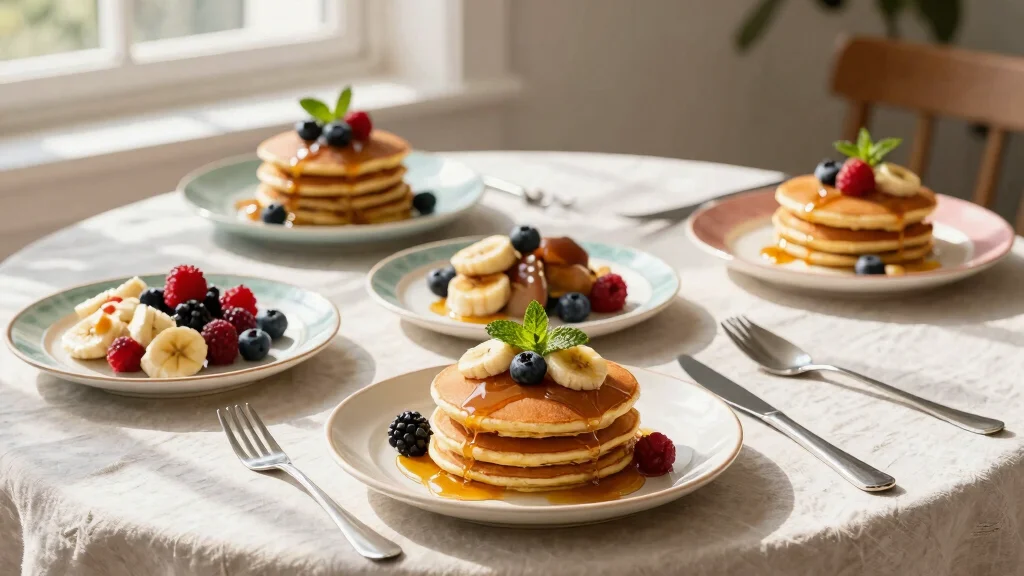
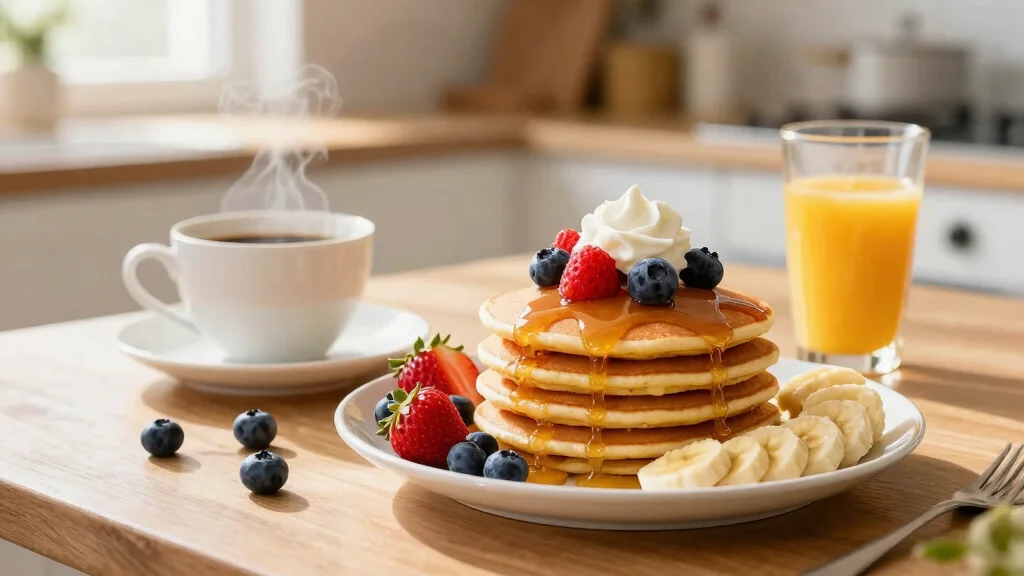
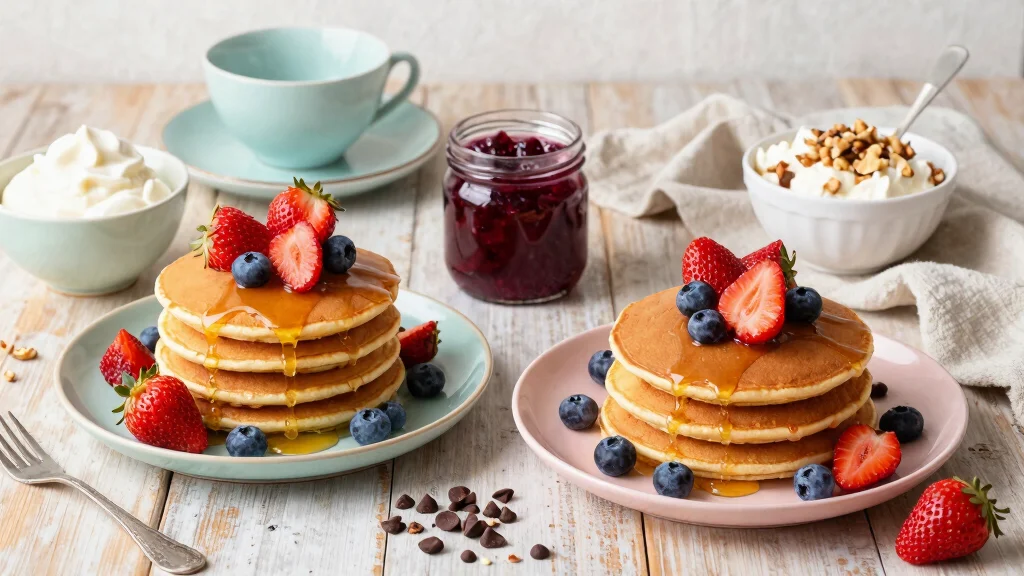
1. Fluffy Buttermilk Pancakes
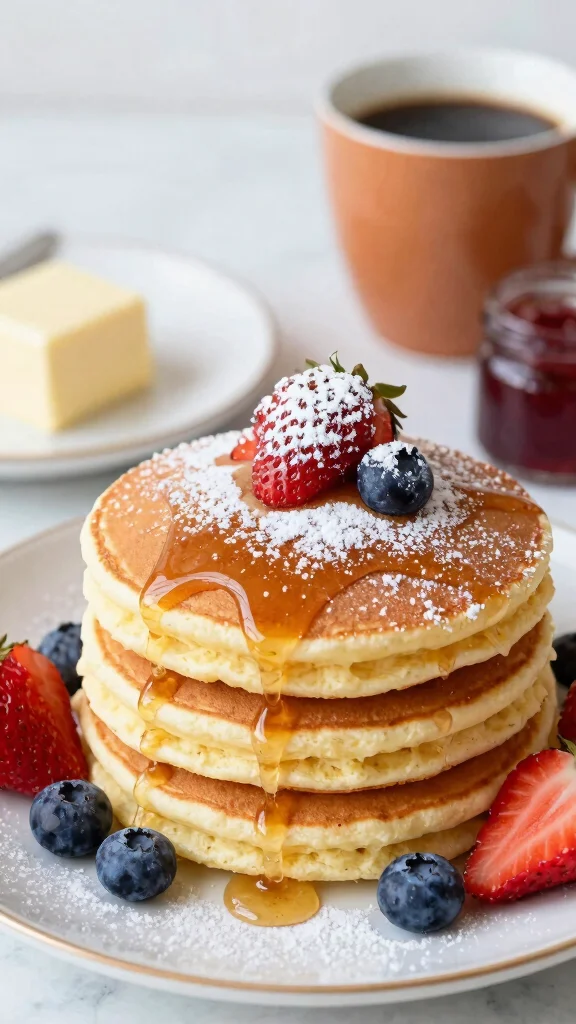
Craving a breakfast that feels like a warm hug? Fluffy buttermilk pancakes are your answer! With their light, airy texture, they bring together the tangy goodness of buttermilk and the perfect rise from baking powder. These pancakes are not just delicious; they’re a breeze to whip up, making them ideal for busy mornings or relaxed weekend brunches.
Ingredients:
– 1 cup all-purpose flour
– 2 tablespoons sugar
– 1 teaspoon baking powder
– 1/2 teaspoon baking soda
– 1/4 teaspoon salt
– 1 cup buttermilk
– 1 large egg
– 2 tablespoons melted butter
Instructions:
1. In a mixing bowl, combine flour, sugar, baking powder, baking soda, and salt.
2. In a separate bowl, whisk together buttermilk, egg, and melted butter.
3. Pour the wet ingredients into the dry ingredients and stir until just combined; lumps are okay.
4. Heat a non-stick skillet over medium heat, greasing lightly with butter.
5. Pour about 1/4 cup of batter for each pancake onto the skillet. Cook until bubbles form, then flip and cook until golden.
6. Serve warm with maple syrup and your favorite toppings.
FAQs:
– Can I use whole milk instead of buttermilk? Yes, but the pancakes won’t be as fluffy.
– Can I make the batter ahead of time? It’s best to make the batter fresh for the fluffiest pancakes.


2. Buttermilk Banana Bread
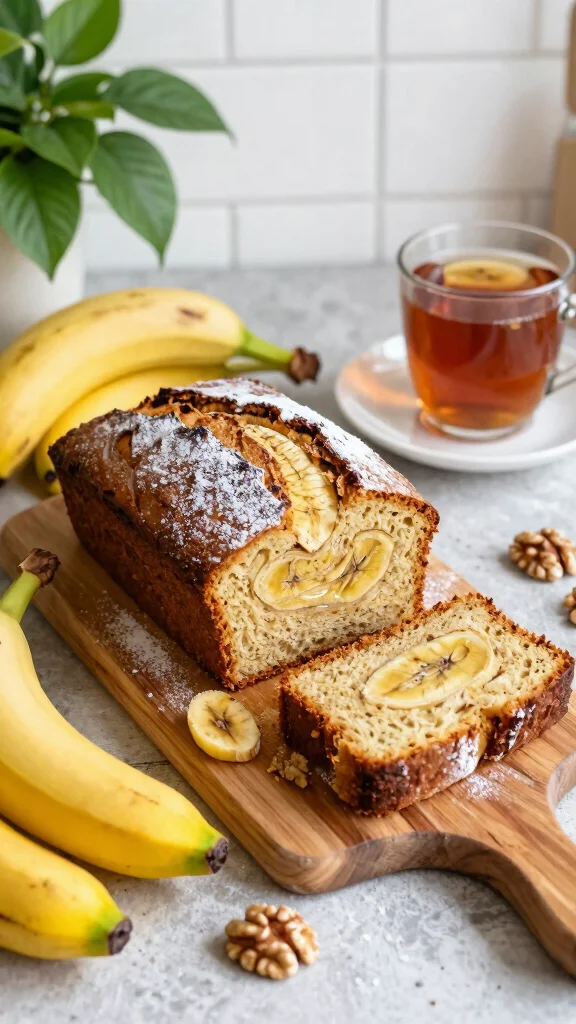
Imagine the aroma of fresh banana bread filling your kitchen. Buttermilk banana bread combines ripe bananas with tangy buttermilk to create a moist loaf that’s perfect for any time of the day. Easy to make and even easier to enjoy, this bread is a comforting choice for breakfast or a delightful snack.
Ingredients:
– 1/2 cup unsalted butter
– 1 cup sugar
– 2 large eggs
– 1 cup ripe mashed bananas (about 2-3 bananas)
– 1/2 cup buttermilk
– 1 teaspoon vanilla extract
– 2 cups all-purpose flour
– 1 teaspoon baking soda
– 1/2 teaspoon salt
– 1/2 cup chopped walnuts (optional)
Instructions:
1. Preheat the oven to 350°F (175°C) and grease a 9×5 inch loaf pan.
2. In a mixing bowl, cream the butter and sugar until light and fluffy.
3. Beat in the eggs, then add mashed bananas, buttermilk, and vanilla extract, mixing until well combined.
4. In another bowl, whisk together flour, baking soda, and salt. Gradually add the dry ingredients to the wet mixture, stirring until just combined. Fold in walnuts if desired.
5. Pour the batter into the prepared loaf pan and smooth the top.
6. Bake for 60 minutes or until a toothpick inserted in the center comes out clean.
7. Allow to cool in the pan for 10 minutes before transferring to a wire rack.
FAQs:
– Can I use frozen bananas? Yes, just thaw them and mash before adding.
– How should I store leftover banana bread? It keeps well in an airtight container at room temperature for up to 3 days or in the fridge for a week.
Buttermilk Banana Bread
Editor’s Choice


3. Buttermilk Chocolate Cake
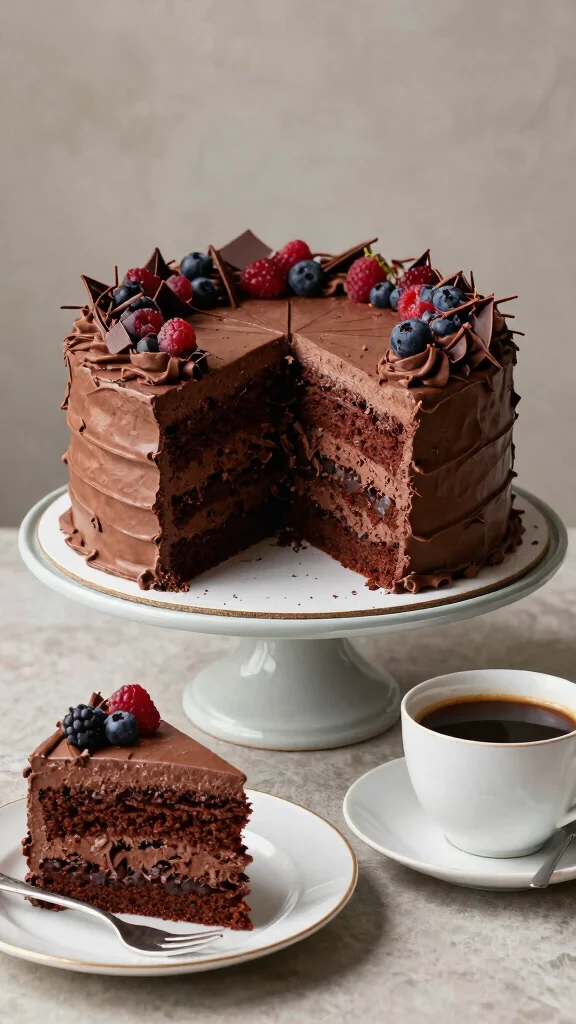
Ready to indulge in a slice of pure bliss? This decadent buttermilk chocolate cake offers an irresistibly rich flavor that’s moist and satisfying. The buttermilk not only enhances the chocolate but also gives the cake a tender crumb, making it a favorite for celebrations or a cozy family dessert.
Ingredients:
– 1 3/4 cups all-purpose flour
– 2 cups sugar
– 3/4 cup unsweetened cocoa powder
– 1 1/2 teaspoons baking powder
– 1 1/2 teaspoons baking soda
– 1 teaspoon salt
– 2 large eggs
– 1 cup buttermilk
– 1/2 cup vegetable oil
– 2 teaspoons vanilla extract
– 1 cup boiling water
Instructions:
1. Preheat the oven to 350°F (175°C). Grease and flour two 9-inch round cake pans.
2. In a large bowl, combine flour, sugar, cocoa powder, baking powder, baking soda, and salt.
3. Add the eggs, buttermilk, oil, and vanilla extract. Mix until smooth.
4. Gradually stir in boiling water until well combined; the batter will be thin.
5. Pour the batter evenly into the prepared pans and bake for 30-35 minutes.
6. Allow to cool in the pans for 10 minutes, then transfer to a wire rack to cool completely.
7. Frost with your favorite chocolate frosting.
FAQs:
– Can this cake be made ahead of time? Yes, it keeps well for several days.
– How can I make it gluten-free? Substitute all-purpose flour with a gluten-free flour blend.
Buttermilk Chocolate Cake
Editor’s Choice


4. Buttermilk Cornbread
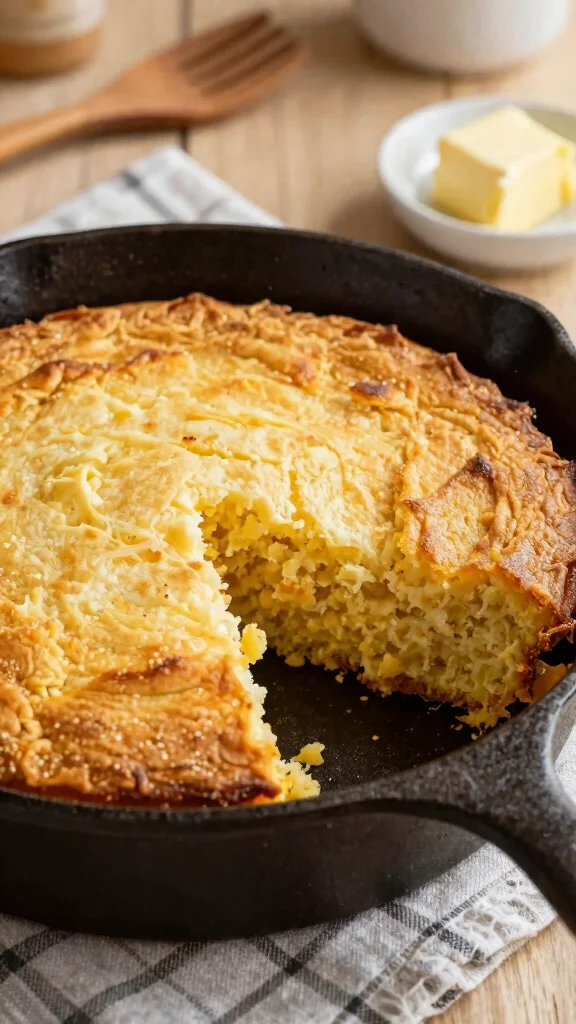
Craving a side dish that’s both comforting and delicious? Buttermilk cornbread has you covered! This classic recipe combines the sweetness of cornmeal with the tang of buttermilk, resulting in a soft, moist bread that’s perfect alongside chili, soups, or grilled meats.
Ingredients:
– 1 cup cornmeal
– 1 cup all-purpose flour
– 1 tablespoon sugar
– 1 tablespoon baking powder
– 1/2 teaspoon salt
– 1 cup buttermilk
– 1/4 cup vegetable oil
– 2 large eggs
Instructions:
1. Preheat the oven to 425°F (220°C). Grease an 8-inch square baking dish.
2. In a bowl, mix together cornmeal, flour, sugar, baking powder, and salt.
3. In another bowl, whisk together buttermilk, oil, and eggs until well combined.
4. Pour the wet ingredients into the dry ingredients, stirring until just combined.
5. Pour the batter into the prepared baking dish and smooth the top.
6. Bake for 20-25 minutes or until golden brown.
7. Serve warm with butter.
FAQs:
– Can I use whole wheat flour? Yes, but it may change the texture slightly.
– How should I store leftover cornbread? Wrap it in plastic wrap and refrigerate for up to 3 days.
📹 Related Video: THE BEST SOUTHERN BUTTERMILK CORNBREAD + HONEY BUTTER RECIPE | QUICK & EASY TUTORIAL


How To Choose Buttermilk for Your Baking Recipes
When it comes to baking, the right buttermilk can make a significant difference in the texture and flavor of your treats. Whether you’re making fluffy pancakes, tender cakes, or delicious muffins, it’s essential to select the right buttermilk. Let’s break down some key points to help you choose the best buttermilk for your baking recipes.
1. Type of Buttermilk
You can find two main types of buttermilk: cultured buttermilk and traditional buttermilk. Cultured buttermilk is more common in grocery stores and has a tangy flavor due to the fermentation process. Traditional buttermilk, often a byproduct of churning cream, is thicker and richer. Choose cultured buttermilk for most baking recipes; it adds moisture and enhances the flavor of your dishes.
2. Freshness
Always check the expiration date when buying buttermilk. Fresh buttermilk not only tastes better but also performs well in recipes. If possible, opt for brands that have a shorter shelf life, as they are usually fresher. You can also do a quick smell test—fresh buttermilk should have a pleasant tangy aroma, while spoiled buttermilk can smell sour or off.
3. Fat Content
Buttermilk comes in various fat contents, ranging from skim to whole. Generally, the higher the fat content, the richer your baked goods will be. If you want moist and tender results for cakes and muffins, go for whole or low-fat buttermilk. For lighter options, like pancakes, you can use buttermilk with lower fat content without compromising too much on flavor.
4. Packaging
Check the packaging of the buttermilk you choose. Look for cartons that are sealed tightly to prevent contamination. Glass bottles are another great option, as they are eco-friendly and may keep the buttermilk fresher for longer. Always store buttermilk in the fridge and shake it well before using, as it can separate over time.
5. Substitute Options
If you can’t find buttermilk, don’t worry! You can easily make a substitute at home. Mix one cup of milk with one tablespoon of white vinegar or lemon juice. Let it sit for about five minutes until it thickens slightly. This homemade version works well in most baking recipes and will provide similar tenderness and flavor.
Pro Tip: If you often use buttermilk in your baking, consider buying it in larger quantities. It keeps well in the fridge for about two weeks. You can also freeze buttermilk in ice cube trays for easy use later. Just thaw what you need when you’re ready to bake!


5. Buttermilk Muffins
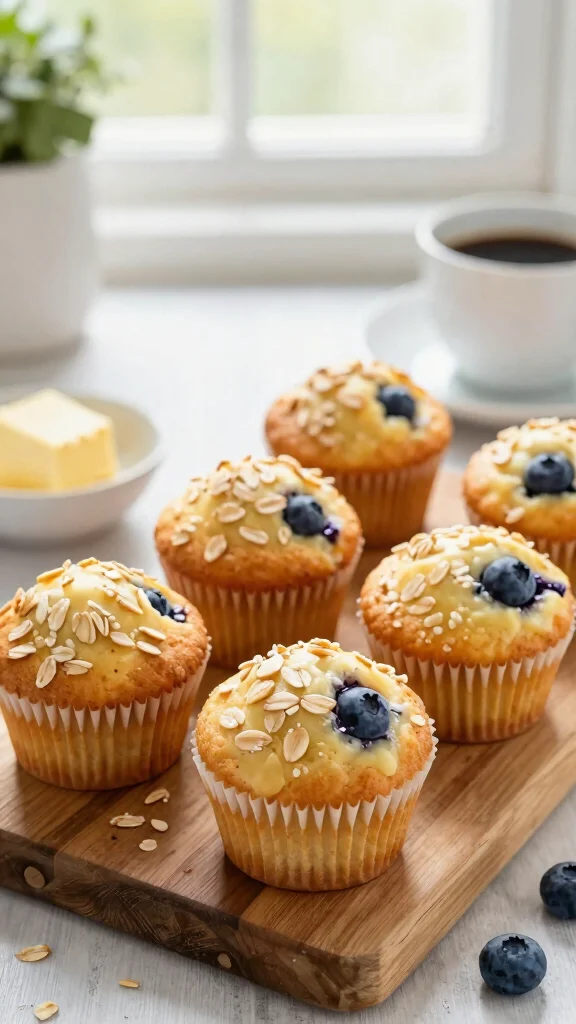
Looking for a quick breakfast or snack? Fluffy buttermilk muffins are just the thing! These muffins are tender and moist, thanks to buttermilk, and can be customized with your favorite mix-ins like blueberries or chocolate chips. They’re perfect for busy mornings or a delightful afternoon treat.
Ingredients:
– 1 1/2 cups all-purpose flour
– 1/2 cup sugar
– 2 teaspoons baking powder
– 1/2 teaspoon baking soda
– 1/2 teaspoon salt
– 1 cup buttermilk
– 1/4 cup vegetable oil
– 1 large egg
– 1 cup add-ins (blueberries, chocolate chips, or nuts)
Instructions:
1. Preheat the oven to 350°F (175°C) and line a muffin tin with paper liners.
2. In a large bowl, mix together flour, sugar, baking powder, baking soda, and salt.
3. In another bowl, whisk together buttermilk, oil, and egg until well combined.
4. Pour the wet ingredients into the dry ingredients, stirring until just combined.
5. Gently fold in your chosen add-ins.
6. Divide the batter among the prepared muffin tins, filling each about 2/3 full.
7. Bake for 18-20 minutes or until a toothpick comes out clean.
8. Allow to cool for a few minutes before transferring to a wire rack.
FAQs:
– Can I freeze muffins? Yes, they freeze well. Just thaw before serving.
– How can I make these gluten-free? Use a gluten-free flour blend.


6. Buttermilk Scones
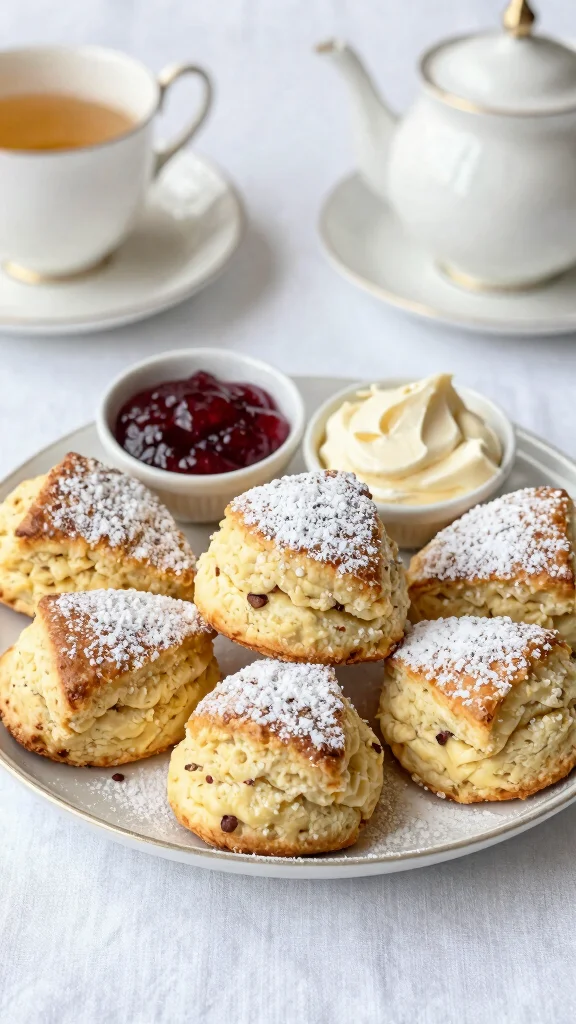
Craving a delightful treat for tea time? Buttermilk scones are just the ticket! Tender and flaky, these scones are elevated by the tanginess of buttermilk, making them perfect for pairing with jam and cream. You can enjoy them plain or add fruits and nuts for a personal touch.
Ingredients:
– 2 cups all-purpose flour
– 1/4 cup sugar
– 1 tablespoon baking powder
– 1/2 teaspoon salt
– 1/2 cup unsalted butter (cold, cut into cubes)
– 3/4 cup buttermilk
– 1/2 cup dried fruits (like cranberries or apricots)
Instructions:
1. Preheat the oven to 400°F (200°C) and line a baking sheet with parchment paper.
2. In a large bowl, mix together flour, sugar, baking powder, and salt.
3. Cut in the cold butter until the mixture resembles coarse crumbs.
4. Stir in the buttermilk and dried fruits until just combined.
5. Turn the dough onto a floured surface and gently knead a few times.
6. Pat the dough into a circle about 1 inch thick and cut into wedges.
7. Place on the baking sheet and bake for 15-20 minutes until golden brown.
8. Serve warm with jam and clotted cream.
FAQs:
– Can I make these ahead of time? Yes, they are best served fresh but can be reheated.
– Can I freeze the dough? Yes, freeze before baking, and simply add a few minutes to the cooking time when you bake them.
Buttermilk makes every bite sing—tender, flaky, and perfect with jam. If your scones turn out dry, tweak with a splash more buttermilk and a touch more sugar. These baking recipes that use buttermilk truly shine at tea time.


7. Buttermilk Waffles
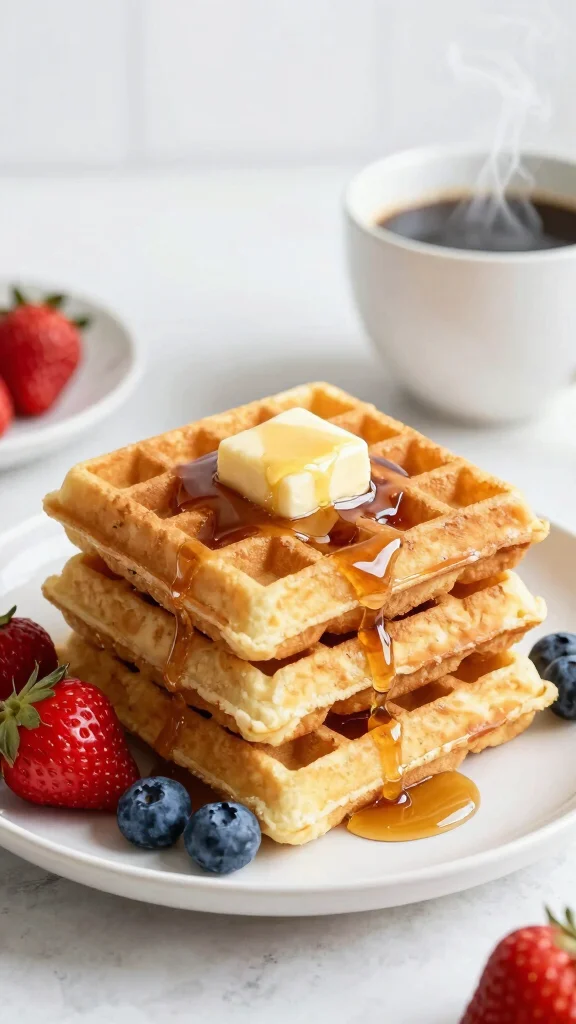
Waking up to crispy buttermilk waffles sounds like the perfect morning, doesn’t it? These waffles are fluffy on the inside and crispy on the outside, making them a delightful treat for breakfast. Drizzle with syrup or top with fresh fruit for an extra delicious start to your day!
Ingredients:
– 2 cups all-purpose flour
– 2 tablespoons sugar
– 1 tablespoon baking powder
– 1/2 teaspoon salt
– 2 large eggs
– 1 3/4 cups buttermilk
– 1/2 cup vegetable oil
Instructions:
1. Preheat your waffle iron according to the manufacturer’s instructions.
2. In a large bowl, whisk together the flour, sugar, baking powder, and salt.
3. In another bowl, beat together the eggs, buttermilk, and vegetable oil until well combined.
4. Pour the wet ingredients into the dry ingredients and stir until just combined; don’t worry about lumps.
5. Lightly grease the waffle iron and pour in the batter, using the amount recommended for your specific iron.
6. Close the lid and cook until golden brown.
7. Serve warm with toppings of choice.
FAQs:
– Can I use whole wheat flour? Yes, you can replace half or all of the flour with whole wheat flour.
– How do I keep waffles warm before serving? Place them in a warm oven while you finish cooking the rest.
Did you know? Buttermilk reacts with baking powder to boost fluffiness—giving waffles about 20% more lift. For bakers chasing baking recipes that use buttermilk, mix batter the night before and bake fresh waffles in under 15 minutes.
You might also like


8. Buttermilk Chocolate Chip Cookies
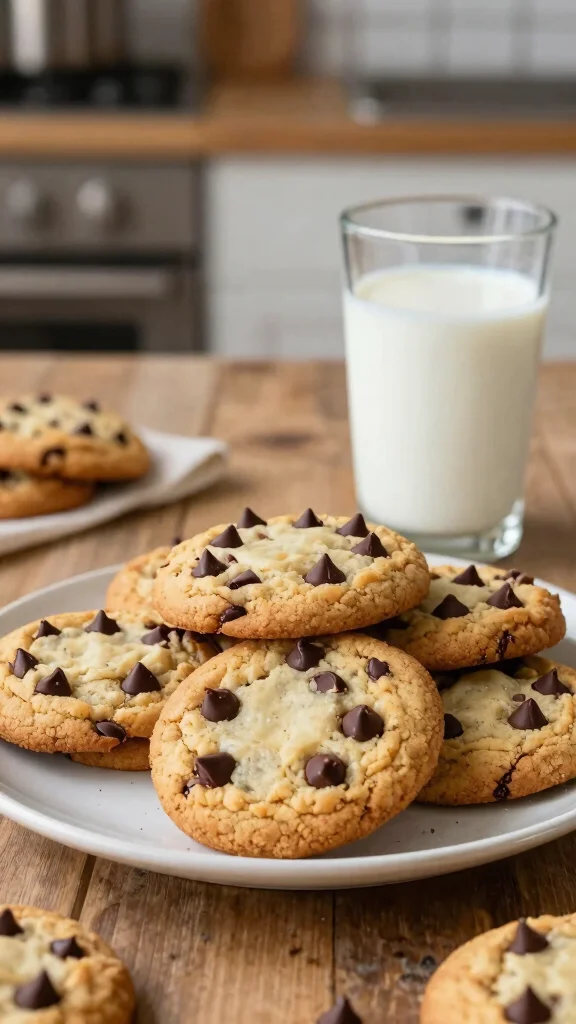
Who can resist the allure of warm chocolate chip cookies? These buttermilk chocolate chip cookies strike the perfect balance between chewy and crispy. The addition of buttermilk makes them extra soft and adds a delightful flavor that will have everyone reaching for more. Perfect for lunchboxes or as an afternoon snack!
Ingredients:
– 2 1/4 cups all-purpose flour
– 1/2 teaspoon baking soda
– 1/2 teaspoon salt
– 1 cup unsalted butter (softened)
– 1 cup sugar
– 1/2 cup brown sugar
– 1 large egg
– 1/2 cup buttermilk
– 2 cups chocolate chips
Instructions:
1. Preheat the oven to 350°F (175°C) and line a baking sheet with parchment paper.
2. In a bowl, whisk together flour, baking soda, and salt.
3. In a mixing bowl, cream the softened butter, sugar, and brown sugar until light and fluffy.
4. Beat in the egg and buttermilk until well combined.
5. Gradually add the dry ingredients to the wet mixture, stirring until just combined.
6. Fold in the chocolate chips.
7. Drop rounded tablespoons of dough onto the prepared baking sheet.
8. Bake for 10-12 minutes or until golden brown.
9. Allow to cool on the baking sheet for a few minutes before transferring to a wire rack.
FAQs:
– Can I use dark chocolate chips? Yes, any chocolate variation will work.
– How should I store them? Keep them in an airtight container at room temperature for up to a week.
Buttermilk Chocolate Chip Cookies
Editor’s Choice


9. Buttermilk Cheesecake
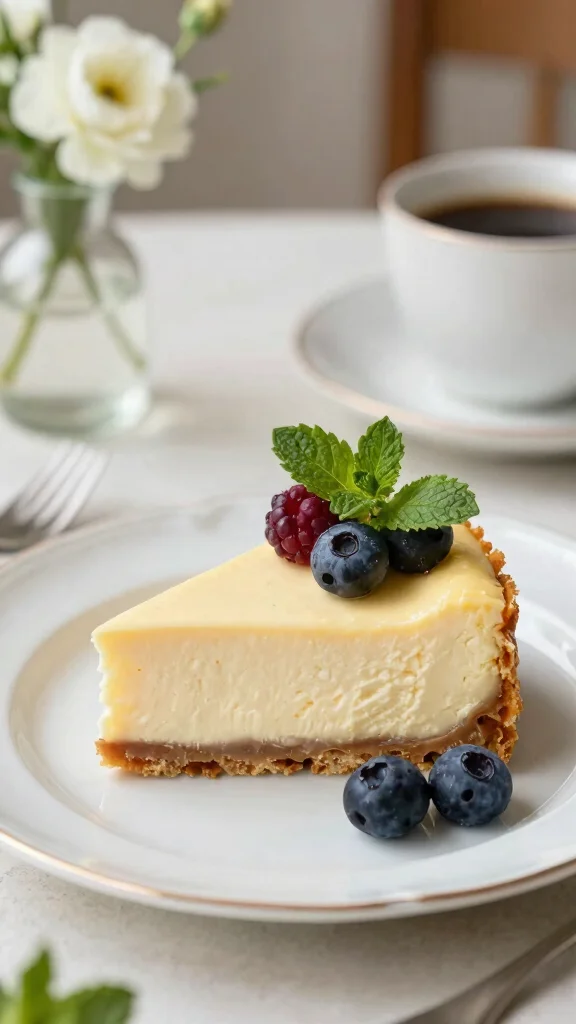
Craving a creamy dessert that’s a step above the rest? This buttermilk cheesecake offers a unique twist on the classic. The tanginess of buttermilk adds depth to the flavors, creating a luxurious texture that’s sure to impress your guests. Serve it plain or topped with fresh fruit for a stunning finish.
Ingredients:
– 1 1/2 cups graham cracker crumbs
– 1/4 cup sugar
– 1/2 cup butter (melted)
– 3 (8oz) packages cream cheese (softened)
– 1 cup sugar
– 3 large eggs
– 1 cup buttermilk
– 1 teaspoon vanilla extract
Instructions:
1. Preheat the oven to 325°F (160°C).
2. In a bowl, combine graham cracker crumbs, sugar, and melted butter. Press the mixture into the bottom of a 9-inch springform pan.
3. In a mixing bowl, beat the softened cream cheese until smooth. Gradually add sugar, beating until well combined.
4. Add eggs one at a time, mixing well after each addition.
5. Stir in the buttermilk and vanilla extract until smooth.
6. Pour the mixture over the crust in the springform pan.
7. Bake for 50-60 minutes or until set.
8. Allow to cool and refrigerate for at least 4 hours or overnight before serving.
FAQs:
– Can I use a different crust? Yes, you can substitute with an Oreo crust for a chocolate twist.
– How do I store leftovers? Keep in the fridge covered tightly for up to a week.


10. Buttermilk Pumpkin Bread
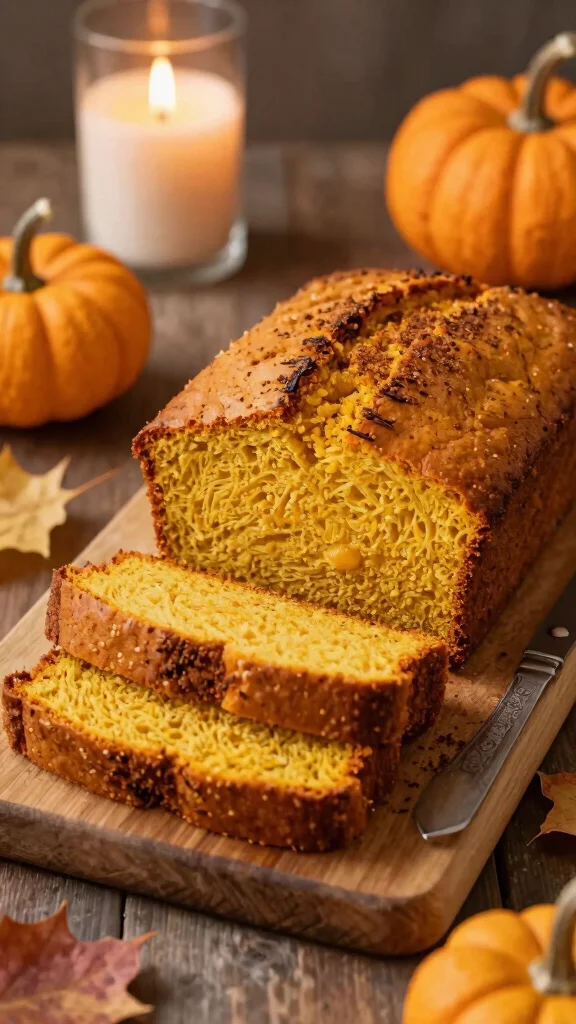
Fall in love with the flavors of autumn with this buttermilk pumpkin bread. Combining the warmth of pumpkin with the tang of buttermilk creates a moist loaf perfect for breakfast or as a festive treat. Spiced just right, it offers a comforting experience that everyone will enjoy.
Ingredients:
– 1 3/4 cups all-purpose flour
– 1 teaspoon baking soda
– 1/2 teaspoon baking powder
– 1 teaspoon cinnamon
– 1/2 teaspoon nutmeg
– 1/4 teaspoon salt
– 1/2 cup vegetable oil
– 1 cup sugar
– 2 large eggs
– 1 cup canned pumpkin puree
– 1/2 cup buttermilk
Instructions:
1. Preheat the oven to 350°F (175°C) and grease a 9×5 inch loaf pan.
2. In a bowl, mix flour, baking soda, baking powder, cinnamon, nutmeg, and salt.
3. In another bowl, whisk together oil, sugar, eggs, pumpkin puree, and buttermilk until well combined.
4. Gradually add the dry ingredients to the wet mixture, stirring until just combined.
5. Pour the batter into the prepared loaf pan and smooth the top.
6. Bake for 60 minutes or until a toothpick inserted comes out clean.
7. Allow to cool in the pan for 10 minutes before transferring to a wire rack.
FAQs:
– Can I use fresh pumpkin instead of canned? Yes, just make sure it’s well pureed.
– How should I store it? Keep it in an airtight container at room temperature for up to 3 days.
Buttermilk keeps pumpkin bread incredibly moist, making it a reliable staple in baking recipes that use buttermilk. For best results, measure spices carefully and bake until a toothpick comes out clean for a cozy, shareable loaf.


11. Buttermilk Sugar Cookies
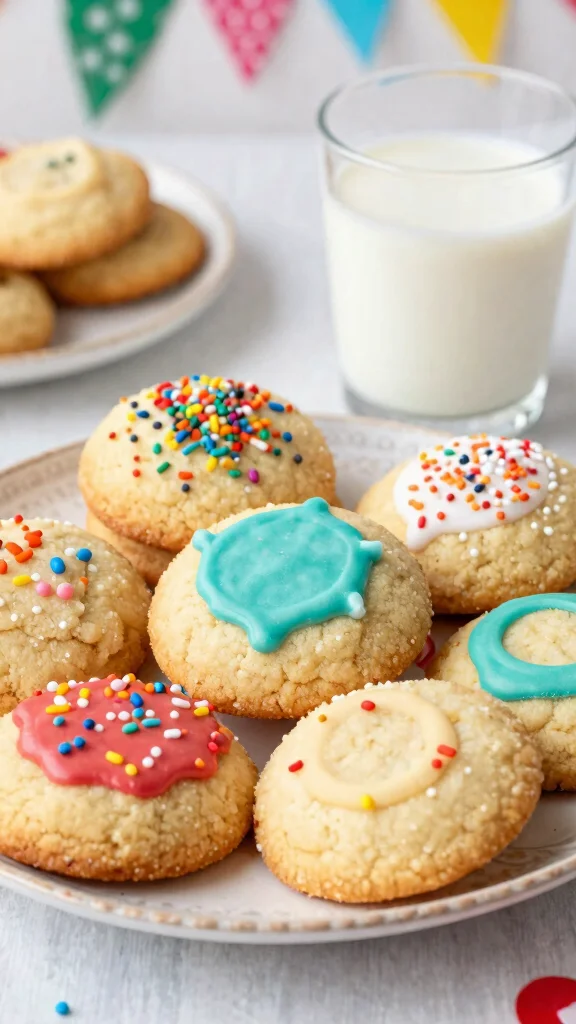
Looking for a sweet treat that’s soft and chewy? These buttermilk sugar cookies are just the thing! The addition of buttermilk gives these cookies a melt-in-your-mouth texture, making them perfect for decorating or enjoying fresh out of the oven. They’re sure to disappear quickly at any gathering!
Ingredients:
– 2 3/4 cups all-purpose flour
– 1 teaspoon baking soda
– 1/2 teaspoon salt
– 1 cup unsalted butter (softened)
– 1 1/2 cups sugar
– 1/4 cup buttermilk
– 1 large egg
– 2 teaspoons vanilla extract
Instructions:
1. Preheat the oven to 375°F (190°C) and line baking sheets with parchment paper.
2. In a bowl, whisk together flour, baking soda, and salt.
3. In a mixing bowl, cream together the butter and sugar until light and fluffy.
4. Beat in the buttermilk, egg, and vanilla extract until fully incorporated.
5. Gradually add the dry ingredients into the wet mixture, stirring until just combined.
6. Drop rounded tablespoons of dough onto the prepared baking sheets.
7. Bake for 8-10 minutes or until the edges are lightly golden.
8. Allow to cool on the sheets for a few minutes before transferring to a wire rack.
FAQs:
– Can I use margarine instead of butter? Yes, but the flavor and texture may differ.
– How should I store them? Keep in an airtight container to maintain freshness.


12. Buttermilk Cupcakes
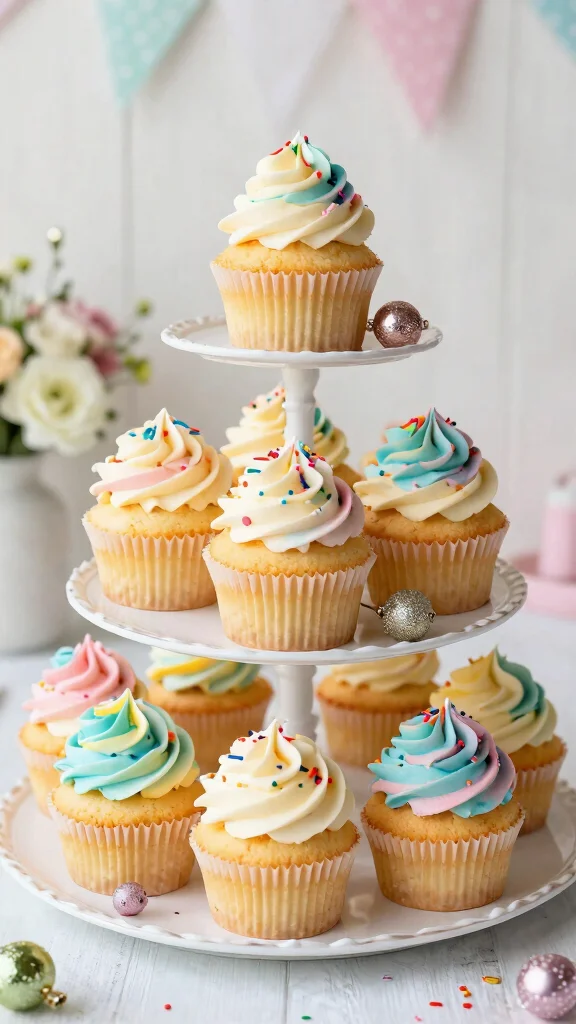
Fluffy buttermilk cupcakes are a sweet delight for any occasion. Their light texture and tender crumb make them a fantastic base for a variety of frostings. Whether for a birthday party or a simple gathering, these cupcakes are sure to impress and satisfy everyone’s sweet tooth!
Ingredients:
– 1 1/2 cups all-purpose flour
– 1 cup sugar
– 1/2 teaspoon baking powder
– 1/2 teaspoon baking soda
– 1/2 teaspoon salt
– 1/2 cup unsalted butter (softened)
– 1 cup buttermilk
– 2 large eggs
– 1 teaspoon vanilla extract
Instructions:
1. Preheat the oven to 350°F (175°C) and line a cupcake pan with liners.
2. In a bowl, mix flour, sugar, baking powder, baking soda, and salt.
3. In a large bowl, cream together the butter and sugar until fluffy.
4. Beat in the eggs and buttermilk, followed by the vanilla extract, until well blended.
5. Gradually add the dry ingredients and mix until just combined.
6. Fill the cupcake liners about 2/3 full with the batter.
7. Bake for 18-20 minutes or until a toothpick comes out clean.
8. Allow to cool before frosting.
FAQs:
– Can I make mini cupcakes instead? Yes, just adjust the baking time to around 12-15 minutes.
– How should I store them? Keep in an airtight container at room temperature for up to 3 days.
You Might Also Like


13. Buttermilk Bread
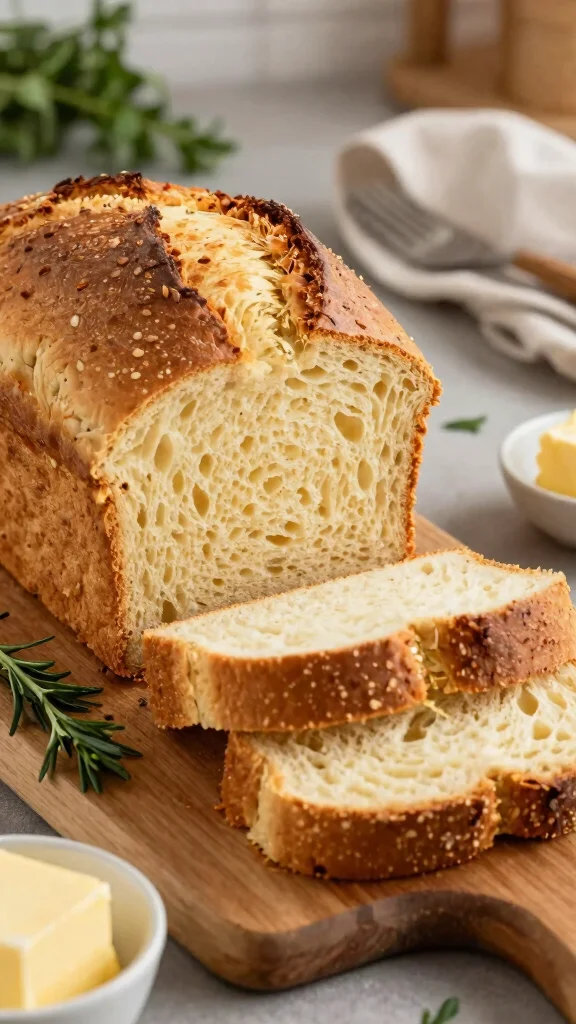
Savor the aroma of homemade buttermilk bread wafting through your kitchen. This simple yet delicious bread is incredibly tender, thanks to the buttermilk, making it perfect for sandwiches or toasted with butter. With a golden crust and soft interior, it’s the comfort food you didn’t know you needed!
Ingredients:
– 4 cups all-purpose flour
– 1 packet yeast (2 1/4 teaspoons)
– 1 tablespoon sugar
– 1 teaspoon salt
– 1 1/2 cups buttermilk (warmed)
– 1/4 cup unsalted butter (melted)
Instructions:
1. In a bowl, mix flour, yeast, sugar, and salt.
2. Add the warm buttermilk and melted butter, stirring until a dough forms.
3. Knead the dough on a floured surface for about 5 minutes until smooth.
4. Place the dough in a greased bowl, cover, and let it rise in a warm place for about 1 hour, until doubled in size.
5. Punch down the dough, shape it into a loaf, and place it in a greased loaf pan.
6. Cover and let it rise again for 30 minutes.
7. Preheat the oven to 375°F (190°C) and bake for 30 minutes or until golden brown.
8. Allow to cool before slicing.
FAQs:
– Can I use bread flour instead of all-purpose flour? Yes, it will give a chewier texture.
– How should I store the bread? Keep it in an airtight container at room temperature for up to 3 days.
Buttermilk Bread
Editor’s Choice


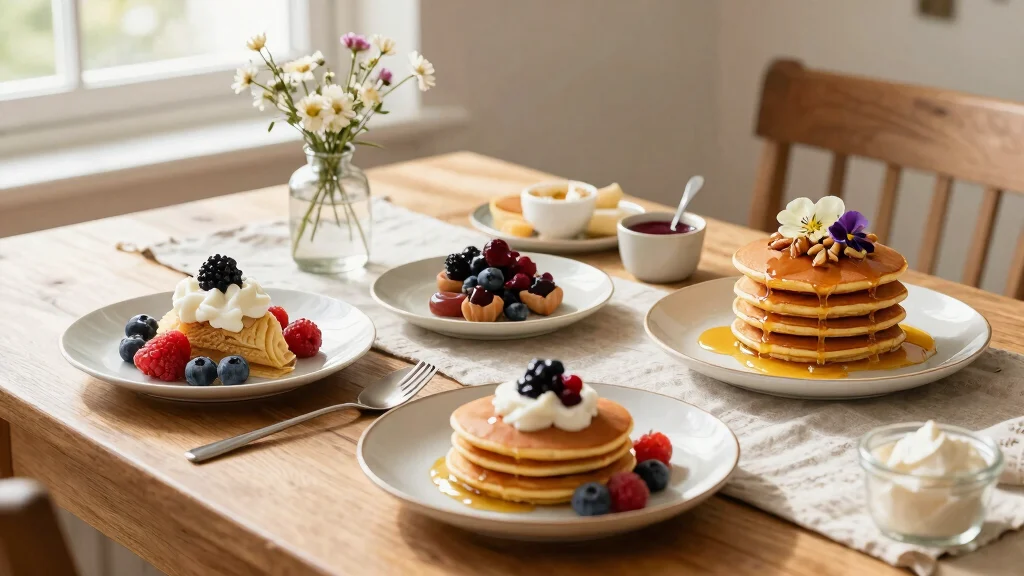
14. Buttermilk Strawberry Shortcake
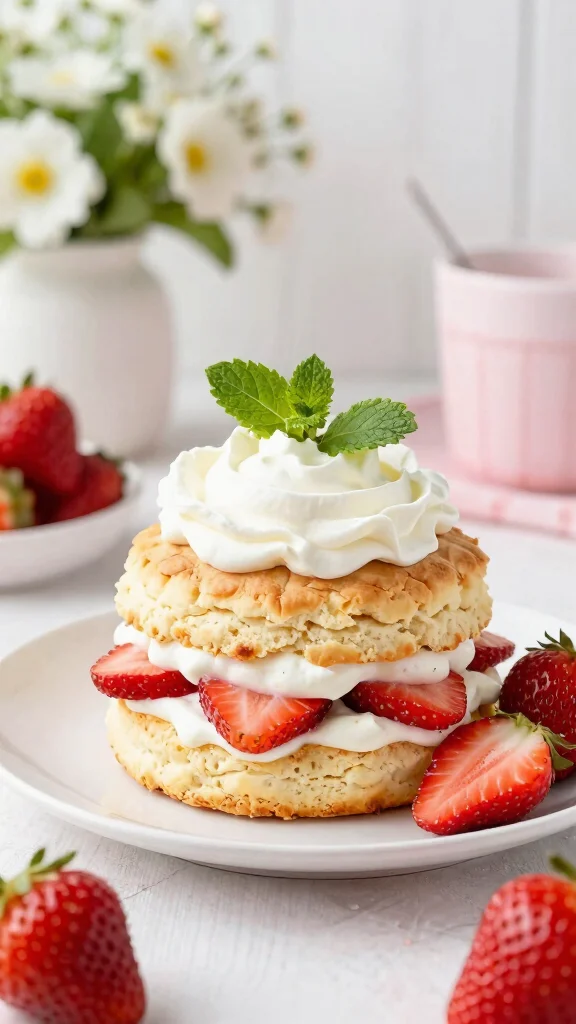
Looking for a show-stopping dessert? Buttermilk strawberry shortcake is light, refreshing, and perfect for summer gatherings. Flaky buttermilk biscuits provide a delightful base for sweet strawberries and whipped cream, creating a dessert that’s as beautiful as it is delicious.
Ingredients:
– 1 1/2 cups all-purpose flour
– 1 tablespoon baking powder
– 1/4 teaspoon salt
– 1/4 cup sugar
– 1/2 cup unsalted butter (cold, cubed)
– 3/4 cup buttermilk
– 2 cups fresh strawberries (sliced)
– 1/4 cup sugar (for strawberries)
– Whipped cream for serving
Instructions:
1. Preheat the oven to 400°F (200°C) and line a baking sheet with parchment paper.
2. In a bowl, mix flour, baking powder, salt, and sugar.
3. Cut in the cold butter until the mixture resembles coarse crumbs.
4. Stir in the buttermilk until just combined.
5. Turn the dough onto a floured surface and gently knead a few times.
6. Pat into a 1-inch thick round and cut into rounds.
7. Bake for 12-15 minutes or until golden brown.
8. Allow biscuits to cool slightly; slice in half and layer with strawberries and whipped cream.
FAQs:
– Can I use frozen strawberries? Yes, just thaw and drain excess liquid before layering.
– How should I store leftover shortcake? Best eaten fresh, but biscuits can be stored separately in an airtight container for a day.
Buttermilk Strawberry Shortcake
Editor’s Choice


15. Buttermilk Oatmeal Cookies
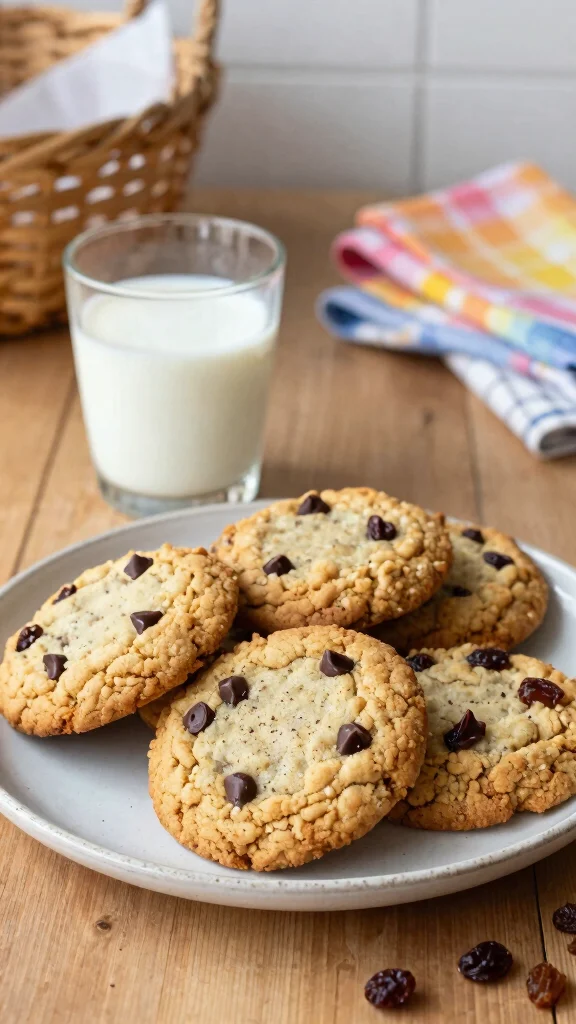
Craving a wholesome snack that satisfies? Buttermilk oatmeal cookies deliver a delightful combination of chewy oats and tangy buttermilk. These hearty cookies are packed with flavor and are perfect for a mid-day treat. Add raisins or chocolate chips for an extra delight!
Ingredients:
– 1 cup all-purpose flour
– 1 teaspoon baking soda
– 1/2 teaspoon salt
– 1/2 cup unsalted butter (softened)
– 1 cup brown sugar
– 1/4 cup buttermilk
– 1 large egg
– 1 1/2 cups rolled oats
– 1/2 cup raisins or chocolate chips (optional)
Instructions:
1. Preheat the oven to 350°F (175°C) and line baking sheets with parchment paper.
2. In a bowl, whisk together flour, baking soda, and salt.
3. In a mixing bowl, cream together butter and brown sugar until fluffy.
4. Beat in the buttermilk and egg until well combined.
5. Gradually add the dry ingredients and stir until just mixed.
6. Stir in oats and mix evenly. If desired, fold in raisins or chocolate chips.
7. Drop spoonfuls of dough onto prepared baking sheets.
8. Bake for 10-12 minutes until golden brown.
9. Allow to cool before transferring to a wire rack.
FAQs:
– Can I make these gluten-free? Yes, use a gluten-free flour blend and certified gluten-free oats.
– How should I store them? Store in an airtight container for up to a week.


Conclusion
These 15 recipes showcase the incredible versatility of buttermilk in baking, transforming simple ingredients into tender, fluffy delights that cater to any occasion. From breakfast to dessert, the addition of buttermilk enhances flavor and texture, making every bite a memorable experience.
Whether you’re a seasoned baker or just starting, these recipes are sure to inspire delicious creations in your kitchen!
Note: We aim to provide accurate product links, but some may occasionally expire or become unavailable. If this happens, please search directly on Amazon for the product or a suitable alternative.
This post contains Amazon affiliate links, meaning we may earn a small commission if you purchase through our links, at no extra cost to you.
Frequently Asked Questions
What makes buttermilk so good for tender and fluffy baked goods?
Buttermilk’s acidity reacts with baking soda and baking powder to create carbon dioxide, which lifts batters and yields a tender crumb in many baking recipes that use buttermilk. It also adds moisture and a subtle tang that enhances flavor in tender cakes and fluffy pancakes. Practical tips: measure accurately, don’t overmix the batter, let it rest 5–10 minutes, and bake promptly for best results. Using ingredients at similar temperatures helps too, especially for quick breads and muffins in this set of buttermilk recipes.
Can I substitute regular milk for buttermilk in these recipes?
Yes—it’s often possible to approximate buttermilk with milk plus an acid. For a 1 cup (240 ml) swap, mix 1 cup milk with 1 tablespoon lemon juice or white vinegar, stir, and let stand 5–10 minutes until slightly thickened. This works well for many baking with buttermilk recipes and keeps the tang and lift you’re after. If you want dairy-free options, try plant-based milks (like almond or soy) with the same acid. A quick note: you may need to adjust minor details like bake time slightly, but the core results—tender cakes and fluffy pancakes—still shine.
How should I store buttermilk and batter to keep them tender and fresh?
Keep buttermilk refrigerated at or below 40°F (4°C) and use it by the date on the carton for best flavor and texture. For batter, most quick-bread and pancake batters are best used within 24 hours when kept chilled in a covered container. You can freeze baked goodies like muffins or quick breads for longer storage, but batter quality is best when used soon. For buttermilk desserts and other treats in these recipes, refrigerate and consume within a few days or freeze for longer keeping.
Which recipes from these 15 yield the most tender cakes versus the fluffiest pancakes?
Tender cakes usually benefit from a bit more fat and careful mixing—so use batter that’s gently stirred and not overworked, and rely on buttermilk to moisten the crumb. Fluffy pancakes come from a light, bubbly batter with fresh leavening and a quick, gentle fold. In general, look for recipes labeled as tender cakes when you want a softer crumb, and those aimed at fluffy pancakes when you’re craving height and air. Tip: don’t overmix; whisk dry and wet ingredients separately, then combine just until you see no dry streaks. Let the batter rest briefly for best lifting and tenderness.
Are there dairy-free or low-fat options within these buttermilk-based baking recipes?
Absolutely. For dairy-free options, substitute with plant-based milk (like almond, soy, or oat) plus 1 tablespoon lemon juice or white vinegar per cup to mimic buttermilk, and use within the same recipe. For a low-fat approach, you can use low-fat buttermilk or opt for a lighter milk plus acid substitute, keeping the tang and tenderness in check. In all cases, the goal is to maintain the acidity that helps with lift and moist texture, so you’ll still get delightful baking with buttermilk results and the charm of buttermilk desserts and other treats without extra fat.
Related Topics