
Deviled eggs are a quintessential part of any gathering, bringing a sense of nostalgia and tradition to the table.
Their creamy, tangy filling combined with a hint of spice makes them an irresistible appetizer.
I was first introduced to this delightful dish at a family reunion, where it was the star of the appetizer spread.
The beauty of deviled eggs lies in their simplicity and the ability to customize them to suit any palate.
Whether you’re hosting a summer picnic or a winter holiday party, deviled eggs are always a crowd favorite.
This easy recipe ensures that you can whip up a batch with minimal fuss while impressing your guests with their classic taste.
The History and Cultural Significance
• Deviled Eggs Recipe: traces its origins to ancient Rome, where it was originally created by adapting boiled eggs with spicy sauces.
• The dish evolved over decades as mustard and mayonnaise were introduced, eventually becoming the beloved version we know today.
• In American culture, this dish traditionally appears at potlucks, picnics, and holiday gatherings, symbolizing hospitality and community.
• While many variations exist across different regions, the authentic version maintains the creamy and slightly spicy filling that sets it apart from imitations.


Recipe Overview
Nutritional Information (per serving)


Essential Equipment Guide
Saucepan: A medium-sized saucepan is essential for boiling eggs evenly. A pot that is too large can lead to uneven cooking, while a small one might cause overcrowding.
Slotted Spoon: Using a slotted spoon ensures you can easily transfer eggs from boiling water to an ice bath without mishaps, maintaining their integrity.
Piping Bag: For a professional presentation, a piping bag helps achieve a neat and consistent filling. Alternatively, a plastic sandwich bag with the corner snipped off can work in a pinch.
Ingredients
For the Base
|
| Amount | Ingredient | Notes |
|---|---|---|
| 6 large | eggs | hard-boiled and peeled |
For the Filling
| Amount | Ingredient | Notes |
|---|---|---|
| 3 tablespoons | mayonnaise | adds creaminess |
| 1 teaspoon | mustard | for tangy flavor |
| 1 teaspoon | white vinegar | enhances taste |
| 1/8 teaspoon | salt | to taste |
| 1/8 teaspoon | black pepper | freshly ground |
For Garnish
| Amount | Ingredient | Notes |
|---|---|---|
| 1 teaspoon | paprika | for color and mild spice |
| 1 tablespoon | chives | finely chopped, for freshness |
Preparation Methods
Boiling Eggs: Boil eggs by placing them in a single layer in a saucepan, covering with water, and bringing to a boil. Once boiling, turn off the heat and cover the pan, letting it sit for 10 minutes to ensure perfectly cooked eggs.
Ice Bath: Immediately transfer boiled eggs to an ice bath to stop the cooking process. This also makes peeling easier by contracting the egg whites away from the shell.
Piping Filling: Use a piping bag to neatly fill egg whites with the yolk mixture. This technique provides a consistent and elegant appearance.


Step 1: Boil the Eggs
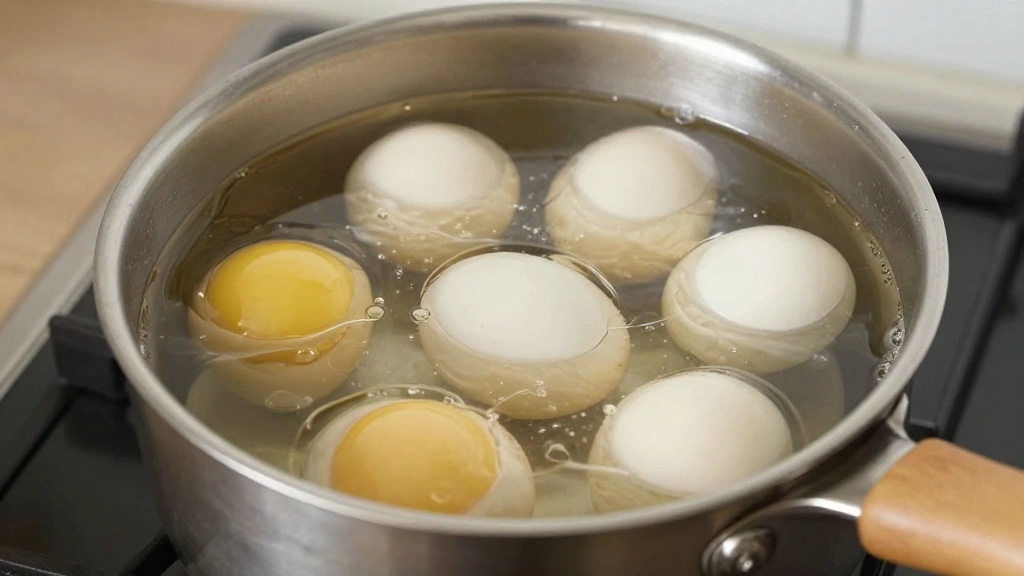
Place eggs in a saucepan and cover with water.
Bring the water to a rolling boil over medium-high heat.
Once boiling, remove the saucepan from heat and cover with a lid.
Let the eggs sit in hot water for 10 minutes for perfect hard-boiled eggs.
Step 2: Prepare the Ice Bath
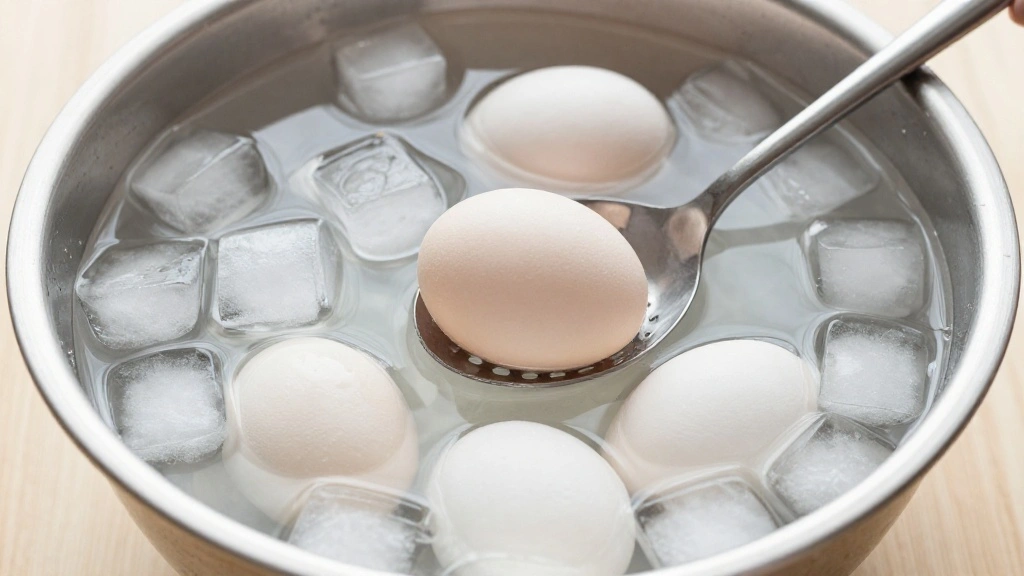
Fill a large bowl with ice cubes and cold water.
Carefully transfer the eggs from the boiling water to the ice bath using a slotted spoon.
Let the eggs cool completely in the ice bath.
This step stops the cooking process and makes peeling easier.
Step 3: Peel the Eggs
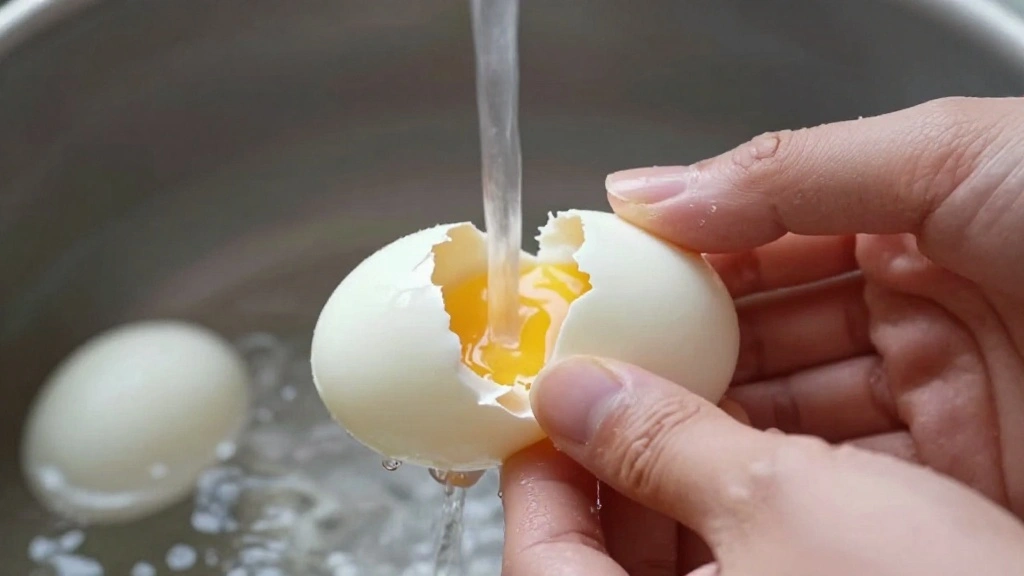
Once the eggs are cool, gently tap them on a hard surface to crack the shells.
Carefully peel away the shell under running water to remove any small bits.
Ensure all eggs are peeled cleanly without tearing the egg whites.
Set the peeled eggs aside on a clean towel.
Step 4: Slice and Separate
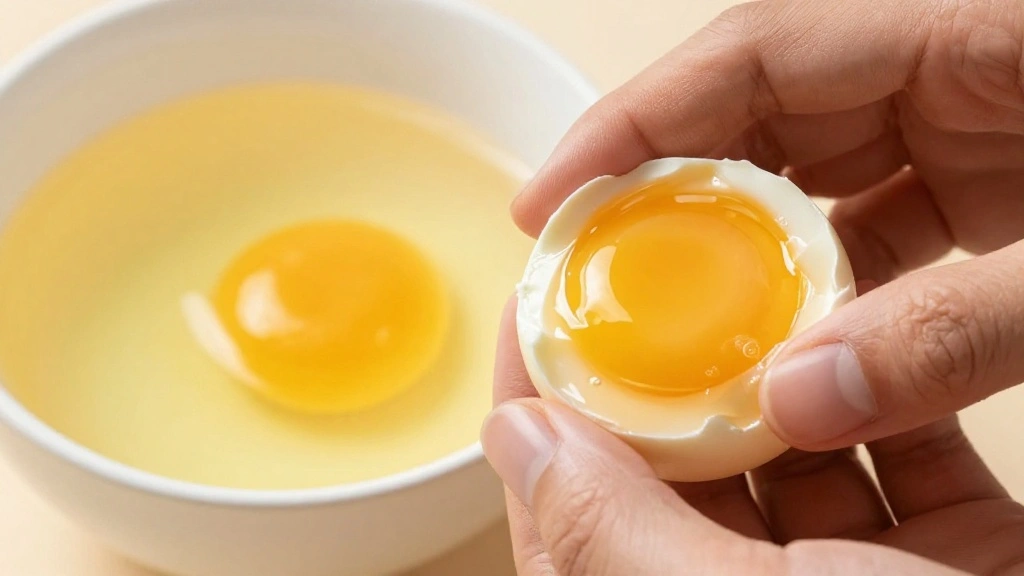
Slice each egg in half lengthwise using a sharp knife.
Gently scoop out the yolks and place them in a mixing bowl.
Arrange the egg whites on a serving platter with the hollow side up.
Ensure the yolks are removed cleanly to keep the whites intact.


Step 5: Prepare the Filling
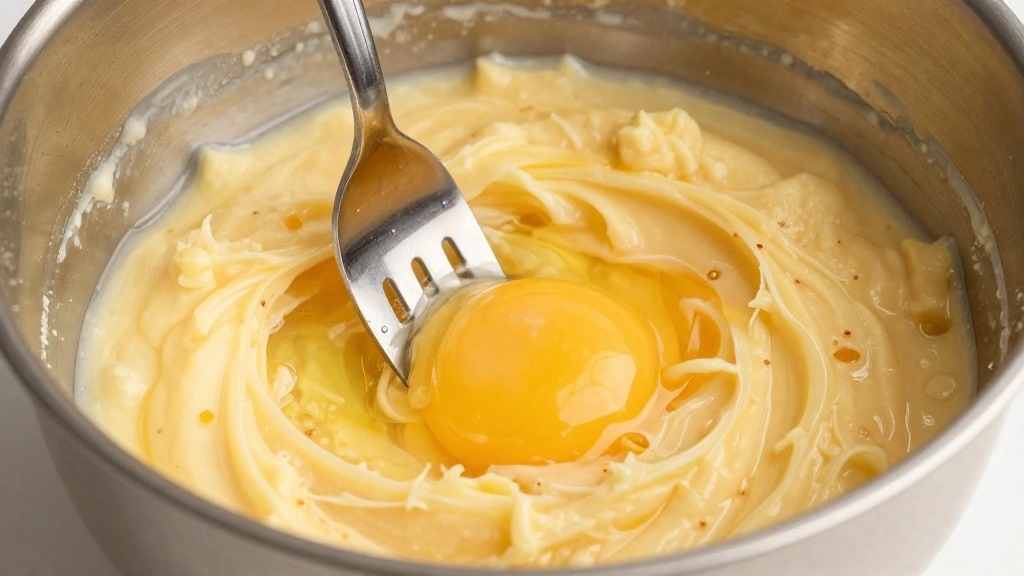
Mash the egg yolks with a fork until they reach a crumbly consistency.
Add mayonnaise, mustard, vinegar, salt, and pepper to the yolks.
Mix thoroughly until the filling is smooth and creamy.
Taste and adjust seasoning as necessary.


Step 6: Fill the Egg Whites
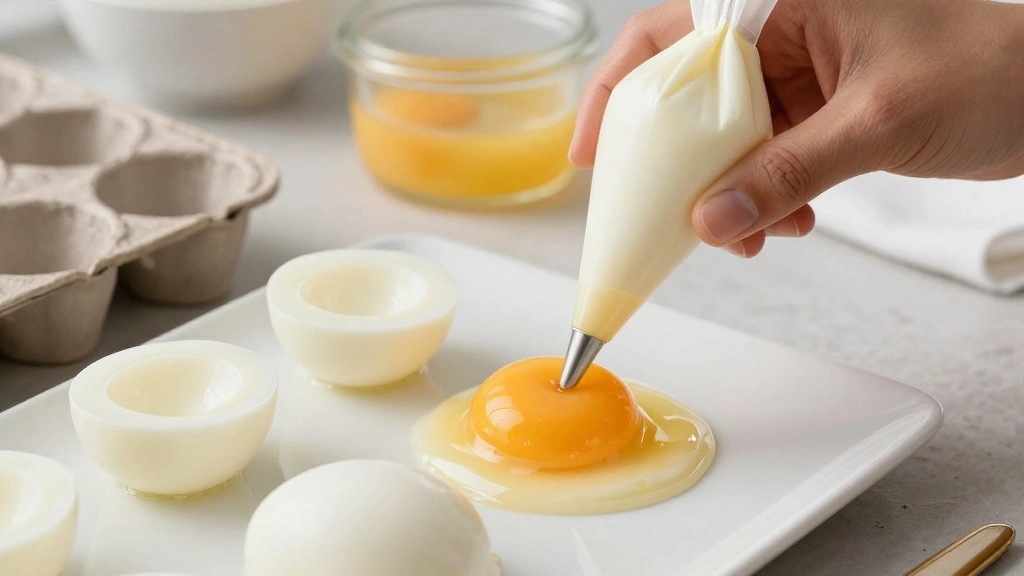
Transfer the yolk mixture into a piping bag fitted with a star tip.
Pipe the filling into each egg white half, creating a decorative swirl.
Ensure each egg white is evenly filled with the mixture.
Refrigerate the filled eggs until ready to serve.


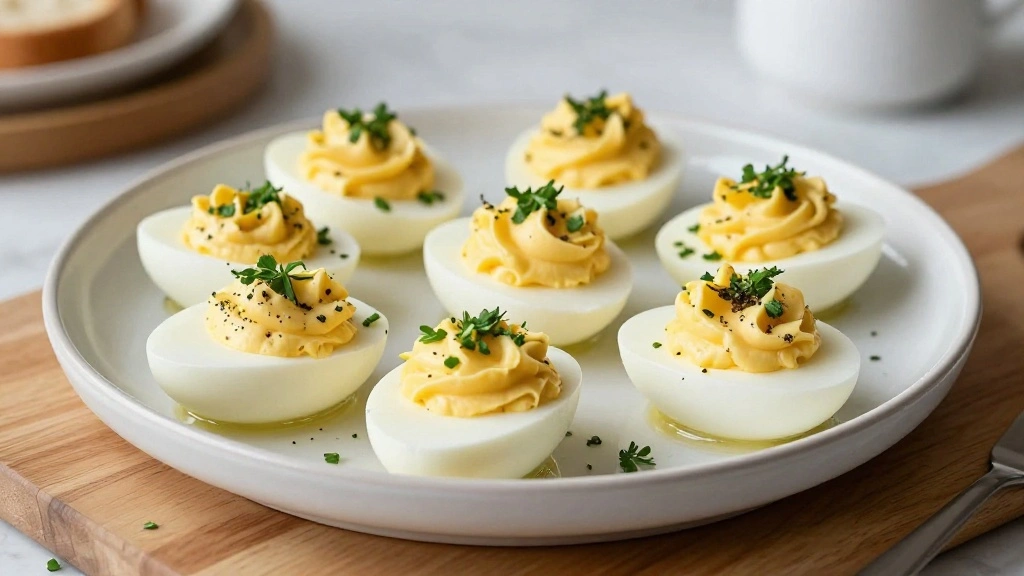
Step 7: Garnish and Serve
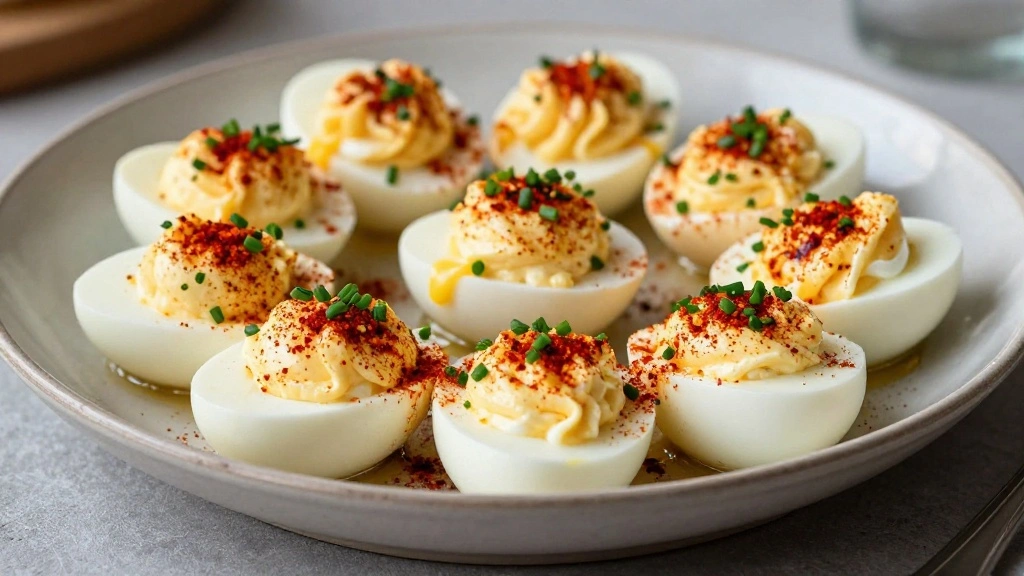
Sprinkle paprika over the filled eggs for color and mild spice.
Top with finely chopped chives for a fresh finish.
Arrange eggs neatly on a platter for a clean presentation.
Serve the deviled eggs cold as an appetizer or party snack.


Step 8: Store Leftovers
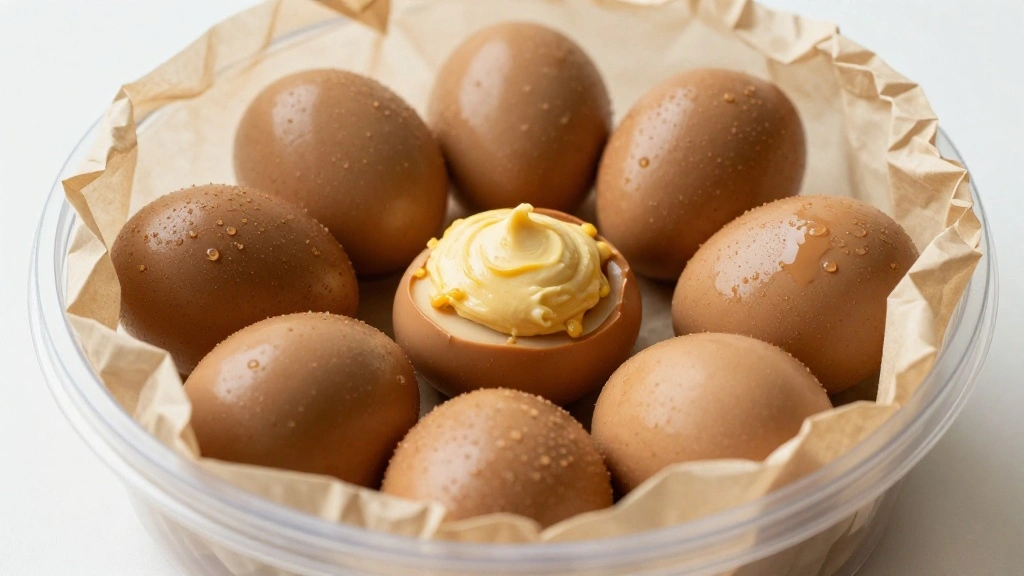
Place any leftover deviled eggs in an airtight container.
Store in the refrigerator for up to two days for best quality.
Avoid stacking eggs to maintain their presentation.
Label the container with the date to keep track of freshness.
Critical Timing and Temperature Guide
Boiling Eggs: Boil for exactly 10 minutes after removing from heat, ensuring a fully cooked yolk without overcooking. Avoid boiling too long as it can result in a greenish yolk.
Cooling Eggs: Cool in an ice bath for at least 5 minutes to stop cooking and make peeling easier. Insufficient cooling can lead to difficult peeling.
Refrigeration: Store in the fridge until serving to maintain firmness and prevent spoilage. Serving at room temperature for too long can affect texture and safety.
Pro Tips for Deviled Eggs Recipe
• Ingredient Selection: Choose the freshest eggs possible for the best texture and flavor, as older eggs can have a sulfuric taste and rubbery texture.
• Preparation Secret: Use vinegar in the boiling water to help prevent cracking and make peeling easier.
• Temperature Management: Ensure eggs are completely cooled before peeling to avoid tearing the whites.
• Texture Enhancement: For extra smooth filling, push yolks through a fine-mesh sieve before mixing.
• Flavor Layering: Combine mustard with mayo for complexity, and consider adding a pinch of cayenne for heat.
• Make-Ahead Strategies: Prepare the yolk mixture and store separately from the whites, assembling just before serving for freshness.
• Restaurant-Quality Finishing Touches: Garnish with microgreens or a drizzle of truffle oil for an upscale twist.
• Equipment Optimization: Use a cookie scoop to evenly portion filling into whites if a piping bag isn't available.


Troubleshooting Common Issues
• Eggs Difficult to Peel: This occurs when eggs are too fresh. Use slightly older eggs and cool them in ice water immediately after boiling.
• Filling Too Runny: This can happen if too much mayonnaise is added. Start with less and add gradually, mixing thoroughly.
• Filling Lacks Flavor: Often due to insufficient seasoning. Taste the yolk mixture and adjust salt, mustard, and vinegar as needed.
• Egg Whites Tear: This typically happens if eggs are overcooked. Ensure proper boiling and cooling to maintain firm whites.
• Presentation Not Appealing: Use a piping bag for a neat appearance. If unavailable, use a spoon and smooth the top with a spatula.


Variations and Regional Differences
• Southern Style: This version includes sweet pickle relish and a dash of hot sauce, providing a sweet and spicy twist.
• French Variation: Known as 'oeuf mimosa,' this includes finely chopped herbs like tarragon and a touch of Dijon mustard for a refined flavor.
• Mexican Twist: Add avocado to the yolk mixture for creaminess and top with jalapeño slices for a kick.
• Asian-Inspired: Incorporate soy sauce and sesame oil into the filling, garnishing with sliced green onions for a savory umami flavor.
Food Science Behind the Recipe
• Protein Coagulation: Understanding how egg proteins coagulate at different temperatures helps achieve perfectly cooked yolks without overcooking.
• Emulsification: The mayonnaise in the filling acts as an emulsifier, creating a smooth and stable mixture that holds its shape when piped.
• Flavor Balance: The acidity from vinegar or mustard balances the richness of the yolk and mayonnaise, enhancing overall taste.
Frequently Asked Questions
What's the most common mistake people make when preparing deviled eggs? Overcooking the eggs, which leads to a greenish yolk and sulfuric taste.
Can I make deviled eggs ahead of time? Yes, prepare the filling and egg whites separately, then assemble just before serving.
How can I make peeling eggs easier? Use older eggs and cool them quickly in an ice bath after boiling.
What if my filling is too thick? Gradually add a small amount of mayonnaise or vinegar to reach the desired consistency.
How do I prevent the filling from sliding off the whites? Ensure eggs are completely dry before filling and use a piping bag for neat application.
Can I add other ingredients to the filling? Yes, try adding ingredients like bacon bits, cheese, or herbs for different flavors.
Why is my filling bland? It may need more seasoning; taste and adjust salt, mustard, and vinegar.
Serving and Presentation Guide
• Traditional Presentation: Serve on a classic oval platter, garnished with paprika and chives for a timeless look.
• Modern Display: Use a tiered stand to add height and interest to your presentation.
• Themed Presentation: Arrange eggs on a bed of mixed greens for a fresh and vibrant display.
• Individual Servings: Serve each deviled egg in a small, decorative spoon for elegant individual portions.
Conclusion
Deviled eggs are a timeless appetizer that can be easily adapted to suit any occasion.
Their creamy, flavorful filling is sure to delight both young and old alike.
With this recipe and guide, you'll be able to create deviled eggs that are not only delicious but also beautifully presented.
Try them at your next gathering and watch them disappear in minutes.