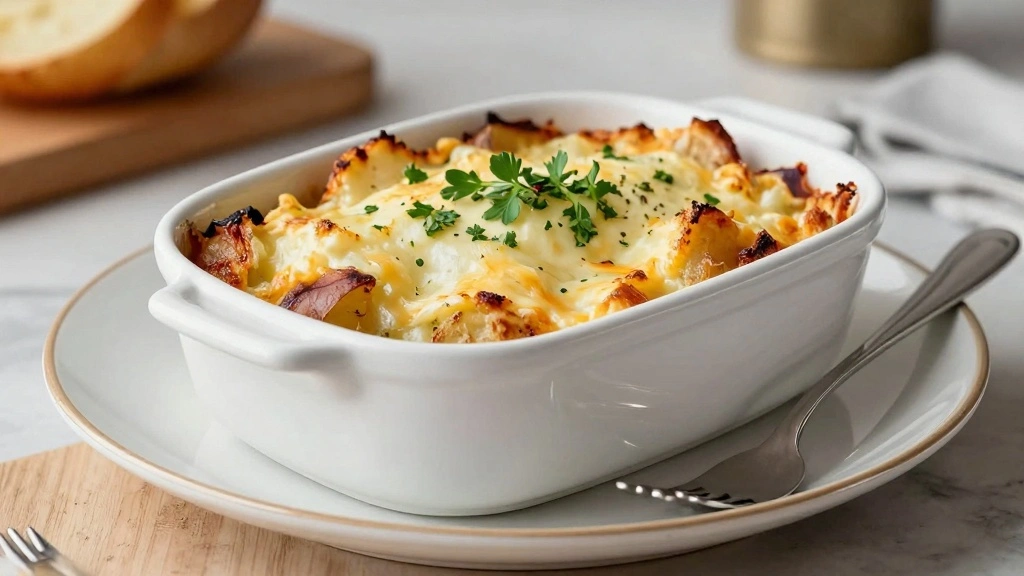

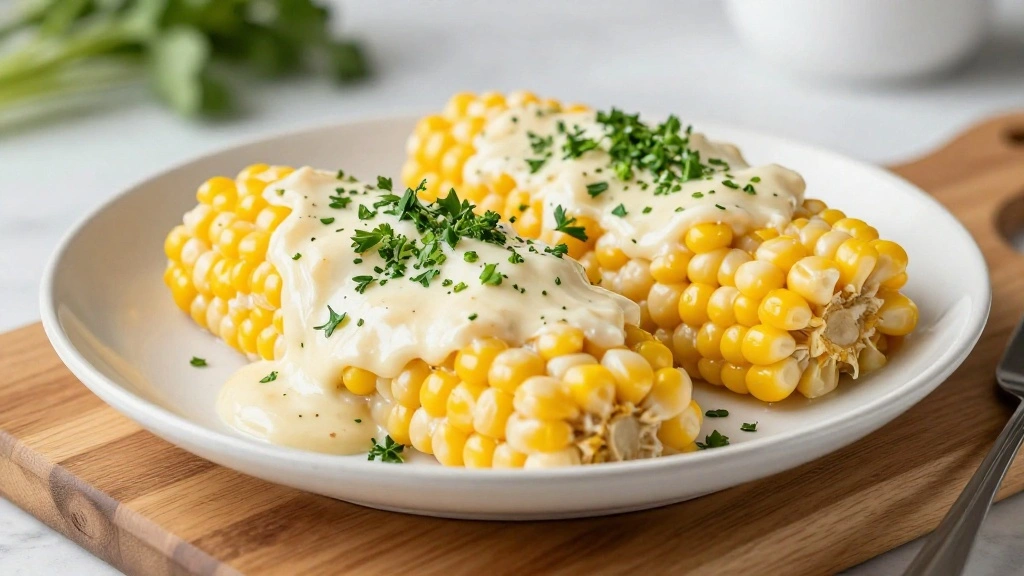
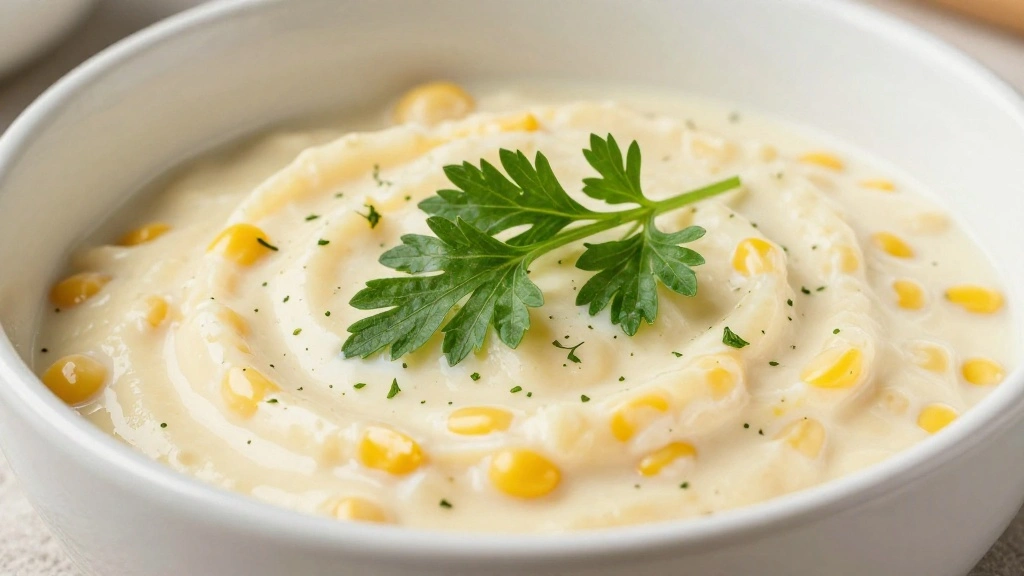
There’s something incredibly comforting about a warm bowl of creamed corn.
The rich, velvety texture combined with the natural sweetness of fresh corn kernels creates an irresistible dish.
I first encountered a truly memorable version of this dish during a summer barbecue, where it was the star side.
Whether you’re looking for a quick addition to a weeknight meal or a side dish that stands out at a holiday feast, this Easy Creamed Corn Recipe fits the bill.
Ready in just 15 minutes, it achieves a perfect balance of creaminess and sweetness that’s sure to please.
The History and Cultural Significance
• Creamed Corn Recipe traces its origins to the American South, where it was originally created by early settlers using corn, a staple ingredient.
• The dish evolved over decades as methods of preparation and available ingredients changed, eventually becoming the beloved version we know today.
• In Southern culture, this dish traditionally appears at family gatherings and holiday feasts, symbolizing warmth and hospitality.
• While many variations exist across different regions, the authentic version maintains the use of fresh corn and cream that sets it apart from imitations.
Recommended Products

The information below is per-pack only

One 14.75-ounce can of Cream Style Corn


Recipe Overview
Recommended Products

REMOVE SWEET CORN FROM THE COB WITH EASE

Sharp, Durable Stainless Steel Blades - Built with premium food-grade stainless steel, our corn stripping tool features ultra-sharp blades that resist dulling, rusting, or corroding—so you get clean cuts without squashing or sticking, every time.

Steel Handles, Stainless Steel Blades, Long Threaded Industrial Bit
Nutritional Information (per serving)
Recommended Products

【Generous Capacity】Our saucepan is expertly and uniquely designed with a widened opening, allowing the 1.5-quart body to achieve the practical capacity of 2 quarts, offering both compact convenience and generous space for your cooking needs.

EXCEPTIONAL DESIGN: Enjoy professional performance with Hard Anodized Exterior, Unsurpassed Heat Distribution–Reinforced with a Non-Stick cooking surface for Professional Results

DURABLE NONSTICK SURFACE: Diamond-infused ceramic coating is 5x harder and 10x longer lasting than traditional nonsticks


Essential Equipment Guide
Medium Saucepan: A medium saucepan is crucial for evenly cooking the creamed corn without burning. A non-stick option is ideal to prevent sticking and ensure easy cleanup.
Sharp Knife: A sharp knife is important for easily cutting the corn kernels off the cob. A dull knife can make this process difficult and result in uneven pieces.
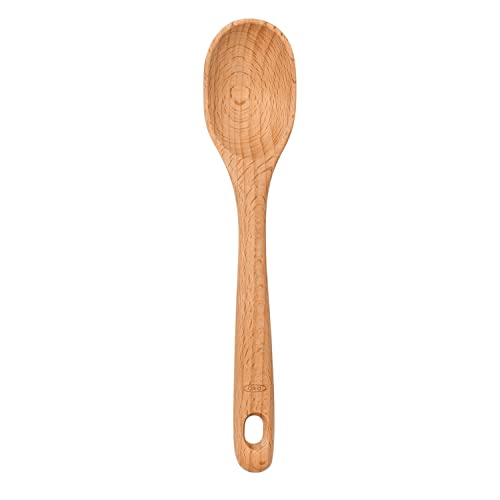
Wooden Spoon: A wooden spoon allows for gentle stirring without scratching the saucepan. It’s perfect for mixing ingredients smoothly and evenly.
Recommended Products
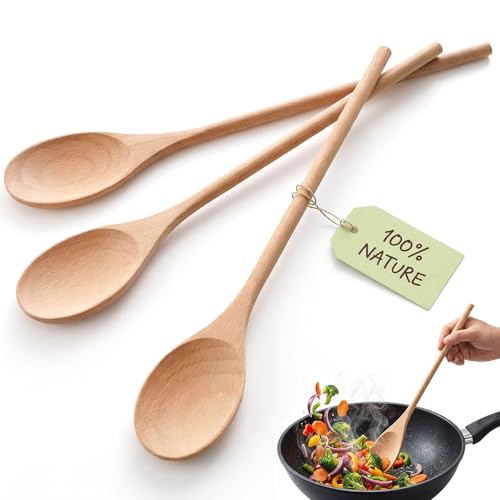
12" EXTENDED SAFETY DESIGN: Tailored for deep stockpots and Dutch ovens! This 3-piece set of round wooden cooking spoons features a nearly 12-inch extended handle, keeping your hands safely away from hot steam and boiling splatters. Whether deep-frying or simmering large stews, these extra-long wooden mixing spoons provide the perfect protective distance. Safely tackle high-heat tasks with these reliable wood spoons for cooking, your ultimate wooden spoons for cooking

12" EXTENDED SAFETY DESIGN: Tailored for deep stockpots and Dutch ovens! This 2-piece set of round wooden cooking spoons features a nearly 12-inch extended handle, keeping your hands safely away from hot steam and boiling splatters. Whether deep-frying or simmering large stews, these extra-long wooden mixing spoons provide the perfect protective distance. Safely tackle high-heat tasks with these reliable wood spoons for cooking, your ultimate wooden spoons for cooking
8.125 in/20.6 cm by 1.75 in/4.4 cm


Ingredients
Recommended Products

Material: the corn cob butter holder is made of durable plastic, cute in look and easy for you to use, it will cater to kids' preferences and also safe for them to use

【Clean and Hygienic】 The butter spreader is made of high-quality plastic, durable and reusable. The corn on the cob butter spreader is convenient to use and easy to clean, keeping your hands clean while cooking. It allows you to easily and evenly spread butter, jam, chocolate sauce, and other ingredients, adding a delicious touch to your breakfast or afternoon tea.

Talisman Designs' Butter Girl turns the messy process of buttering corn into clean fun and reduces waste; makes a great hostess or housewarming gift
For the Base
| Amount | Ingredient | Notes |
|---|---|---|
| 4 ears | corn | kernels removed |
| 1 cup | heavy cream | adds richness |
| 1 tablespoon | butter | for sautéing |
Seasonings
| Amount | Ingredient | Notes |
|---|---|---|
| 1 teaspoon | salt | enhances flavor |
| 1/2 teaspoon | black pepper | adds mild heat |
| 1 tablespoon | sugar | enhances sweetness |


Preparation Methods
Kernel Removal: This technique involves cutting the kernels off the cob. It matters because fresh corn kernels provide the best flavor and texture. Tip: Hold the cob vertically on a cutting board and carefully slice downwards.
Cream Reduction: Reducing cream concentrates its flavors and thickens it. This is important for achieving the creamy texture. Tip: Simmer on low heat and stir frequently to prevent burning.
Flavor Balancing: Balancing creaminess, sweetness, and seasoning is key for this dish. Adjusting seasonings while tasting ensures a well-rounded flavor profile.
Recommended Products


One 15.25-ounce can of Whole Kernel Corn
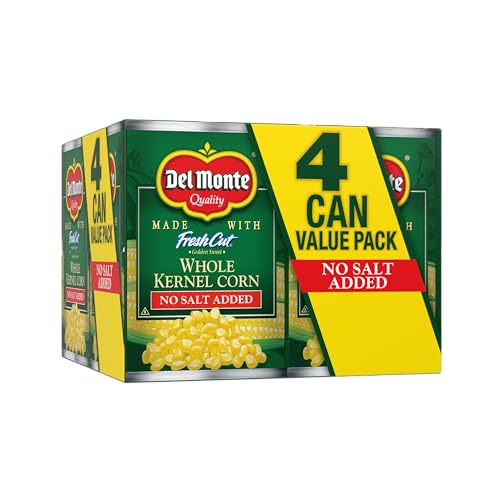
Carefully picked and packed at the peak of freshness by our expert growers; our produce is Non-GMO with Non-BPA intent
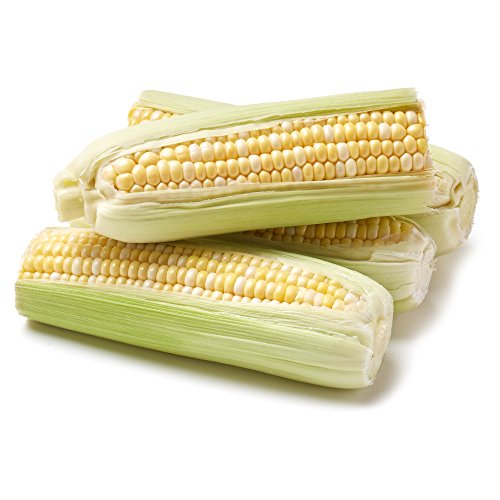
Step 1: Prepare Ingredients
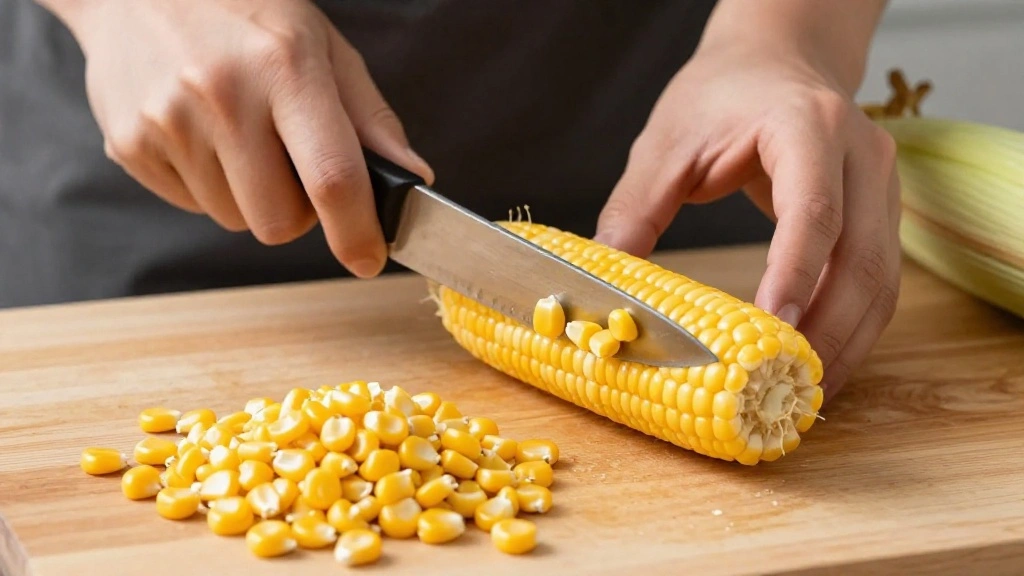
Remove the husks and silk from the corn.
Using a sharp knife, cut the kernels off the cob.
Ensure you have about 4 cups of kernels ready.
Set the kernels aside for cooking.
Recommended Products

Quickly, clean, and removes all of the corn with The Corn Peeler

CORN STRIPPER TOOL USAGE: OLEKURT's corn peeler is very easy to use and takes the kernel off the cob, Corn stripper easily removes corn from the cob in one quick rotation & pushing motion, is easy to grasp the rotary press and removes the corn from the corn cob, comes with a bowl does an excellent job and doesn't make a mess like a knife

HIGH QUALILTY - Corn Peeler made of solid 304 stainless steel which is heavy duty and last a long life without any corrosion, it won't rust, bend, break or weaken at the joints.
Step 2: Heat Butter
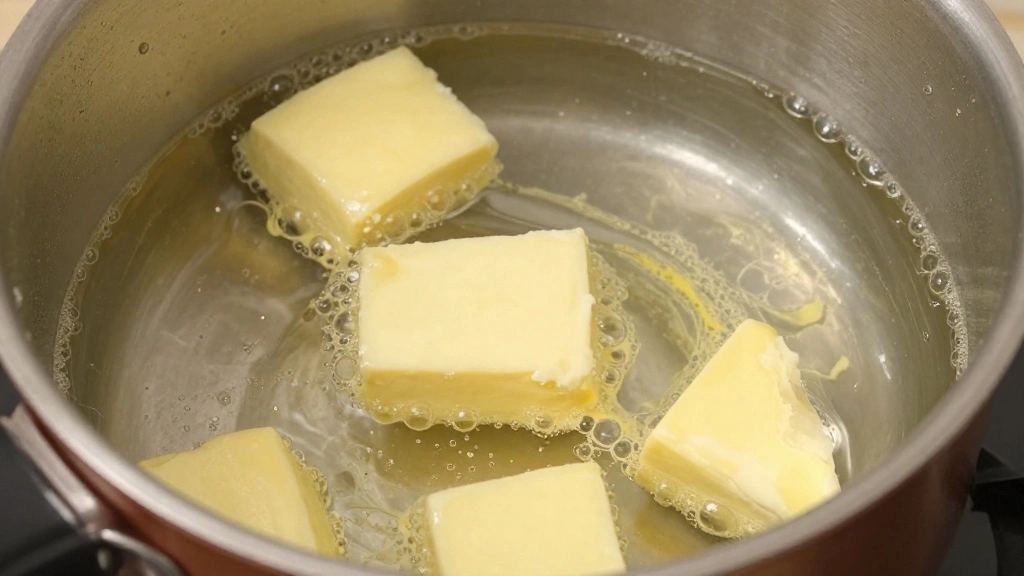
Place a medium saucepan over medium heat.
Add 1 tablespoon of butter to the pan.
Allow the butter to melt completely.
The butter should be bubbling slightly but not browning.
Recommended Products

Unsurpassed heat distribution - hard anodized aluminum core construction heats quickly and spreads heat evenly; eliminates hot spots

Anti-scalding & comfortable handle: Stay cool. No pain to grip, no effort to lift due to its weight-saving design & no slips surface.

EXCEPTIONAL DESIGN: Enjoy professional performance with Hard Anodized Exterior, Unsurpassed Heat Distribution–Reinforced with a PURELYCERAMIC Non-Stick PFAS cooking surface for Professional Results
Step 3: Sauté Corn
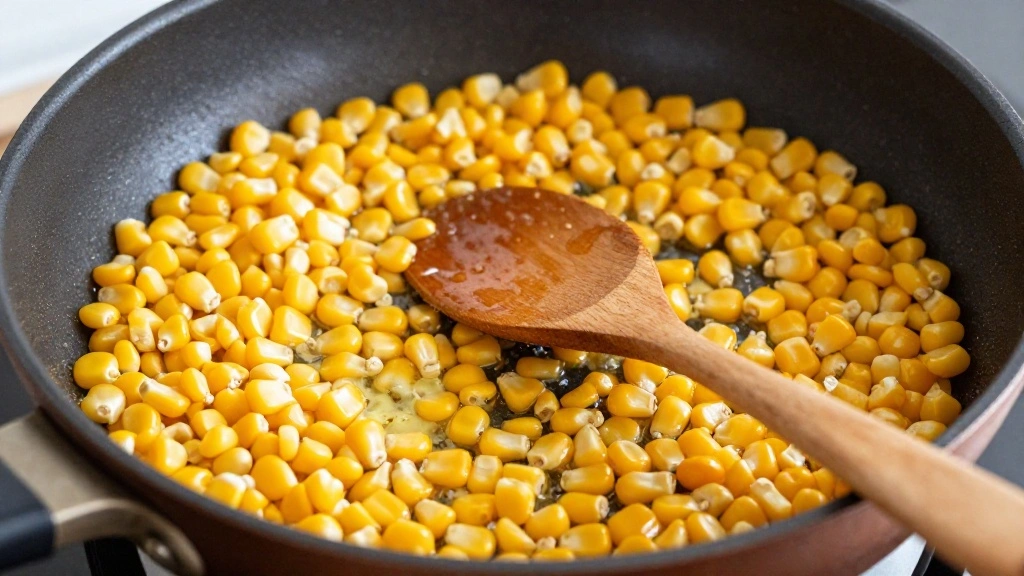
Add the corn kernels to the melted butter.
Sauté the kernels for about 2 minutes.
Stir occasionally to ensure even cooking.
The corn should start to become tender and glossy.
Recommended Products

HIGH-QUALITY MATERIALS - Our wooden spoon for cooking is made of Kemu, with a smooth surface, no burrs, strong and durable, lightweight but strong, and can be used for a long time. Will not scratch the surface and can be used safely on non-stick cookware

Large Size Dimensions: 18-inch long and 2-inch wide huge spatula - crawfish paddle stirrer for mixing and stirring in large boiling pots, steamer pots, jambalaya pots, and outdoor cookers. Made in Ukraine (Europe)

✅ NATURAL WOOD CONSTRUCTION Crafted from durable natural wood that is sturdy, lightweight and comfortable to hold. Designed for everyday cooking, stirring, mixing and serving.


Step 4: Add Cream
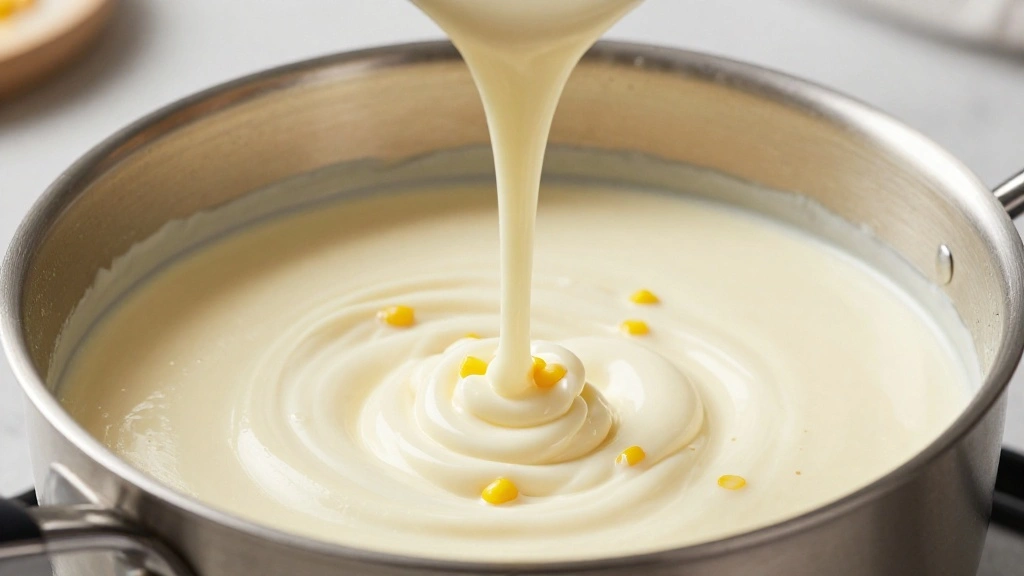
Pour 1 cup of heavy cream into the saucepan with the corn.
Stir to combine the cream with the corn.
Ensure the mixture is evenly coated with cream.
Bring it to a gentle simmer.
Recommended Products

Material: the corn cob butter holder is made of durable plastic, cute in look and easy for you to use, it will cater to kids' preferences and also safe for them to use

Reliable material: the butter spreader is made of high quality plastic, which is durable and reusable, the corn cob butter holder are easy to use and clean, keep your hands clean when cooking
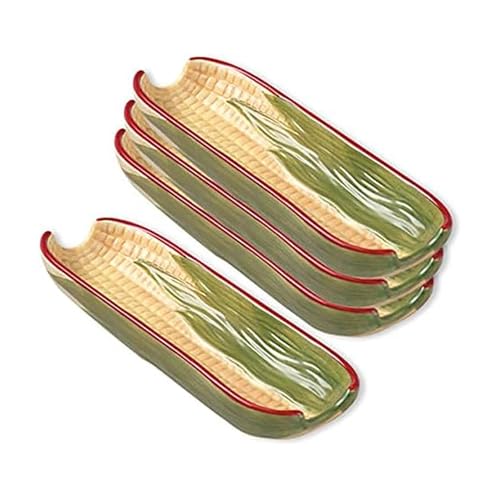
CUTE CORN DISHES: these charming Napoli dishes are detailed to look like ears of corn

Step 5: Season
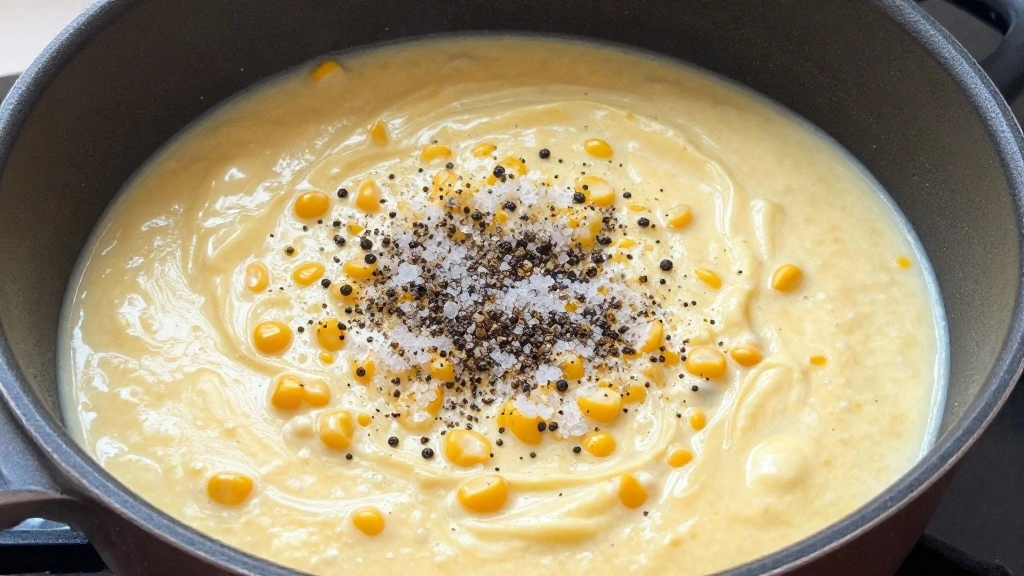
Add 1 teaspoon of salt and 1/2 teaspoon of black pepper to the saucepan.
Sprinkle 1 tablespoon of sugar over the mixture.
Stir thoroughly to incorporate the seasonings.
Taste and adjust if needed.


Step 6: Simmer
Reduce the heat to low.
Allow the mixture to simmer for about 5 minutes.
Stir occasionally to prevent sticking.
The cream should thicken slightly and coat the corn.


Step 7: Check Consistency
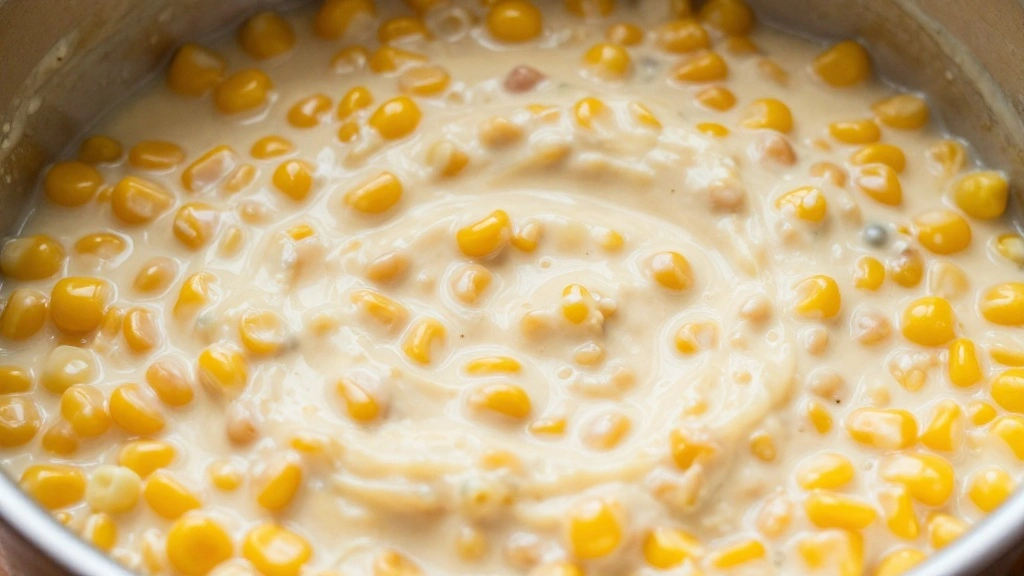
Once simmering is complete, check the consistency.
The cream should be thick and not runny.
If too thick, add a splash of cream and stir.
If too thin, continue simmering for 1-2 minutes.
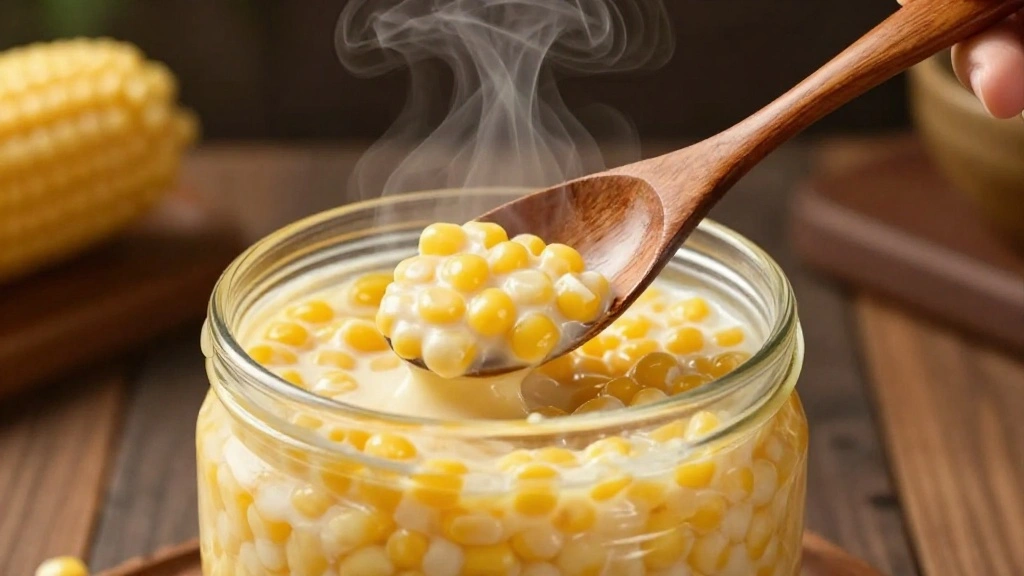
Step 8: Serve
Remove the saucepan from heat.
Transfer the creamed corn to a serving dish.
Garnish with fresh herbs, if desired.
Serve immediately while warm.
Critical Timing and Temperature Guide
Kernel Sautéing: 2 minutes over medium heat, kernels should be tender and glossy, avoid high heat to prevent burning.
Cream Simmering: 5 minutes on low heat, cream should thicken and coat corn, avoid boiling to prevent curdling.
Final Consistency Check: Adjust within 1-2 minutes, cream should not be runny, avoid over-thickening which can lead to a paste-like texture.
Pro Tips for Creamed Corn Recipe
• Ingredient Selection: Choose fresh, sweet corn for the best flavor, and opt for heavy cream rather than milk for richness.
• Preparation Secret: Use a sharp knife to remove kernels cleanly, leaving no excess cob material.
• Temperature Management: Keep the saucepan at a gentle simmer to avoid scorching the cream.
• Texture Enhancement: Stir continuously during simmering to ensure even thickening and prevent lumps.
• Flavor Layering: Add a pinch of nutmeg or cayenne for an extra depth of flavor that complements the sweetness.
• Make-Ahead Strategies: Prepare the corn kernels ahead and store them in the fridge for up to a day.
• Restaurant-Quality Finishing Touches: Garnish with freshly chopped chives or parsley for a vibrant finish.
• Equipment Optimization: Use a non-stick saucepan to prevent cream from sticking and burning.


Troubleshooting Common Issues
• Too Runny: If the cream is too runny, continue simmering for an extra few minutes until it thickens.
• Burning: If the mixture starts to burn, immediately reduce the heat and stir continuously.
• Flavor Too Bland: Add a pinch more salt or a dash of cayenne for a flavor boost.
• Overly Sweet: Balance sweetness with a touch of lemon juice or vinegar if the corn is too sweet.
• Texture Too Thin: Add a slurry of cornstarch and water to thicken quickly.
• Clumpy Mixture: Stir vigorously to break up clumps and ensure smoothness.


Variations and Regional Differences
• Mexican Style: Add diced jalapeños and a squeeze of lime for a spicy, tangy twist.
• Italian Variation: Stir in grated Parmesan and chopped basil for a creamy, cheesy version.
• Asian Influence: Infuse with a touch of soy sauce and sesame oil for umami richness.
• Indian Twist: Add curry powder and cilantro for a fragrant, exotic flavor profile.
Food Science Behind the Recipe
• Emulsification: The combination of fat from cream and liquid creates a stable emulsion, resulting in a creamy texture.
• Caramelization: Sautéing corn in butter develops a rich, sweet flavor through caramelization.
• Thickening: The reduction of cream over heat naturally thickens the mixture, concentrating the flavors.
Frequently Asked Questions
What's the most common mistake people make when preparing creamed corn? Overcooking the cream, which can cause it to curdle or separate.
Can I use frozen corn? Yes, but fresh corn offers superior flavor and texture.
How can I make it vegan? Use coconut cream or almond milk as a substitute for heavy cream.
What can I add for extra flavor? Consider adding herbs like thyme or spices like smoked paprika.
Is there a way to make it less rich? Substitute half of the cream with milk for a lighter version.
Can I prepare it ahead of time? Yes, reheat gently on low to avoid separating.
How long can it be stored? Store in an airtight container in the refrigerator for up to 3 days.
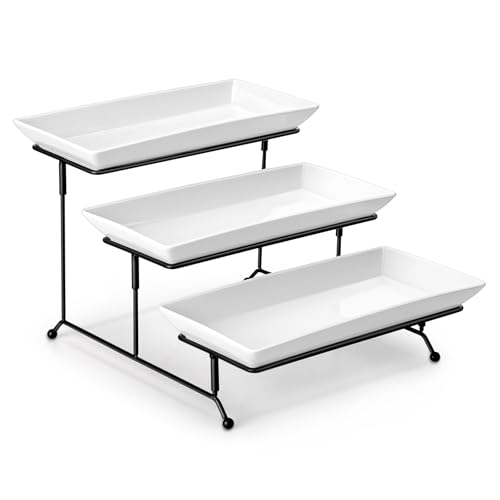
Serving and Presentation Guide
• Traditional Presentation: Serve in a rustic dish with a sprinkle of fresh herbs for a homely feel.
• Modern Plating: Use a shallow bowl and garnish with microgreens for a sleek, contemporary look.
• Individual Servings: Serve in small ramekins for individual portions at a dinner party.
• Family Style: Present in a large serving dish for sharing, with a ladle for easy serving.


Conclusion
With its rich flavors and quick preparation, this Easy Creamed Corn Recipe is a must-try for any occasion.
Its versatility allows it to pair beautifully with a variety of main dishes, making it a go-to side.
I encourage you to experiment with this recipe and make it your own, adding personal touches and flavors.
Enjoy the satisfaction of serving a delicious dish that brings warmth and joy to your table.