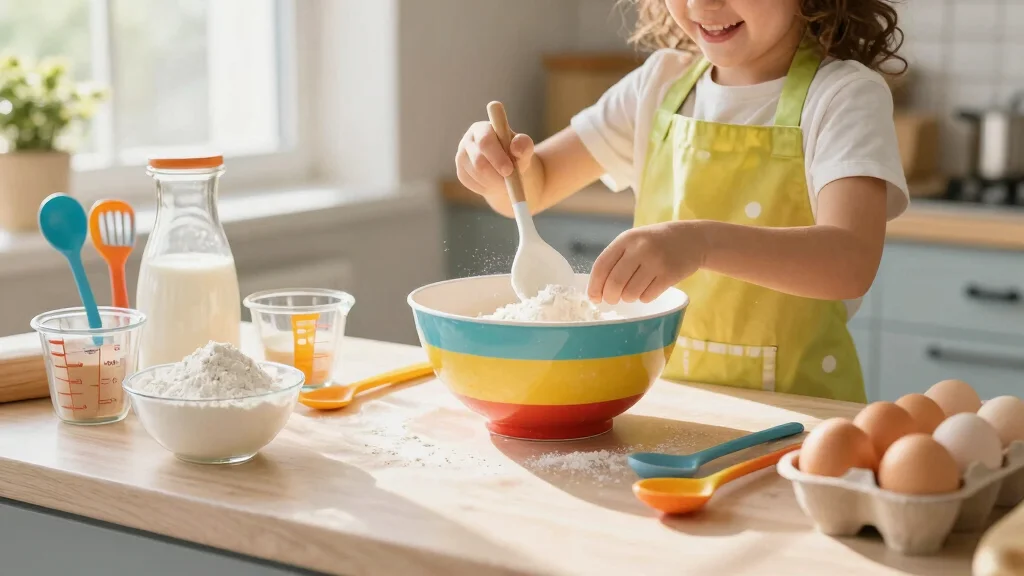

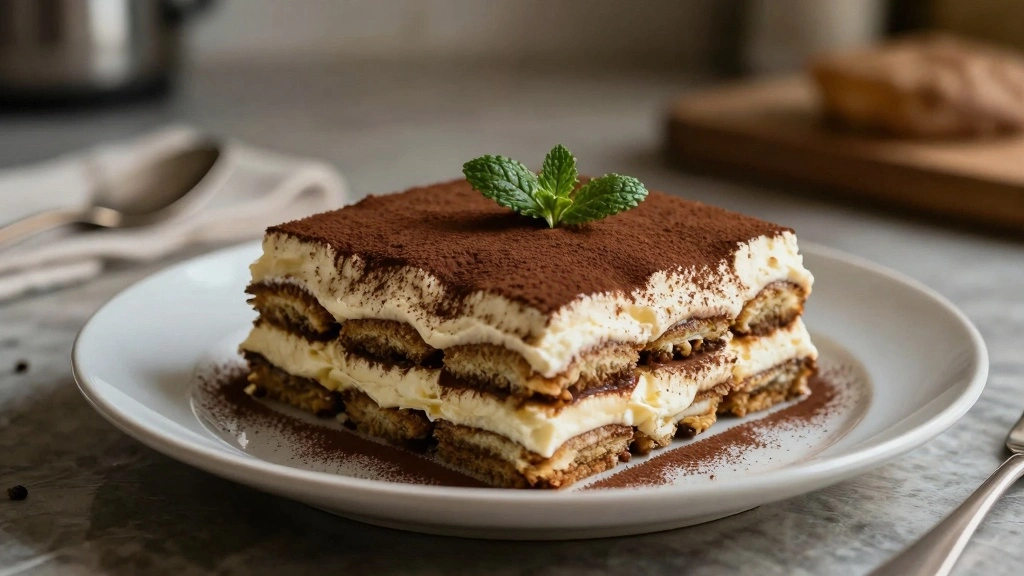
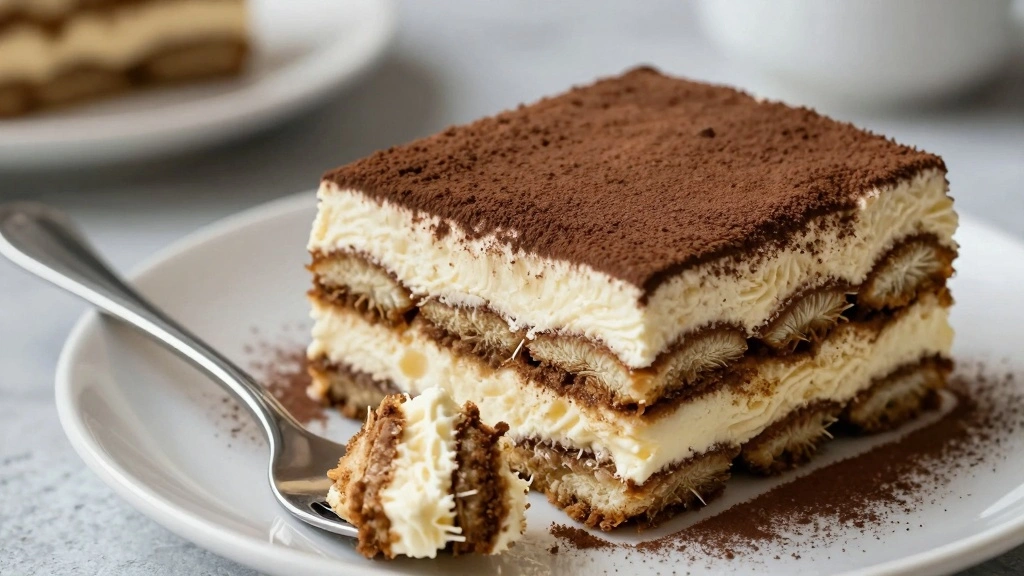
There’s something undeniably comforting about a classic tiramisu: layers of creamy mascarpone cheese, rich espresso-soaked ladyfingers, and a hint of cocoa.
This easy tiramisu recipe captures the essence of an Italian favorite with minimal effort and maximum flavor.
The balance of sweet, creamy, and slightly bitter notes creates a symphony of flavors that is hard to resist.
Whether you’re a seasoned baker or a dessert novice, this recipe is designed to be foolproof.
Perfect for a cozy night in or a festive gathering, this tiramisu will surely impress your guests.
So, let’s embark on a culinary journey to Italy with this decadent dessert.
The History and Cultural Significance
• Tiramisu traces its origins to the Veneto region of Italy in the 1960s, where it was originally created by a local chef at a restaurant called ‘Le Beccherie’.
• The dish evolved over decades as different regions added their own twists, incorporating ingredients like alcohol and varying the coffee strength.
• In Italian culture, this dish traditionally appears at celebratory meals, symbolizing indulgence and the joy of sharing.
• While many variations exist across different regions, the authentic version maintains a delicate balance of coffee, mascarpone, and cocoa that sets it apart from imitations.
Recommended Products

Milk Source: Pasteurized Cow's Milk

Authentic Italian-Style Mascarpone: Smooth, rich, and velvety texture suitable for both sweet and savory dishes

Make authentic tiramisu cake at home with DeLallo's Tiramisu Kit. It's easy and delicious!


Recipe Overview
Recommended Products

Authentic Italian Taste: Made in Italy, Sanniti Savoiardi Ladyfingers bring the classic Italian flavor and light, airy texture that make them perfect for traditional recipes and everyday snacking.

Italian Recipe: Crafted following a traditional Italian recipe, Maestro Massimo Ladyfingers for tiramisu deliver classic flavor and light texture ideal for homemade tiramisu and classic desserts.

17 1/2 oz. package
Nutritional Information (per serving)
Recommended Products

Rich, intense pre-brewed espresso. Contains caffeine.

Rich, intense pre-brewed espresso. Contains caffeine.


Essential Equipment Guide
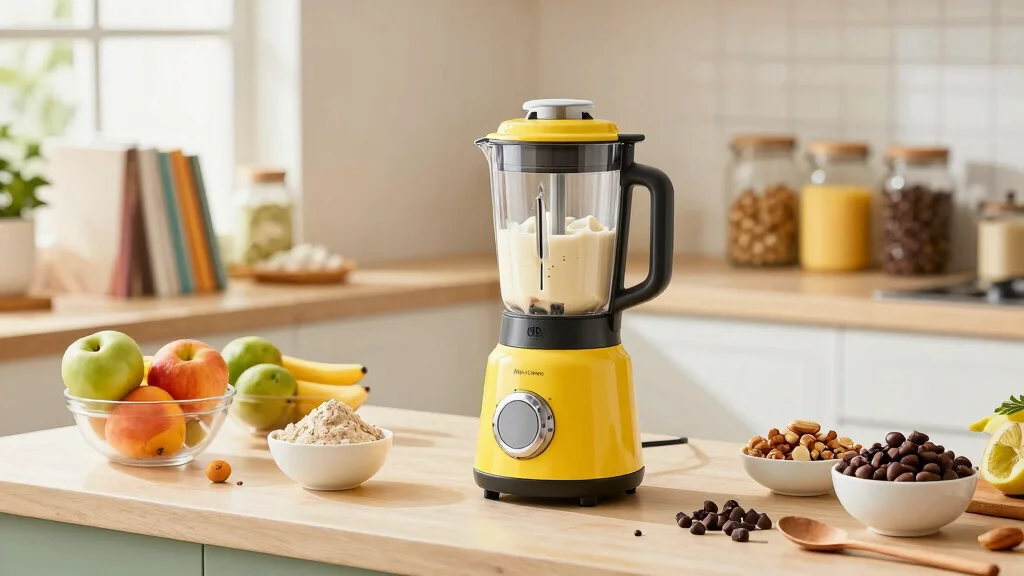
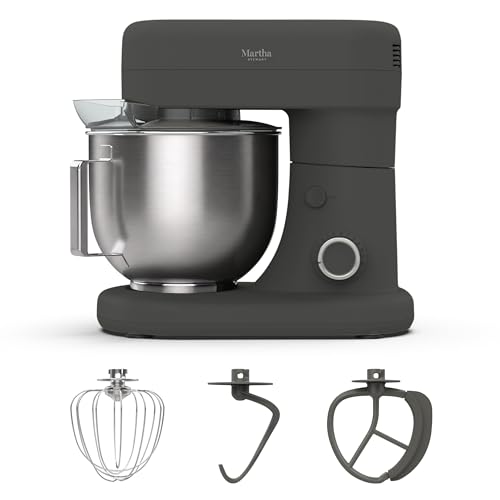
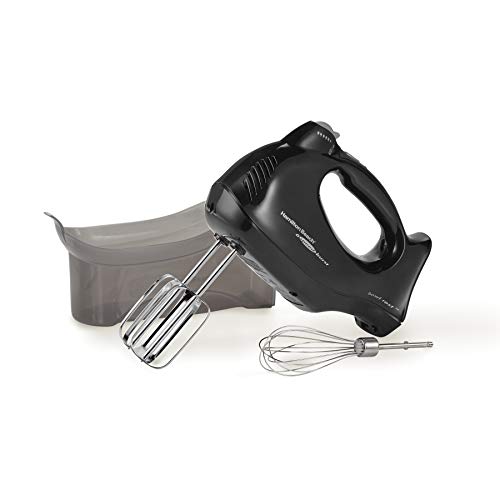
Electric Mixer: An electric mixer is crucial for achieving the perfect creamy consistency of the mascarpone mixture. A hand mixer will work fine, but a stand mixer is ideal for hands-free operation.
Shallow Dish: A shallow dish is essential for soaking the ladyfingers evenly in espresso. Look for a dish that comfortably fits the ladyfingers in a single layer.
Fine Mesh Sieve: A fine mesh sieve ensures an even dusting of cocoa powder on top, which is key for the signature look and taste of tiramisu.
Recommended Products

NO MORE LOST BEATERS: The snap-on storage case that comes with the Hamilton Beach hand mixer neatly holds the 2 beaters and whisk in one easy-to-find place, reducing the chance that the attachments are lost or misplaced.

SELF-CONTROL SPEED – Features 5 adjustable speeds, ranging from 1 (Lowest) to 5 (Highest), allowing you to choose the ideal mixing speed for perfectly customizable texture and consistency in any recipe. Perfect for whipping cream, making butter, beating egg whites and batter, or preparing mashed potatoes and other dishes.
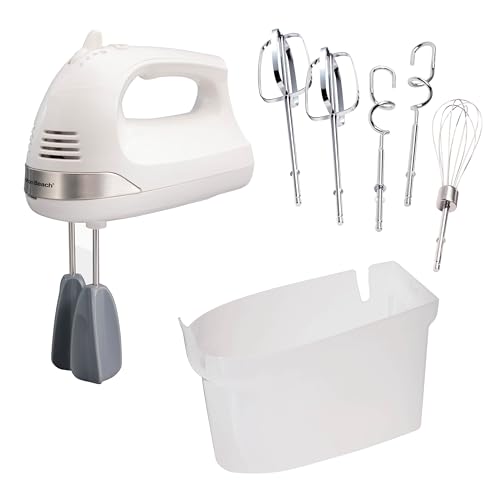
EASY CLEAN BEATERS REDUCE CLOGGING AND PROVIDE GREAT MIXING PERFORMANCE. Their smooth, innovative design glides through ingredients without clogging, saving you time and aggravation every time you mix.


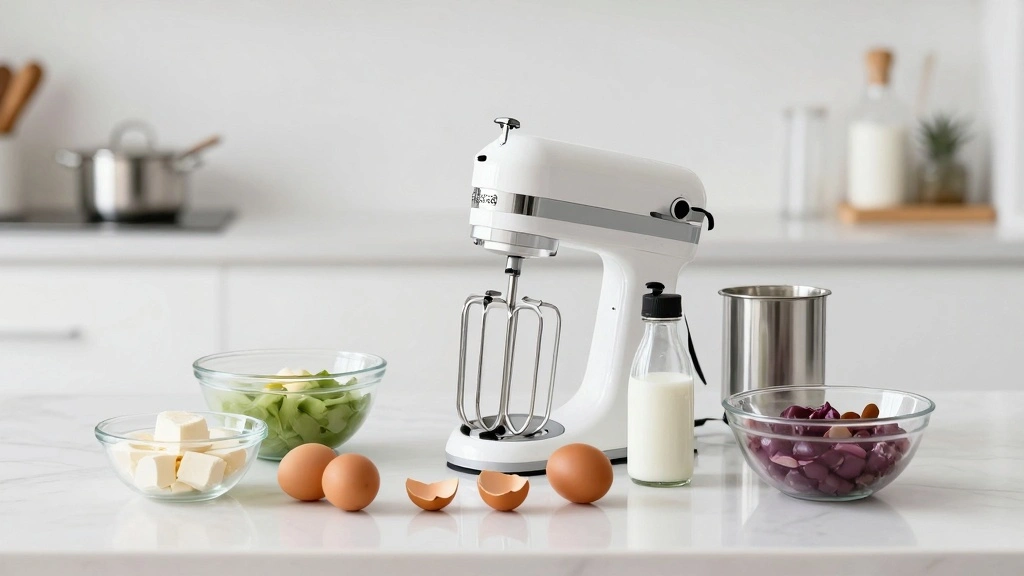
Ingredients
Recommended Products
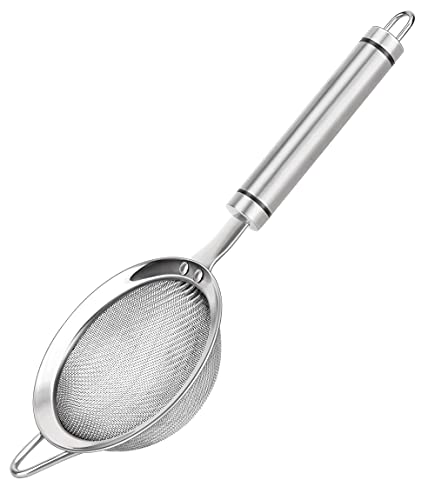
Made from high-quality, food-grade 304 stainless steel. This strainer features a sturdy outer framework and handle. Easy cleaning. Dishwasher safe. Mirrored, burr-free wire mesh screen won't scratch your hand while you clean it.
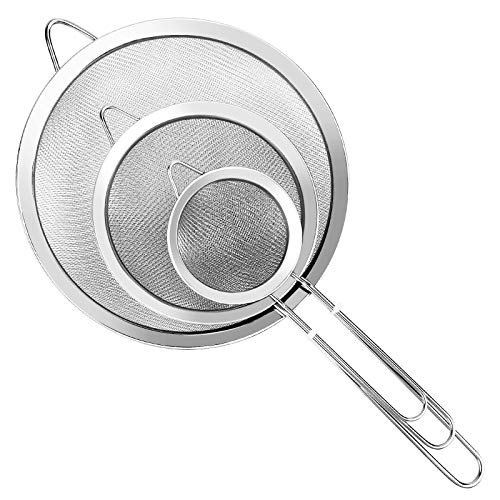
3 Pcs Fine Mesh Strainer With Handle: Three diameters 3.15″ , 5.5″ & 7.87″, ensures that you always have the right strainer for the job. Super wire extra fine mesh strainer with handle are perfect for sifting and straining wet or dry ingredients, repeated use.

1. Unbeatable Precision Straining:Our fine mesh strainer features a dense, ultra-fine stainless steel mesh that lets only pure, smooth liquids pass through. It traps lumps, impurities and unwanted bits, ideal for tea, coffee, juice and cocktails. The sieve ensures optimal flow while catching even the smallest particles, for flawless textures in all your culinary creations.
For the Cream
| Amount | Ingredient | Notes |
|---|---|---|
| 3 large | eggs | separated |
| 1 cup | sugar | divided |
| 1 cup | mascarpone cheese | room temperature |
For the Base
| Amount | Ingredient | Notes |
|---|---|---|
| 1 cup | strong brewed espresso | cooled |
| 2 tablespoons | coffee liqueur | optional, adds depth |
| 24 pieces | ladyfingers | savoiardi style |
For Garnishing
| Amount | Ingredient | Notes |
|---|---|---|
| 2 tablespoons | unsweetened cocoa powder | for dusting |
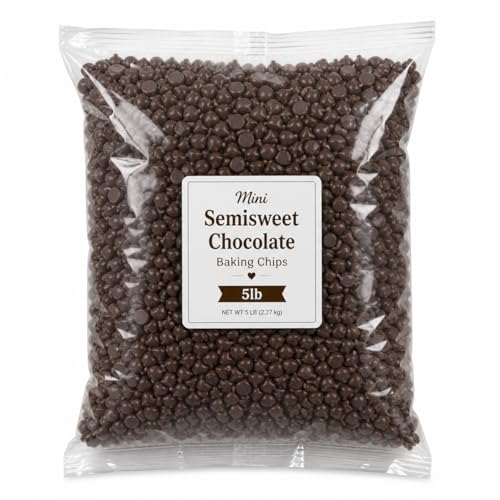
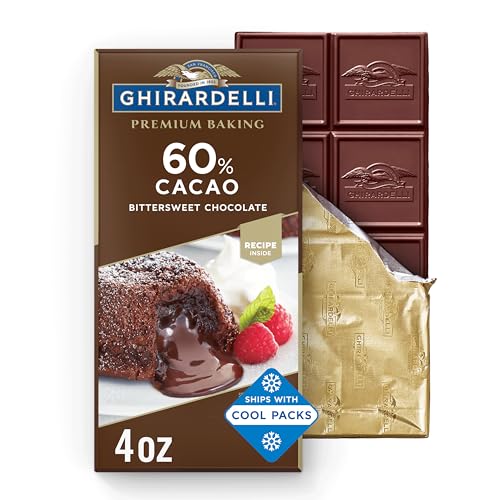
| 1 ounce | dark chocolate | shaved, optional |


Preparation Methods
Egg Separation: Separating eggs is crucial for this recipe to achieve the perfect texture. Use cold eggs for easier separation and ensure no yolk gets into the whites.
Whipping Egg Whites: Whipping the egg whites to stiff peaks is vital for incorporating air and creating a light texture in the cream. Use a clean, dry bowl and beaters for best results.
Layering Technique: Proper layering ensures that each bite has a balanced flavor. Alternate layers evenly and press gently to compact without crushing the ladyfingers.
Recommended Products

Make authentic tiramisu cake at home with DeLallo's Tiramisu Kit. It's easy and delicious!

Make authentic tiramisu cake at home with DeLallo's Tiramisu Kit. It's easy and delicious!

All artisanal breads, cakes, and cookies are baked with better ingredients, so you can feel good about what you're buying (and eating)


Step 1: Prepare Ingredients
Gather all ingredients and equipment.
Ensure mascarpone cheese is at room temperature to blend smoothly.
Brew strong espresso and allow it to cool.
Separate eggs, placing whites in a clean, dry bowl.
Recommended Products

Ladyfingers are a sweet, fairly dry, finger-shaped sponge cake

FROM: The “Savoiardi”, which take their name from the original region of Savoy, are sweet and light biscuits with a very crumbly consistency.

Italian Recipe: Crafted following a traditional Italian recipe, Maestro Massimo Ladyfingers for tiramisu deliver classic flavor and light texture ideal for homemade tiramisu and classic desserts.

Step 2: Whip Egg Whites
Using an electric mixer, beat egg whites on medium speed.
Gradually add half of the sugar until stiff peaks form.
The mixture should be glossy and hold its shape.
Set aside once done.


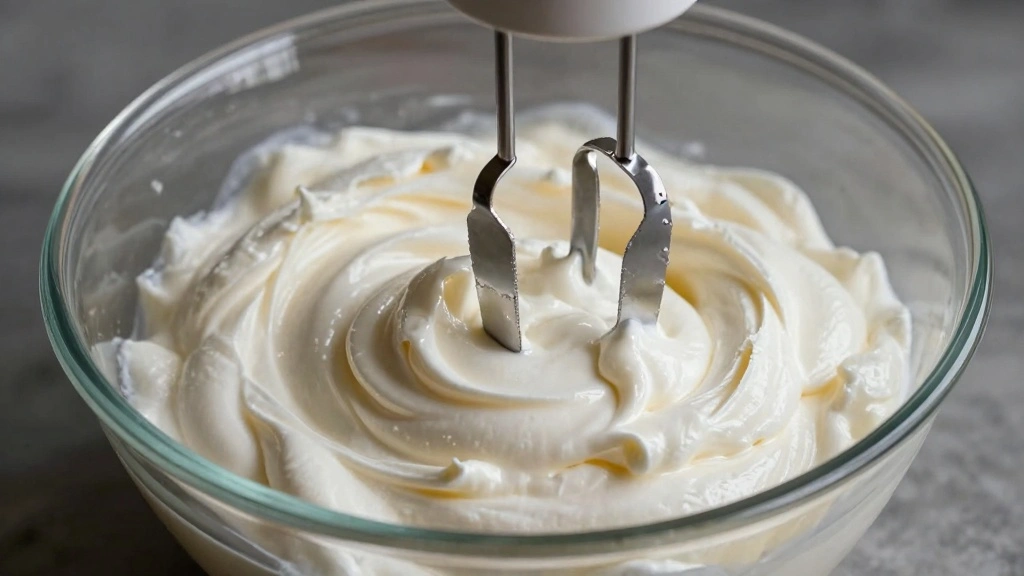
Step 3: Prepare Mascarpone Mixture
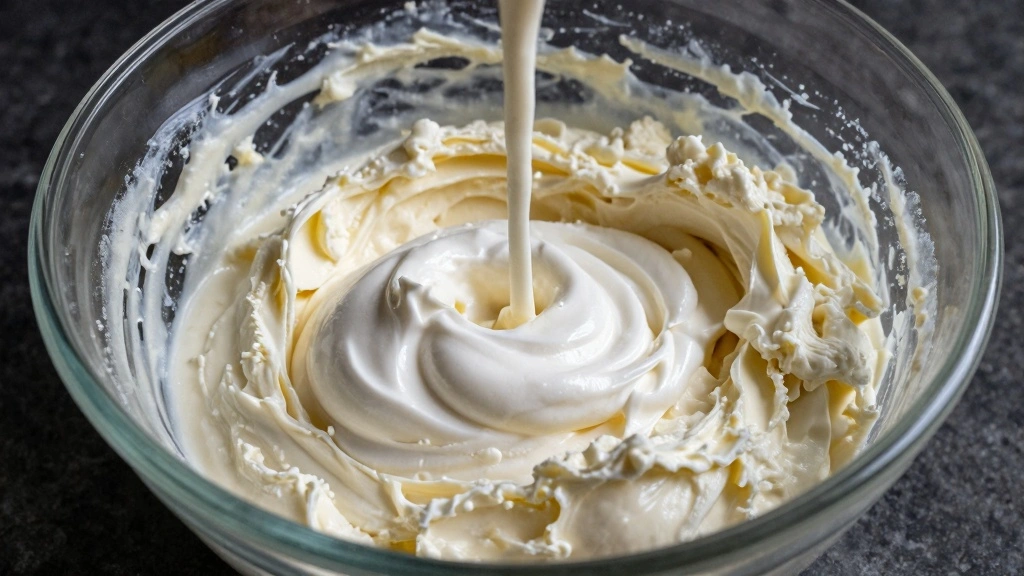
In a separate bowl, beat egg yolks with remaining sugar.
Add mascarpone cheese and mix until smooth.
Ensure no lumps remain in the mixture.
Fold in the whipped egg whites gently.
Recommended Products
NO MORE LOST BEATERS: The snap-on storage case holds the included attachments, reducing the chance that beaters for the electric hand mixer get lost or misplaced. A convenient access door makes it easy to add attachments or remove them from the case

【Custom 5-Speed Settings for Precision Mixing】From gentle stirring to high-speed whipping, 5 adjustable speeds let you achieve the perfect consistency for any recipe—ideal for cream, eggs, batter, sauces, and more.

Product Content: You will receive 2 stainless steel hand mixer whisk attachments, provided in sufficient quantity to meet daily use or replacement needs.


Step 4: Prepare Espresso Soak
Combine brewed espresso with coffee liqueur in a shallow dish.
Stir to mix well.
Taste to adjust sweetness if necessary.
Set aside for soaking ladyfingers.
Recommended Products

Two Handy Sizes for All Your Kitchen Needs: This 2-piece fine mesh strainer includes two different sizes—3.25 inches and 2.6 inches—perfect for a wide range of tasks. Whether you're steeping loose leaf tea, straining cocktails and juices, or sifting flour, cocoa, and powdered sugar, these stainless steel strainers offer the ideal size and precision for both small and medium-sized portions. A must-have tool for any home cook, baker, or mixologist.

⭐【30-MESH FINE SCREEN】 Features a durable 30-mesh stainless steel filter to efficiently remove stubborn matcha clumps. By filtering residue, it provides a smooth texture for your tea ritual or daily latte, improving the whisking and frothing results.

A MUST-HAVE KITCHEN ACCESSORY: Keep the pulp and herbs out of your cocktails with this stainless steel strainer. You can also use it to filter coffee grounds, strain tea leaves or juice, sift flour, or for dusting baked goods. The rim is polished with a classic mirror finish to make this wire mesh strainer a perfect way to add that professional, edgy look to your home bar.


Step 5: Soak Ladyfingers
Dip each ladyfinger briefly in espresso mixture.
Ensure they are soaked but not soggy.
Lay them evenly at the bottom of a serving dish.
Repeat to form a complete layer.

Step 6: Layer Mascarpone Cream
Spread half of the mascarpone mixture over the ladyfingers.
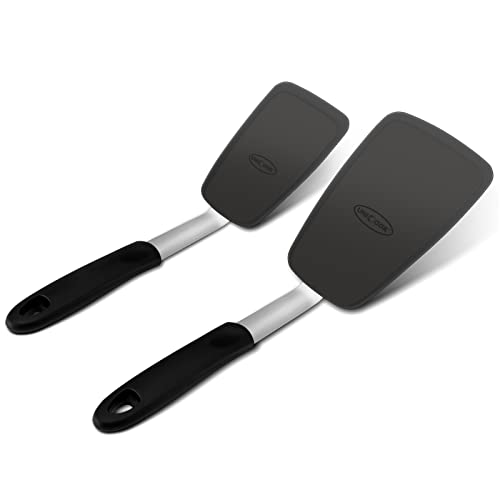
Use a spatula to smooth the surface evenly.
Ensure the layer is of uniform thickness.
Repeat with another layer of soaked ladyfingers.


Step 7: Create Second Layer
Add remaining mascarpone mixture on top of the second layer of ladyfingers.
Smooth out the surface with a spatula.
Ensure the layers are evenly stacked.
Cover and refrigerate for at least 4 hours.
Step 8: Finishing Touches
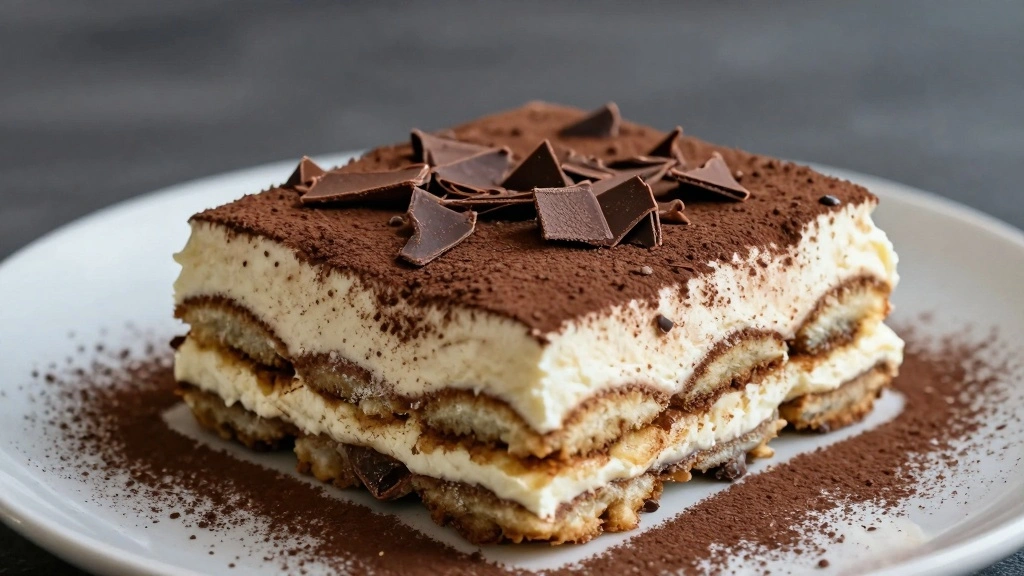
Prior to serving, dust the top with cocoa powder using a fine mesh sieve.
Garnish with shaved dark chocolate if desired.
Slice and serve chilled.
Admire the neat layers and enjoy.


Critical Timing and Temperature Guide
Whipping Egg Whites: Beat whites until stiff peaks form, which typically takes 3-5 minutes. Avoid over-beating as this can cause separation.
Chilling Time: Refrigerate the assembled tiramisu for at least 4 hours to allow flavors to meld and layers to set. Overnight chilling yields best results.
Serving Temperature: Serve tiramisu straight from the refrigerator. Room temperature serving can cause the cream layers to become too soft and lose structure.
Pro Tips for Tiramisu Recipe With
• Ingredient Selection: Choose high-quality mascarpone and fresh eggs for the best texture and flavor. Authentic Italian ladyfingers (savoiardi) absorb espresso perfectly.
• Preparation Secret: Briefly soak the ladyfingers to prevent them from becoming overly soggy, which can ruin the texture.
• Temperature Management: Ensure mascarpone is at room temperature before mixing to avoid a lumpy texture.
• Texture Enhancement: Gently fold the whipped egg whites into the mascarpone mixture to maintain a light and airy texture.
• Flavor Layering: Infusing the espresso with a touch of coffee liqueur enhances the depth of flavor.
• Make-Ahead Strategies: Tiramisu can be made 1-2 days in advance and stored in the refrigerator, allowing flavors to develop fully.
• Restaurant-Quality Finishing Touches: Use a fine mesh sieve for an even cocoa dusting and add chocolate shavings for a touch of elegance.
• Equipment Optimization: Use an electric mixer for efficient whipping and a shallow dish for even soaking of ladyfingers.


Troubleshooting Common Issues
• Texture Too Dense: Caused by over-mixing mascarpone or not properly folding whipped egg whites. Use gentle folding techniques to maintain airiness.
• Soggy Ladyfingers: Often due to over-soaking in espresso. Dip briefly and ensure the espresso is cooled.
• Runny Cream Layers: Results from insufficient chilling time. Refrigerate for at least 4 hours, preferably overnight.
• Unbalanced Flavors: Can arise from improper espresso to sugar ratio. Adjust sweetness in espresso soak to taste.
• Lumpy Mascarpone Mixture: Happens when mascarpone is too cold. Allow it to reach room temperature before mixing.
• Cocoa Clumps: To avoid clumps, sift cocoa powder evenly over the top using a fine mesh sieve.
Variations and Regional Differences
• Venetian Style: Features sweet wine like Marsala in the mascarpone mixture, adding a unique depth of flavor.
• Sicilian Variation: Incorporates ricotta cheese along with mascarpone, offering a lighter texture and subtle sweetness.
• Modern Twist: Uses flavored liqueurs such as amaretto or hazelnut to infuse a nutty aroma into the espresso soak.
• Chocolate Tiramisu: Includes layers of chocolate ganache for a richer, more decadent version.
Food Science Behind the Recipe
• Emulsification: The process of mixing mascarpone with egg yolks and sugar creates a stable emulsion, crucial for smooth texture.
• Foam Stability: Whipped egg whites incorporate air, providing lightness. The sugar stabilizes the foam, preventing collapse.
• Chemical Leavening: Although tiramisu relies on physical leavening from whipped eggs, understanding chemical reactions helps refine technique.
• Absorption Rate: The porous structure of ladyfingers allows rapid absorption of espresso, essential for the moist texture without sogginess.
Frequently Asked Questions
What's the most common mistake people make when preparing tiramisu? Over-soaking the ladyfingers is a frequent error, leading to a soggy dessert. Dip briefly and ensure espresso is cooled.
Can I substitute mascarpone with another cheese? Mascarpone is key for authenticity, but cream cheese can be used in a pinch, though it alters the taste and texture slightly.
How long can tiramisu be stored? Tiramisu can be refrigerated for up to 3 days. Its flavor improves with time, but it should be consumed within this period.
Is it possible to make tiramisu without alcohol? Absolutely! Simply omit the liqueur in the espresso soak for an alcohol-free version.
Can tiramisu be frozen? Freezing tiramisu is not recommended as it can affect the texture, making it watery upon thawing.
How do I achieve clean slices? Use a sharp knife and wipe it between cuts to maintain the integrity of each slice.
Can I add fruit to tiramisu? Fresh berries or a fruit puree layer can complement the flavors, adding a refreshing note.
Serving and Presentation Guide
• Traditional Presentation: Serve in a glass or ceramic dish, showcasing the layers through a transparent side.
• Individual Portions: Use small glasses or ramekins for single servings, adding an elegant touch.
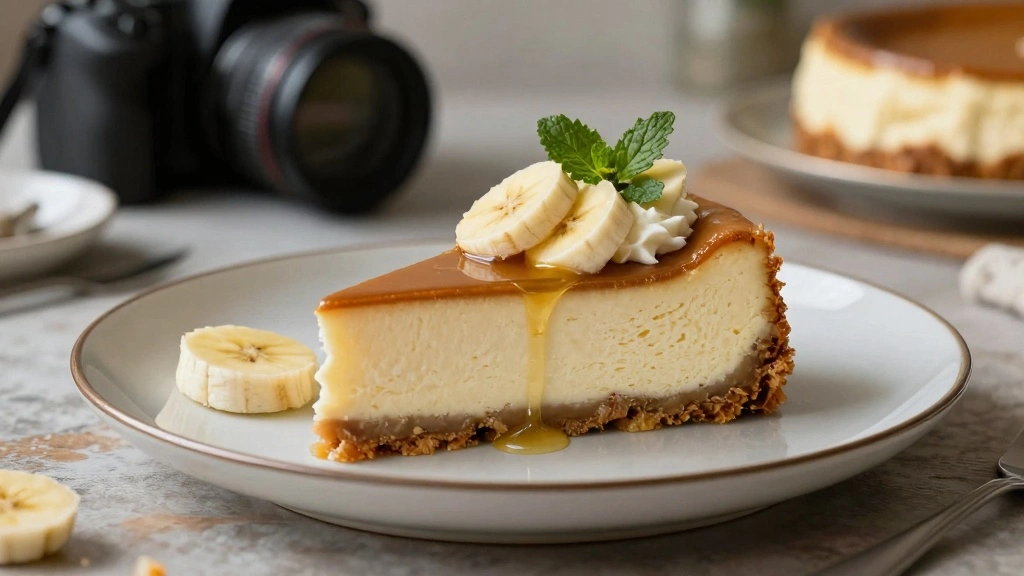
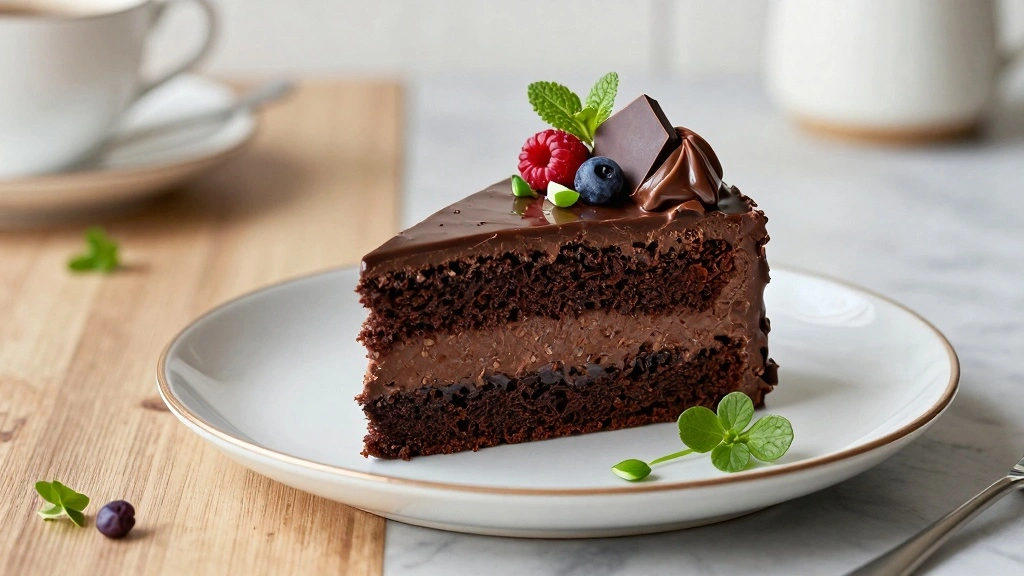
• Elegant Plating: Slice neatly and place on a decorative plate, garnished with chocolate curls and fresh mint.
• Casual Family Style: Serve directly from the dish, allowing guests to help themselves, creating a cozy, communal atmosphere.


Conclusion
With its rich layers and delightful flavor, this tiramisu recipe is sure to become a favorite in your dessert repertoire.
The ease of preparation combined with its impressive results makes it perfect for any occasion.
Don't hesitate to try this recipe and experience the joy of creating an authentic Italian classic at home.